The 4th round of the 2021-22 FA Cup saw a unique match-up between top-4 challenging West Ham and 6th tier Kidderminster Harriers.
The hosts were on a dream Cup run, beating Reading in the previous round to earn a matchup against a Premier League team.
Manager Russell Penn had already said that they wouldn’t be afraid of their opposition and would give them all to continue their fairytale journey in the tournament.
West Ham, on the other hand, is currently in fifth place in the EPL—ahead of their London rivals Tottenham by a point and also by three games.
Nevertheless, they are still mounting a challenge for a spot in the next season’s UCL and would at least look to make the Europa League again.
They beat Leeds United in the 3rd round to set up the match against the Harriers.
This tactical analysis features the tactics used by both managers and teams.
It looks into how Kidderminster Harriers almost pulled off the implausible – and how West Ham’s quality came to their rescue in the latter stages of the game.
Let’s begin the analysis.
Lineups
Kidderminster Harriers lined up in a 4-4-1-1 shape that translated mostly to a 4-2-3-1 shape in the game and later to a 4-4-2 system as Russell Penn decided to be a little proactive and bold with his team and tactics.

West Ham, on the other hand, lined up in the 4-2-3-1 system that they have been using majorly this season.
Eight changes were made to the lineup that lost against Manchester United before the winter break with only Areola, Jarrod Bowen and Kurt Zoum retaining their places in the side.
Kidderminster’s disciplined and positive approach
Russell Penn had set his team to be more positive on the pitch. They looked to press the Hammers higher up the pitch if necessary and win the ball over to launch a counter-attack.
Initially, they were mainly set up in a 4-2-3-1 system, with their lone forward, Morgan-Smith, responsible for pressing the centre-backs and cutting the passing lanes between them to ensure the ball was played out to the wider regions.
This was their first plan out of possession.
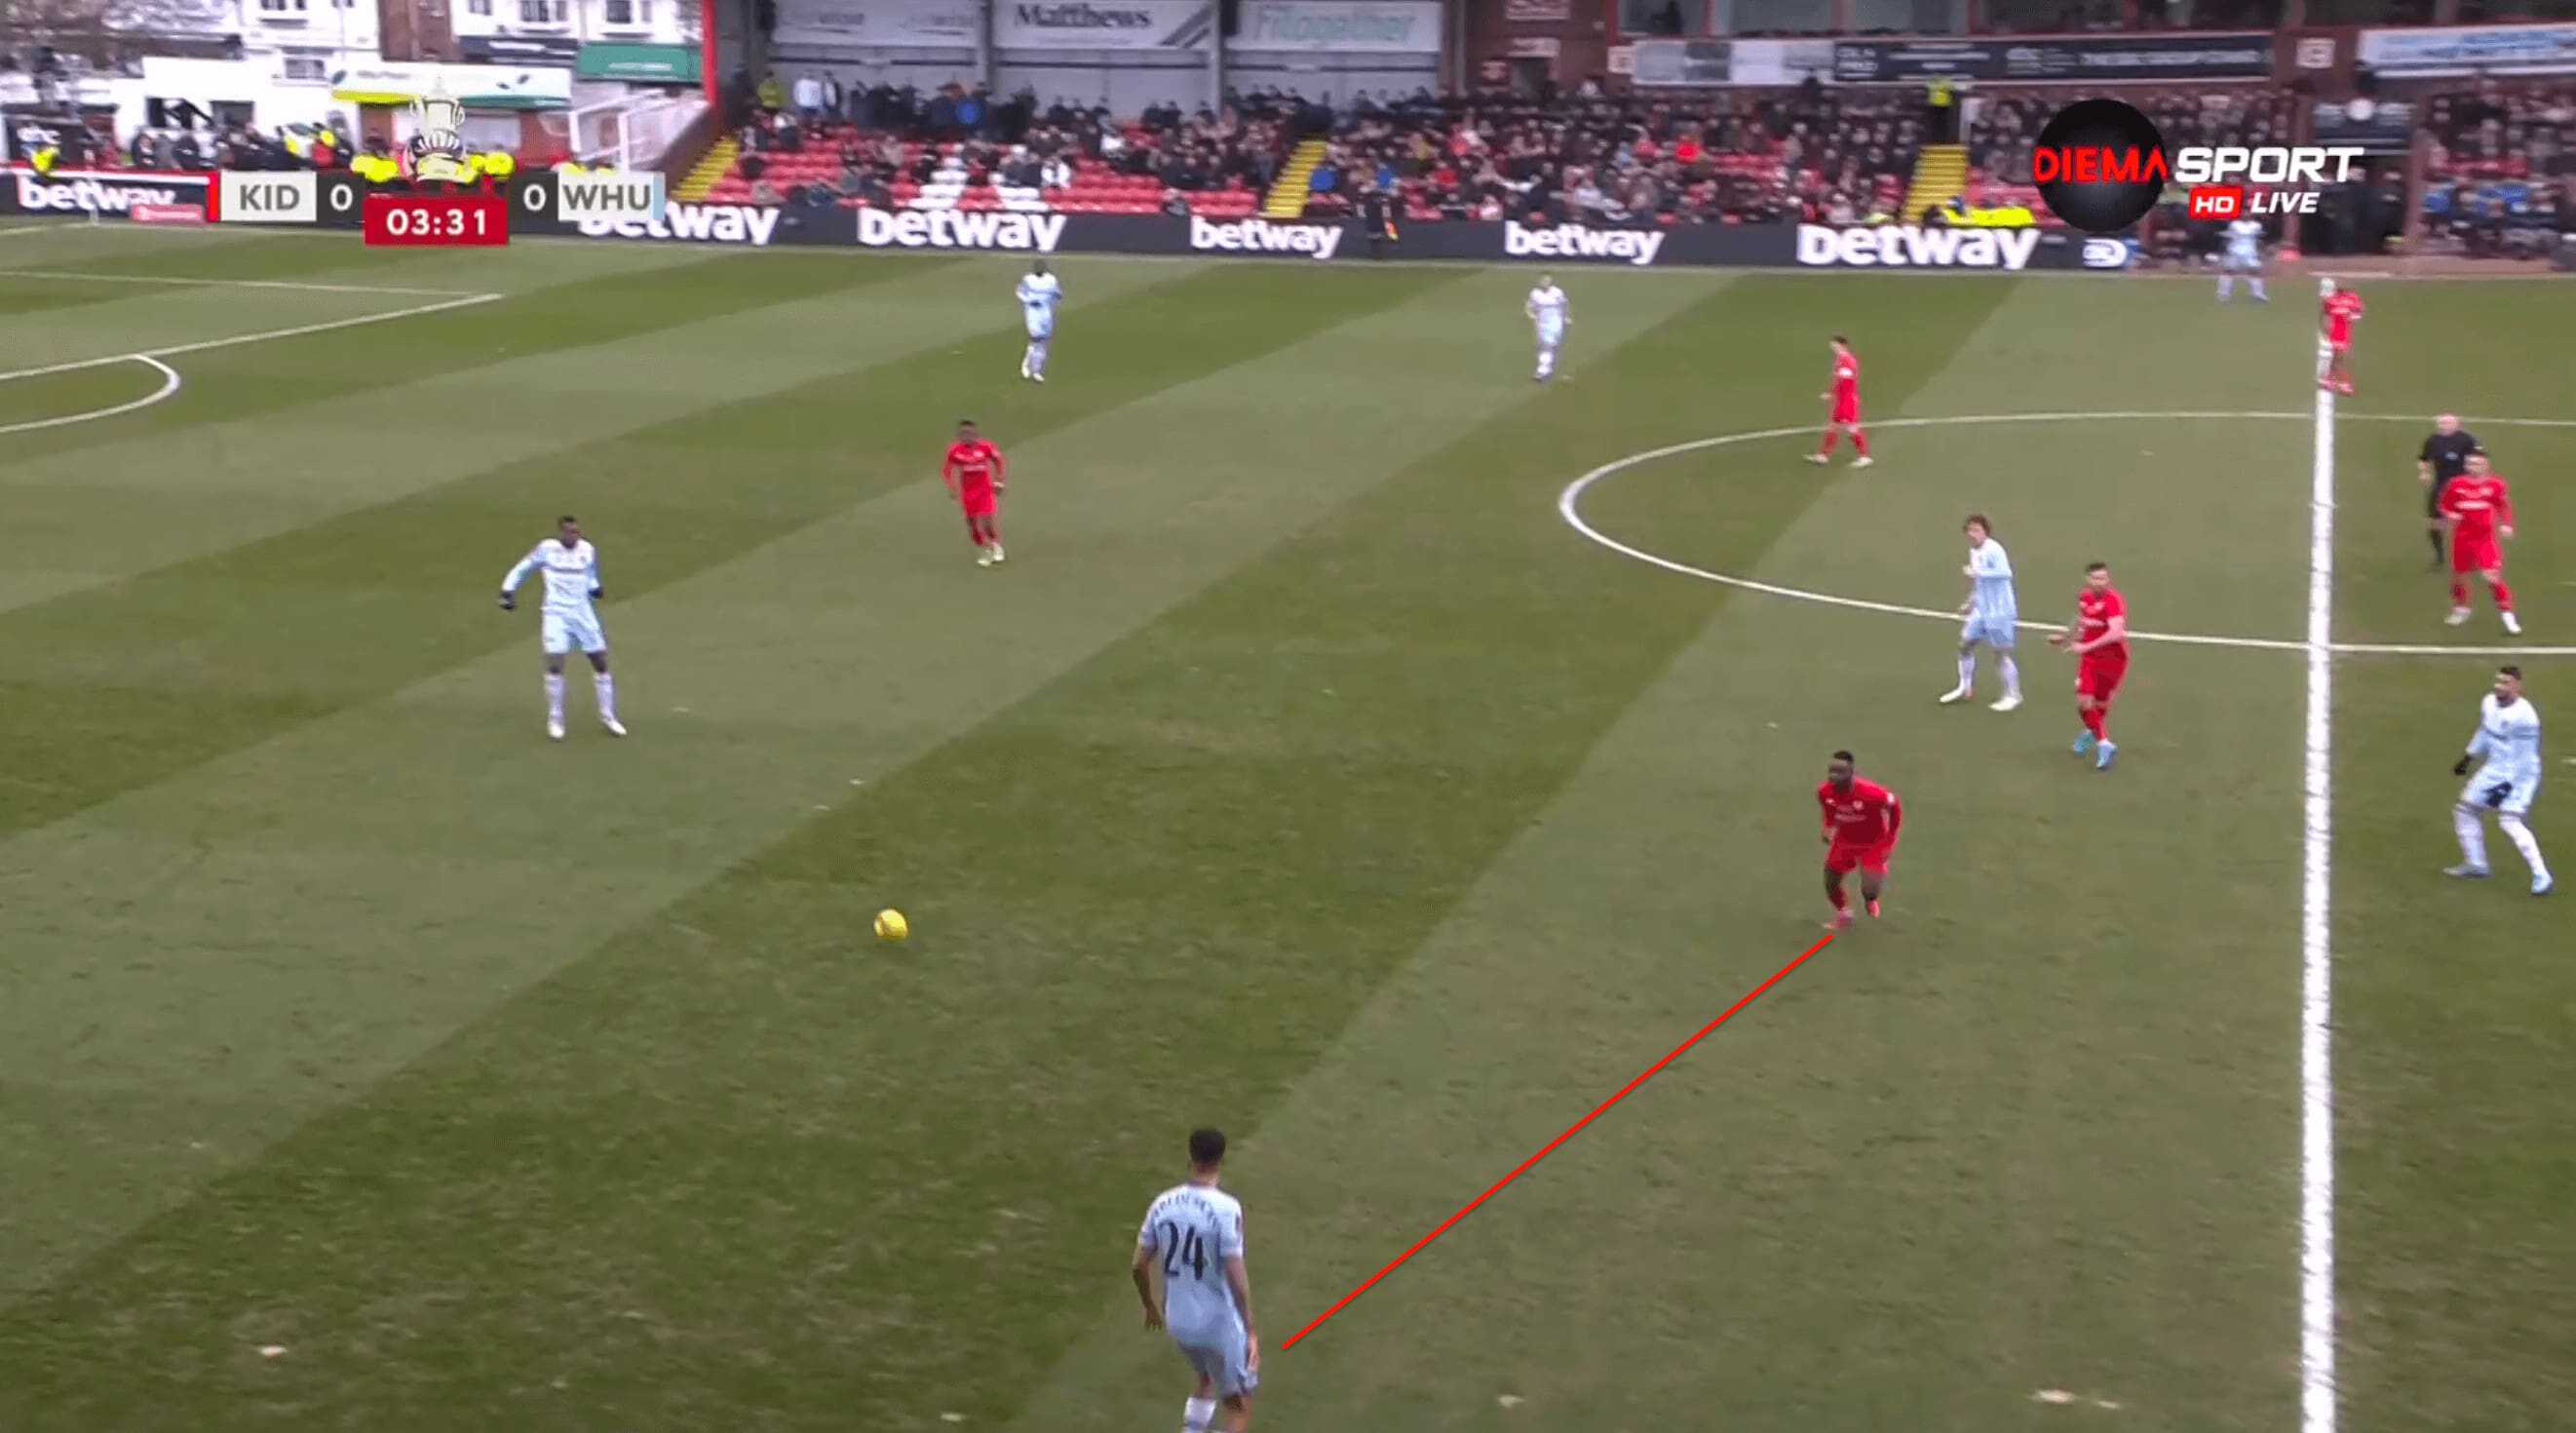
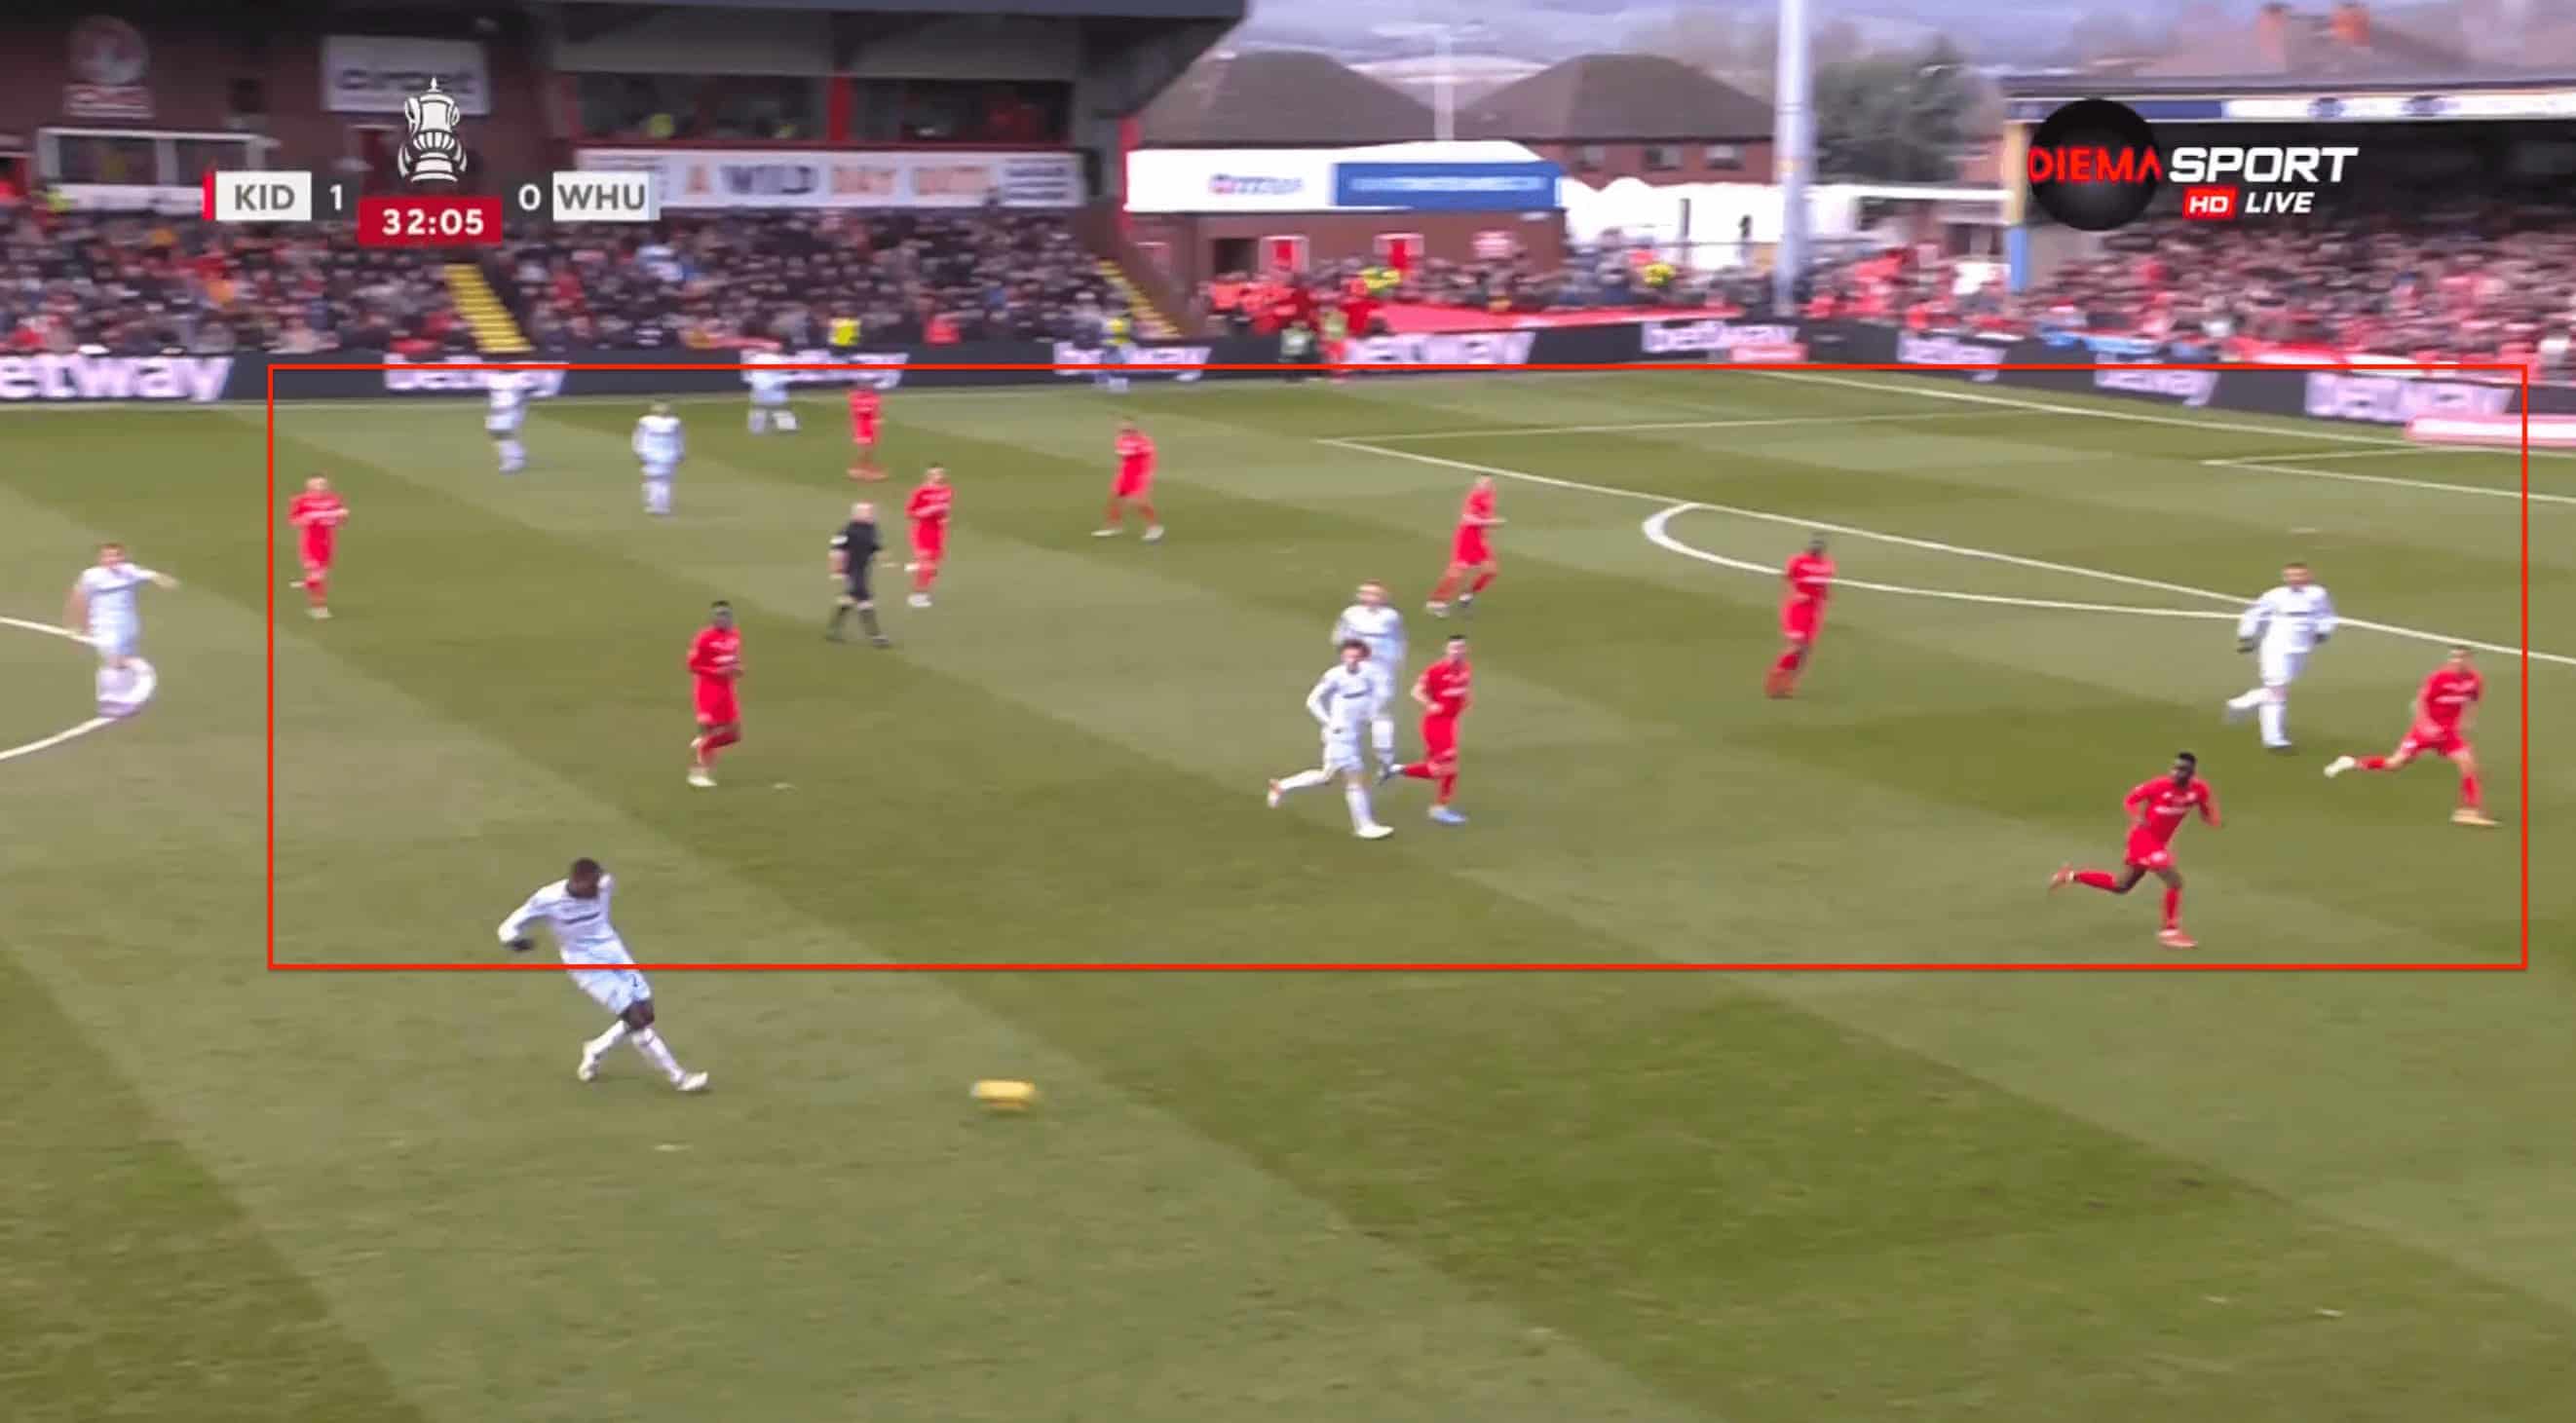
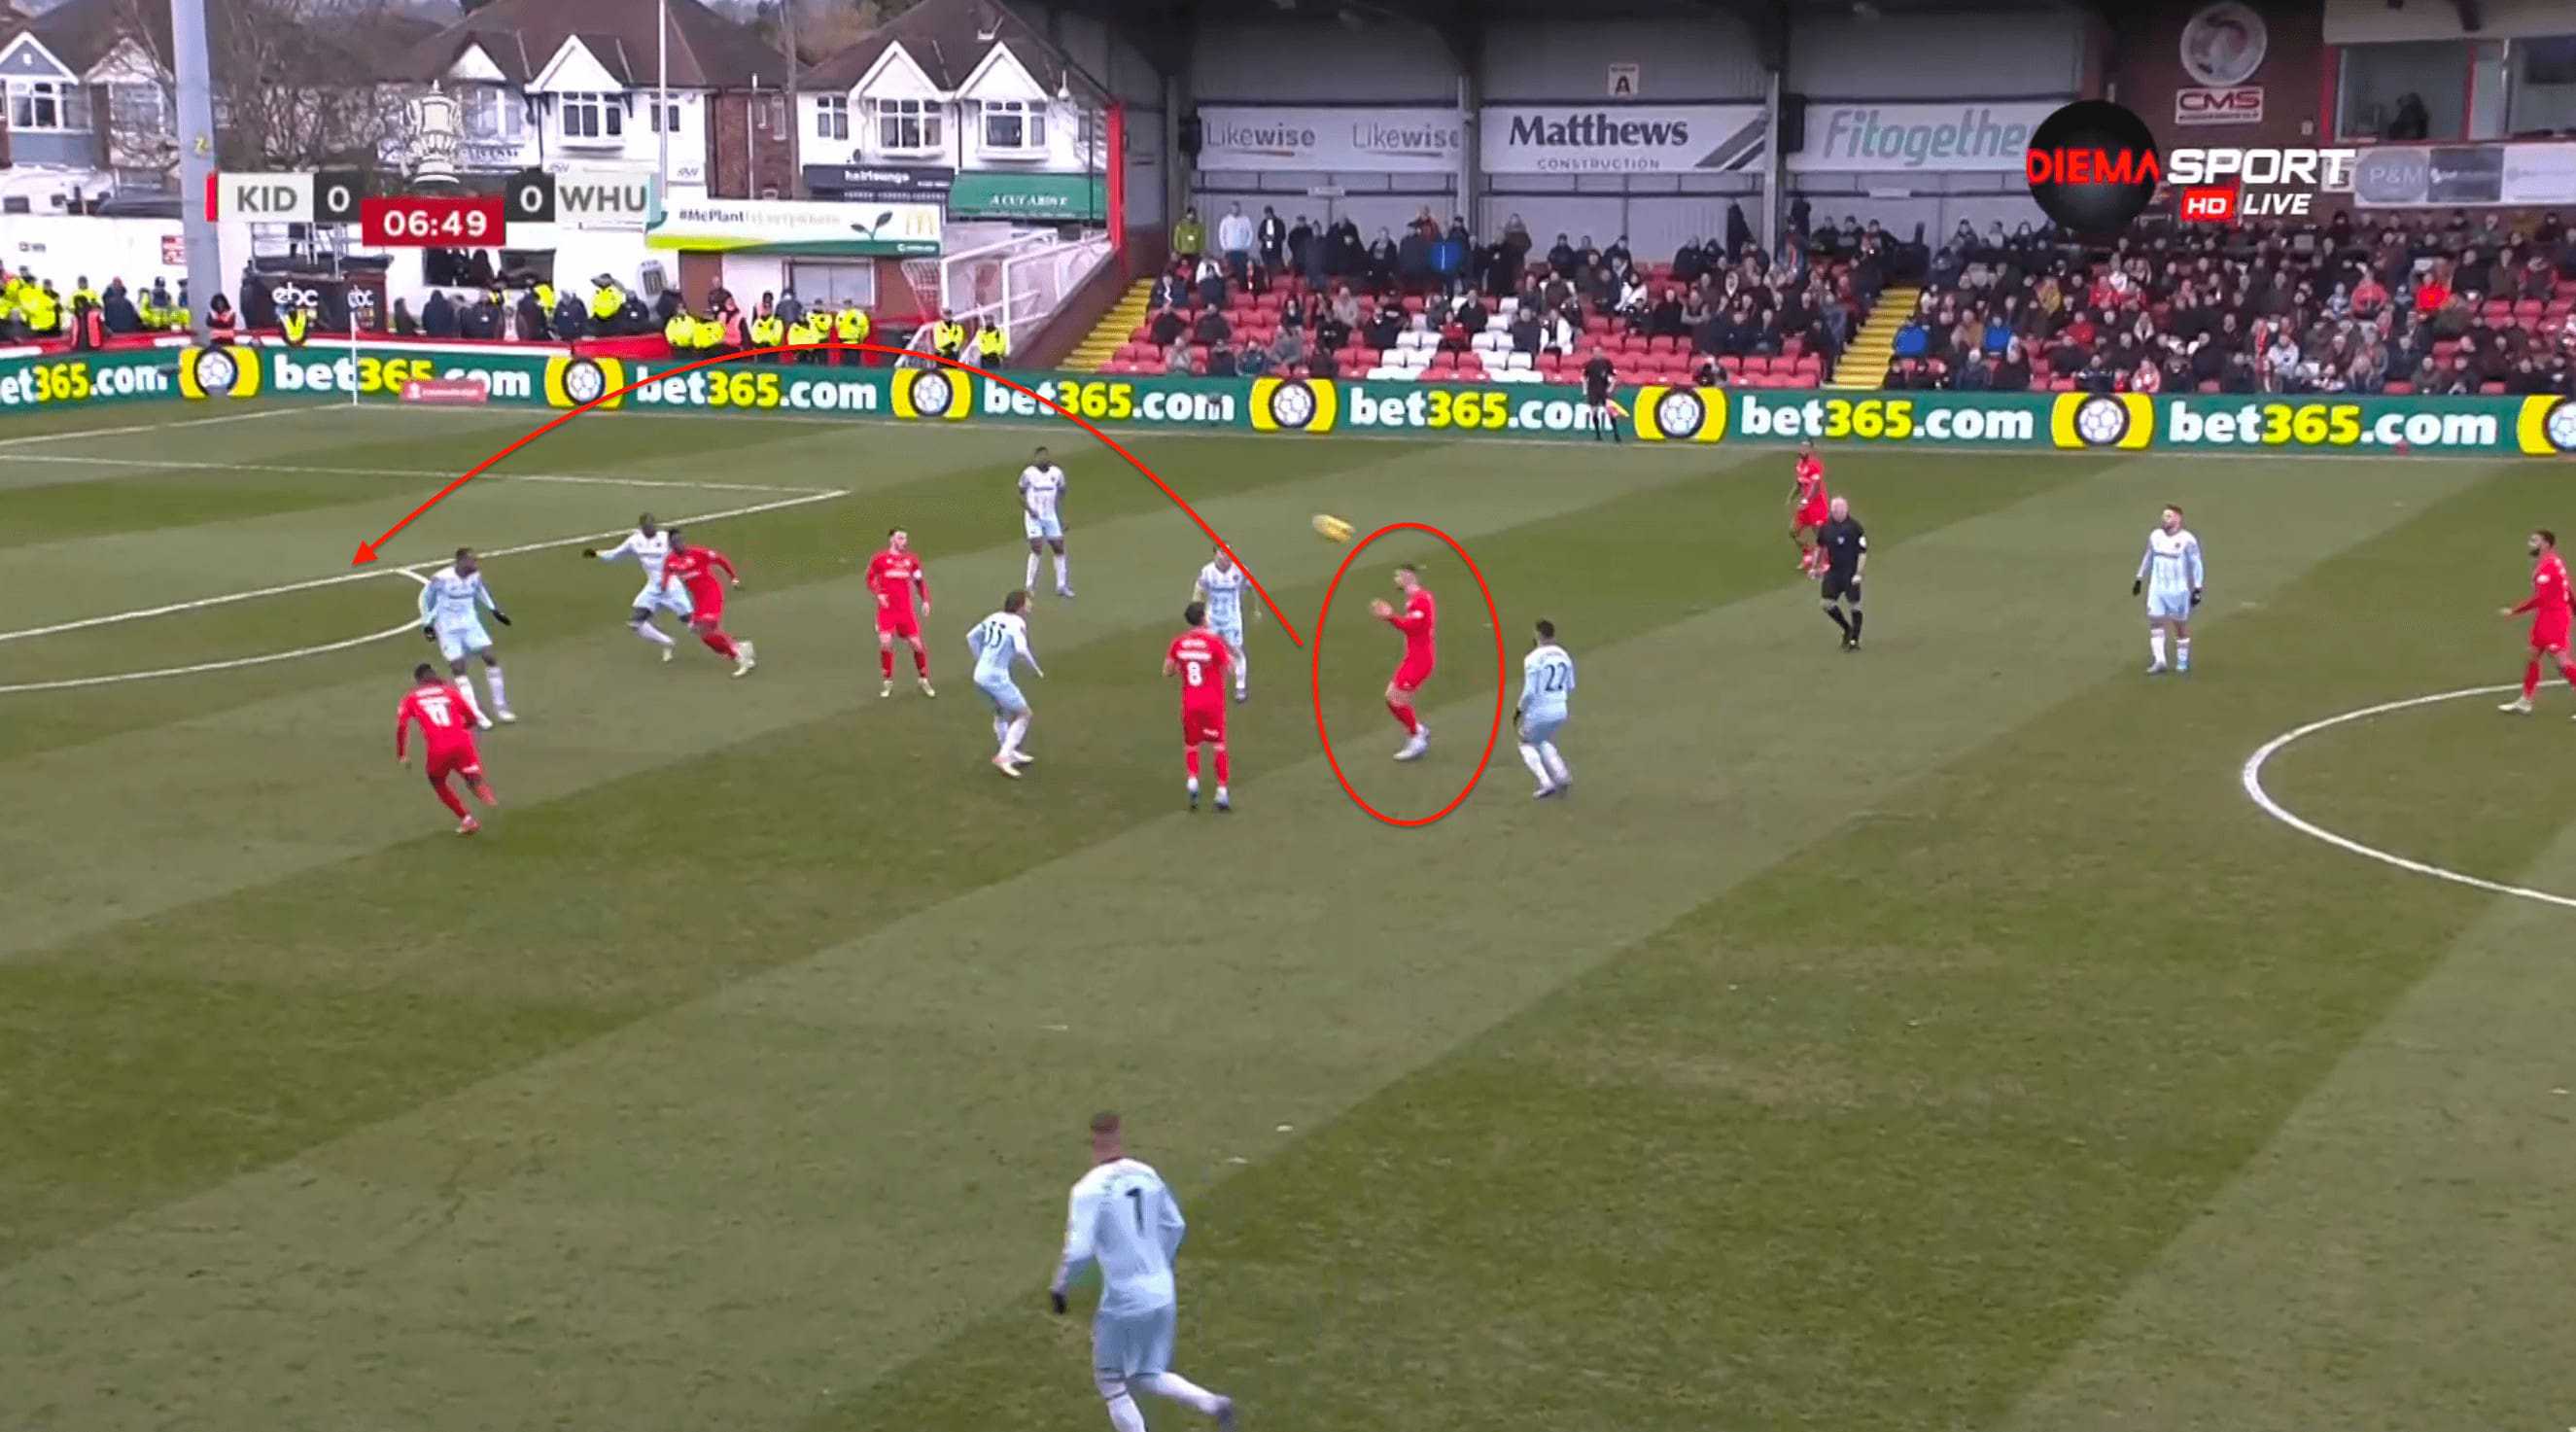
Once the ball goes wide, the wingers / wide-midfielders would jump in to press the full-backs when they have the ball and look to force a turnover there, with the touchline acting as an extra defender.
We can see that in the image below.
Once the ball goes to the West Ham right-back, James presses the full-back from the inside and looks to block the passing lane to the interior.
This means that the only option for the full-back is to play a pass forward, which means that West Ham cannot sustain possession and have a high chance of losing the ball.
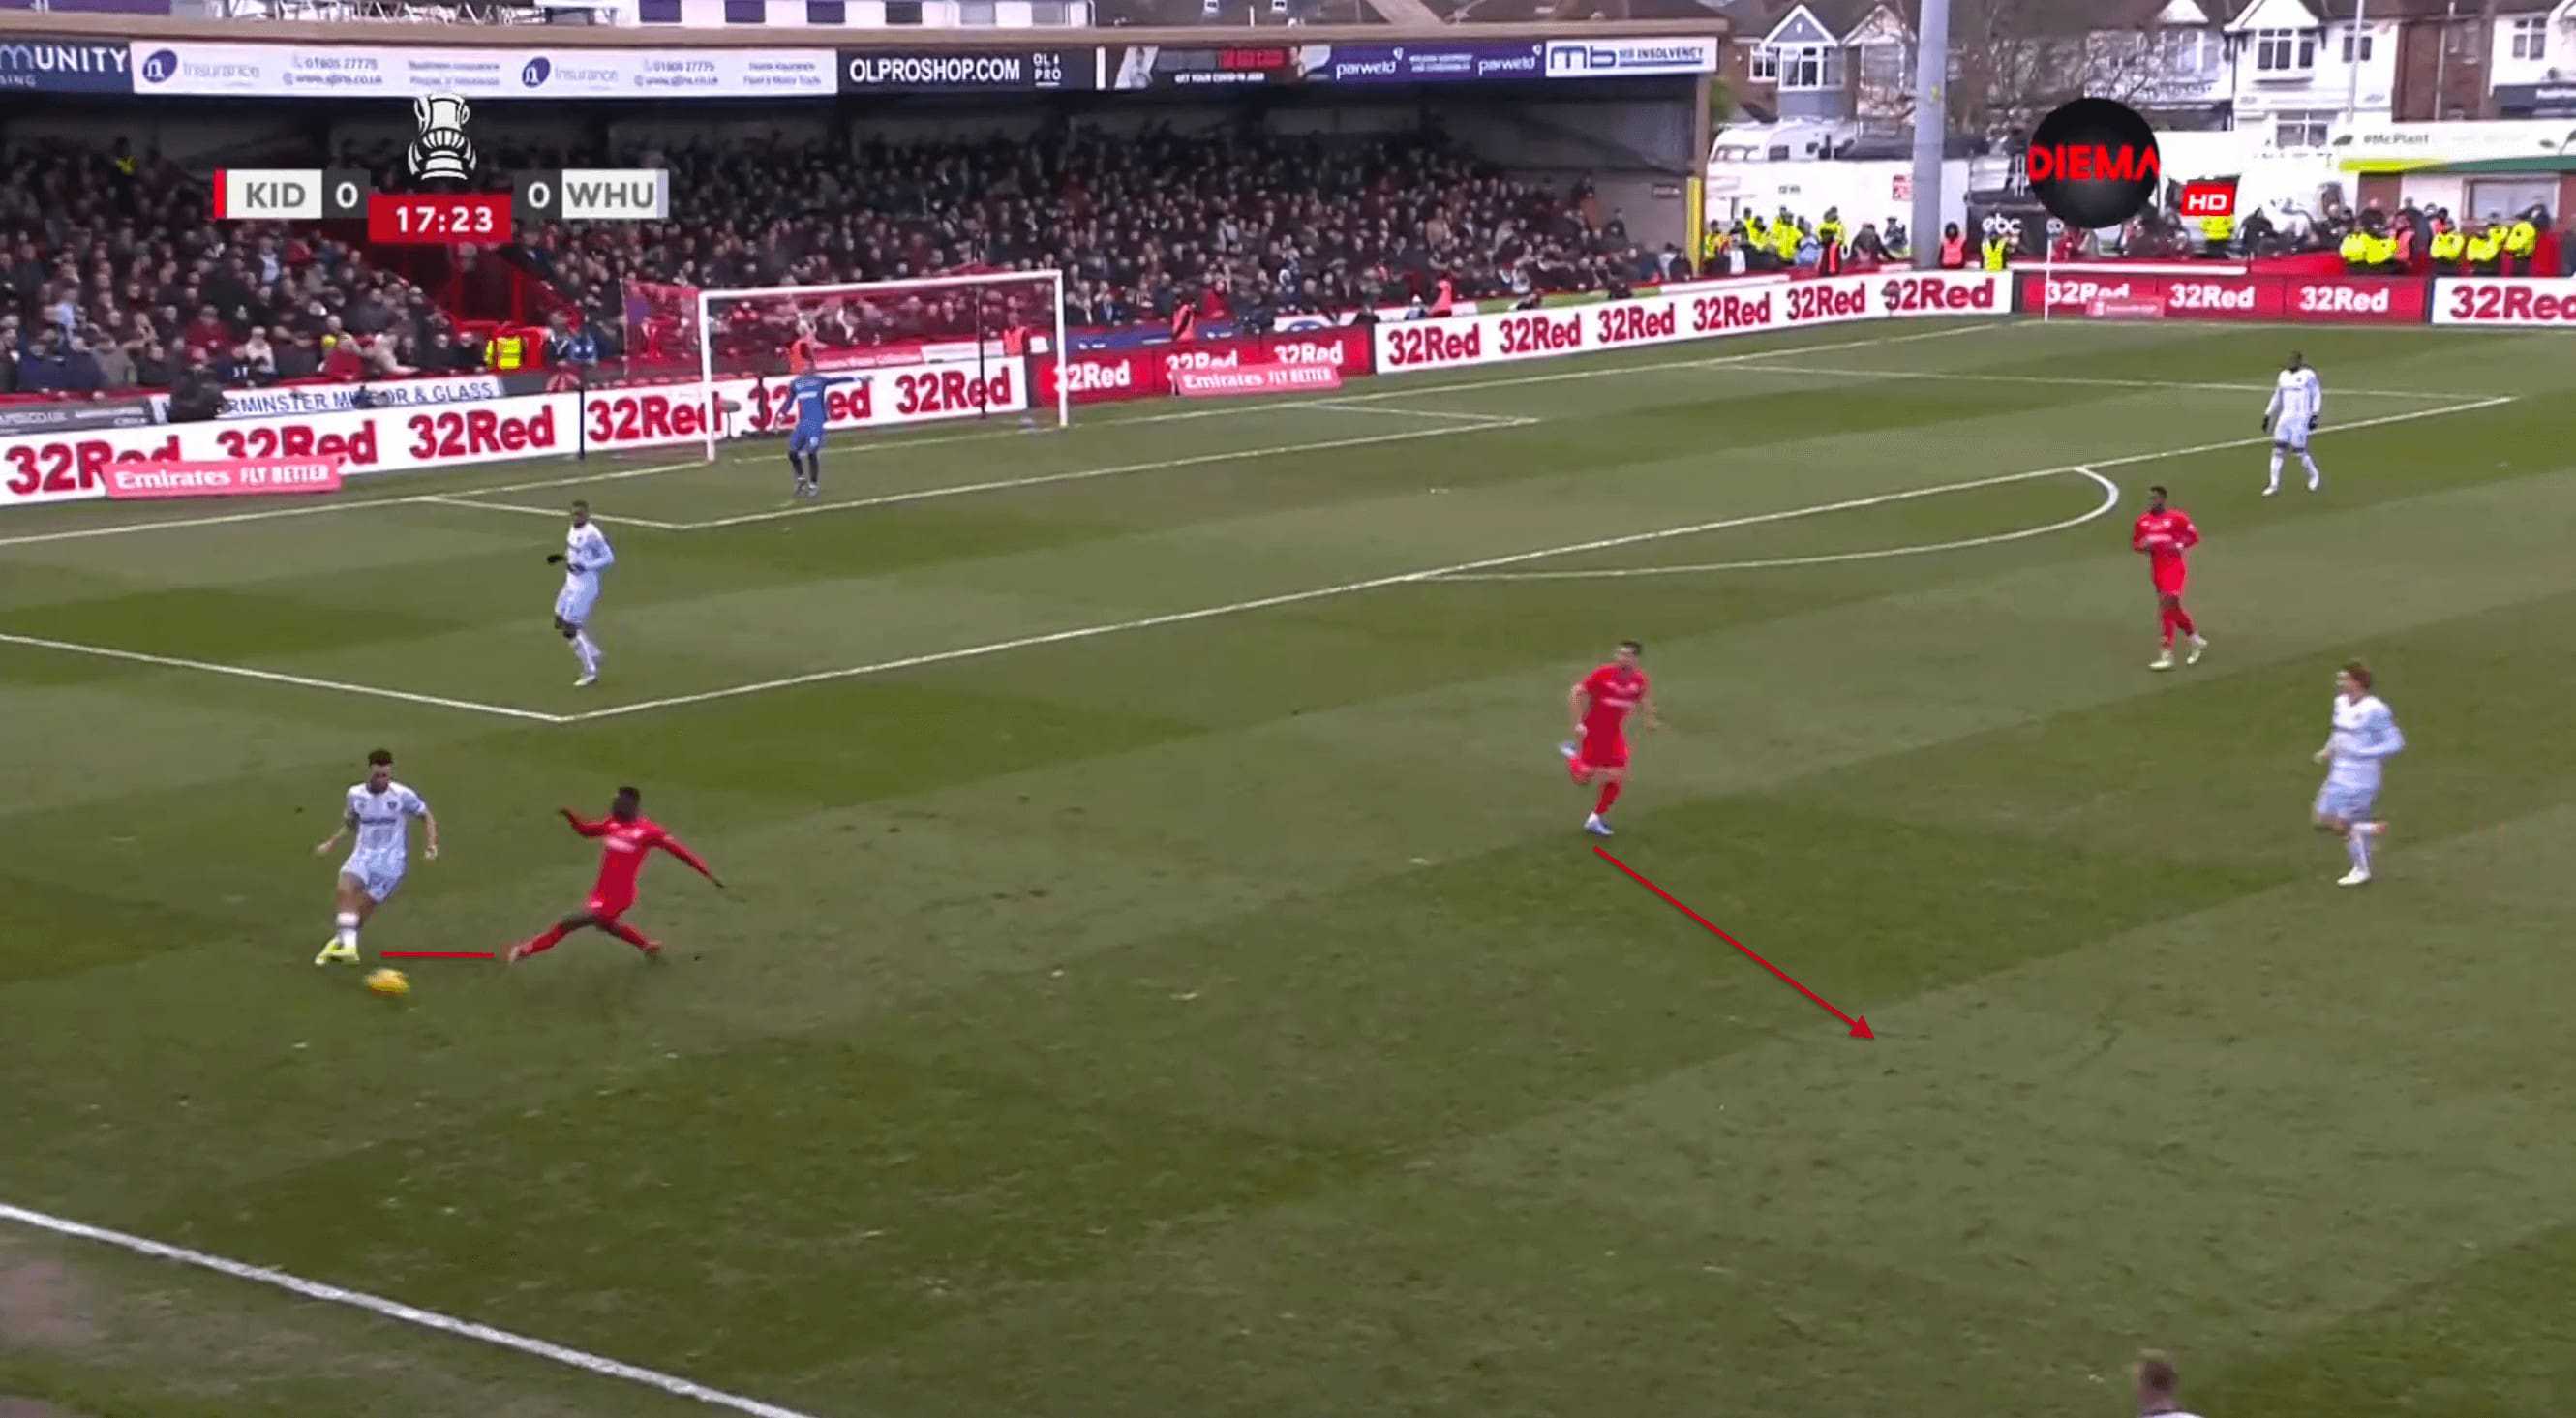
The whole structure was dependent on the players’ discipline.
They had to be very active in recognizing spaces and fall back immediately to cover them.
We can see an example of this in the image below.
Kidderminster press high, but we can see one of their midfielders who has gone higher up to press has recognized the presence of the spaces and dropped deep to defend that.
The home side decided to set up in a mid-block, especially before they scored the goal.
But even when they went with a low block, they had their wingers track back and defend well.
This was one reason for West Ham’s ineffectiveness in the final third, as they looked to create chances through crosses and cut-backs.
But with their opponents having commented men behind to defend these, it was very difficult for them to create chances.
We can see an example of Kidderminster’s wingers tracking back and defending.
The following image shows how deep the Harriers’ midfielders and forwards decided to drop to ensure that their opponents did not get the opportunity or space to play the crosses from these regions.
This example shows their discipline and mindset to give it all in an important game.
Immediately after scoring the goal, the Harriers settled into a low block and prioritized defending their lead by staying deep and covering the spaces behind the defence.
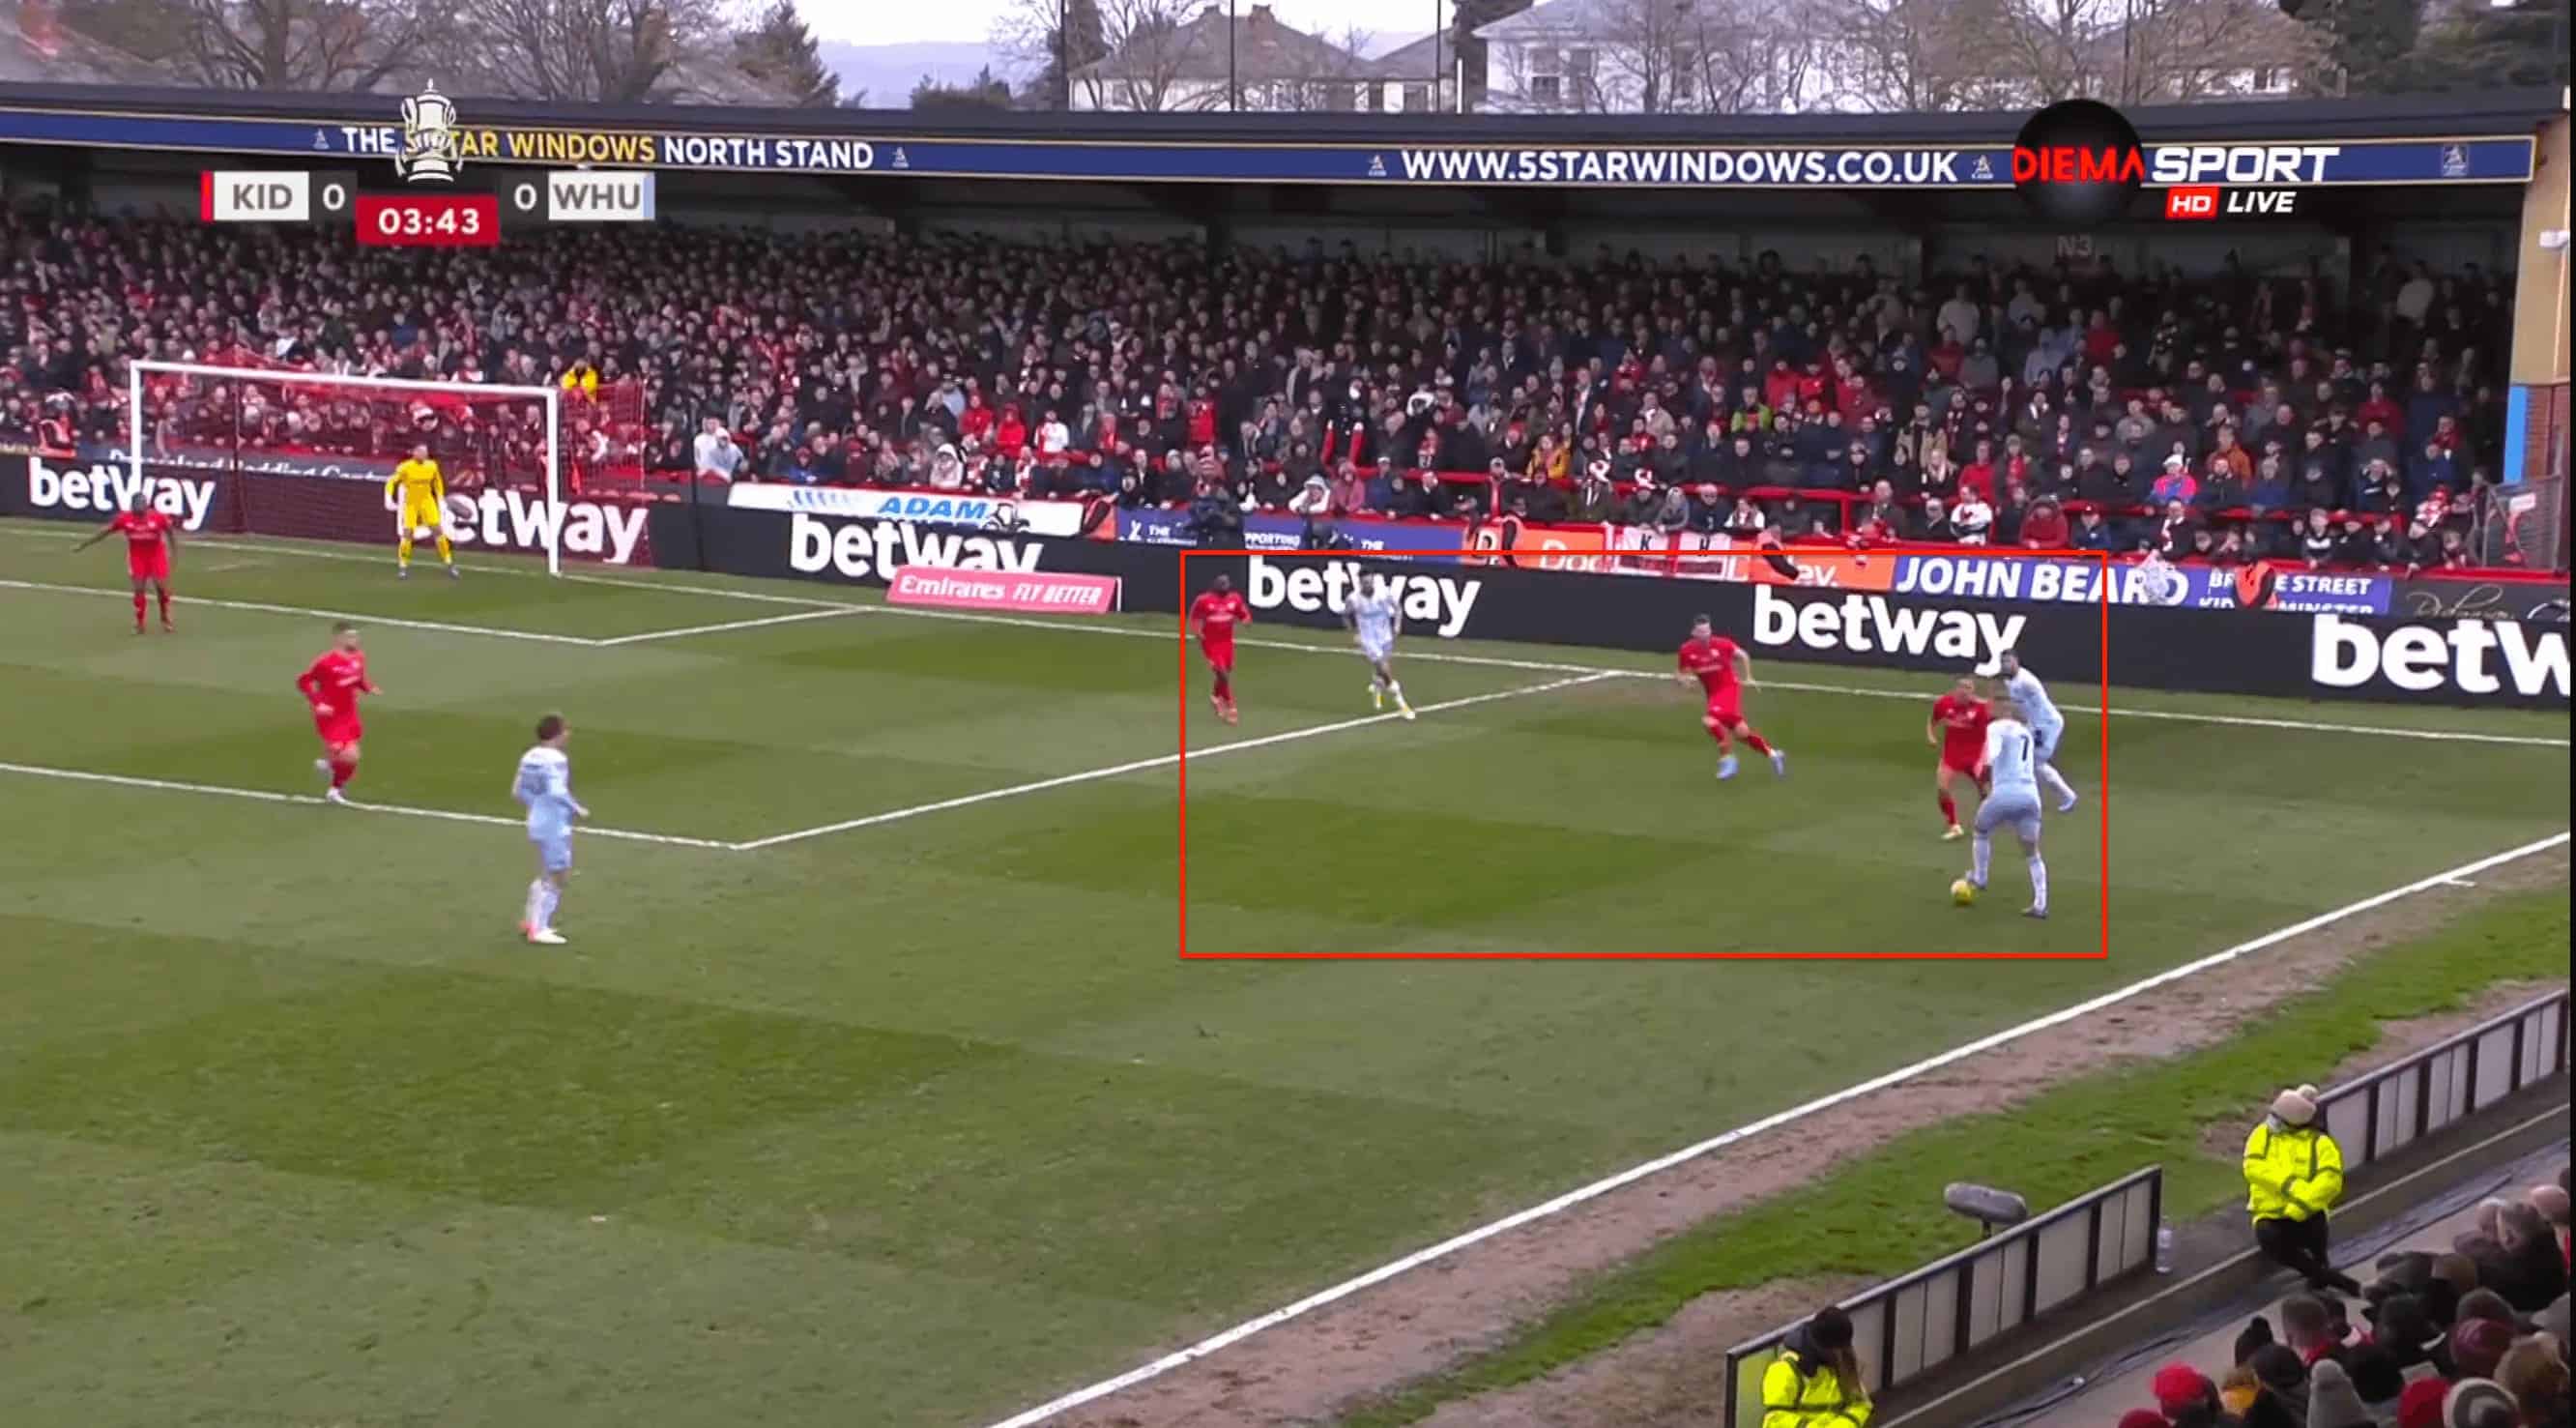
This allowed West Ham to come a little forward, especially their centre-backs and defensive midfielders, but they did not have the quality of ideas to break down the stiff low block that Harriers made.
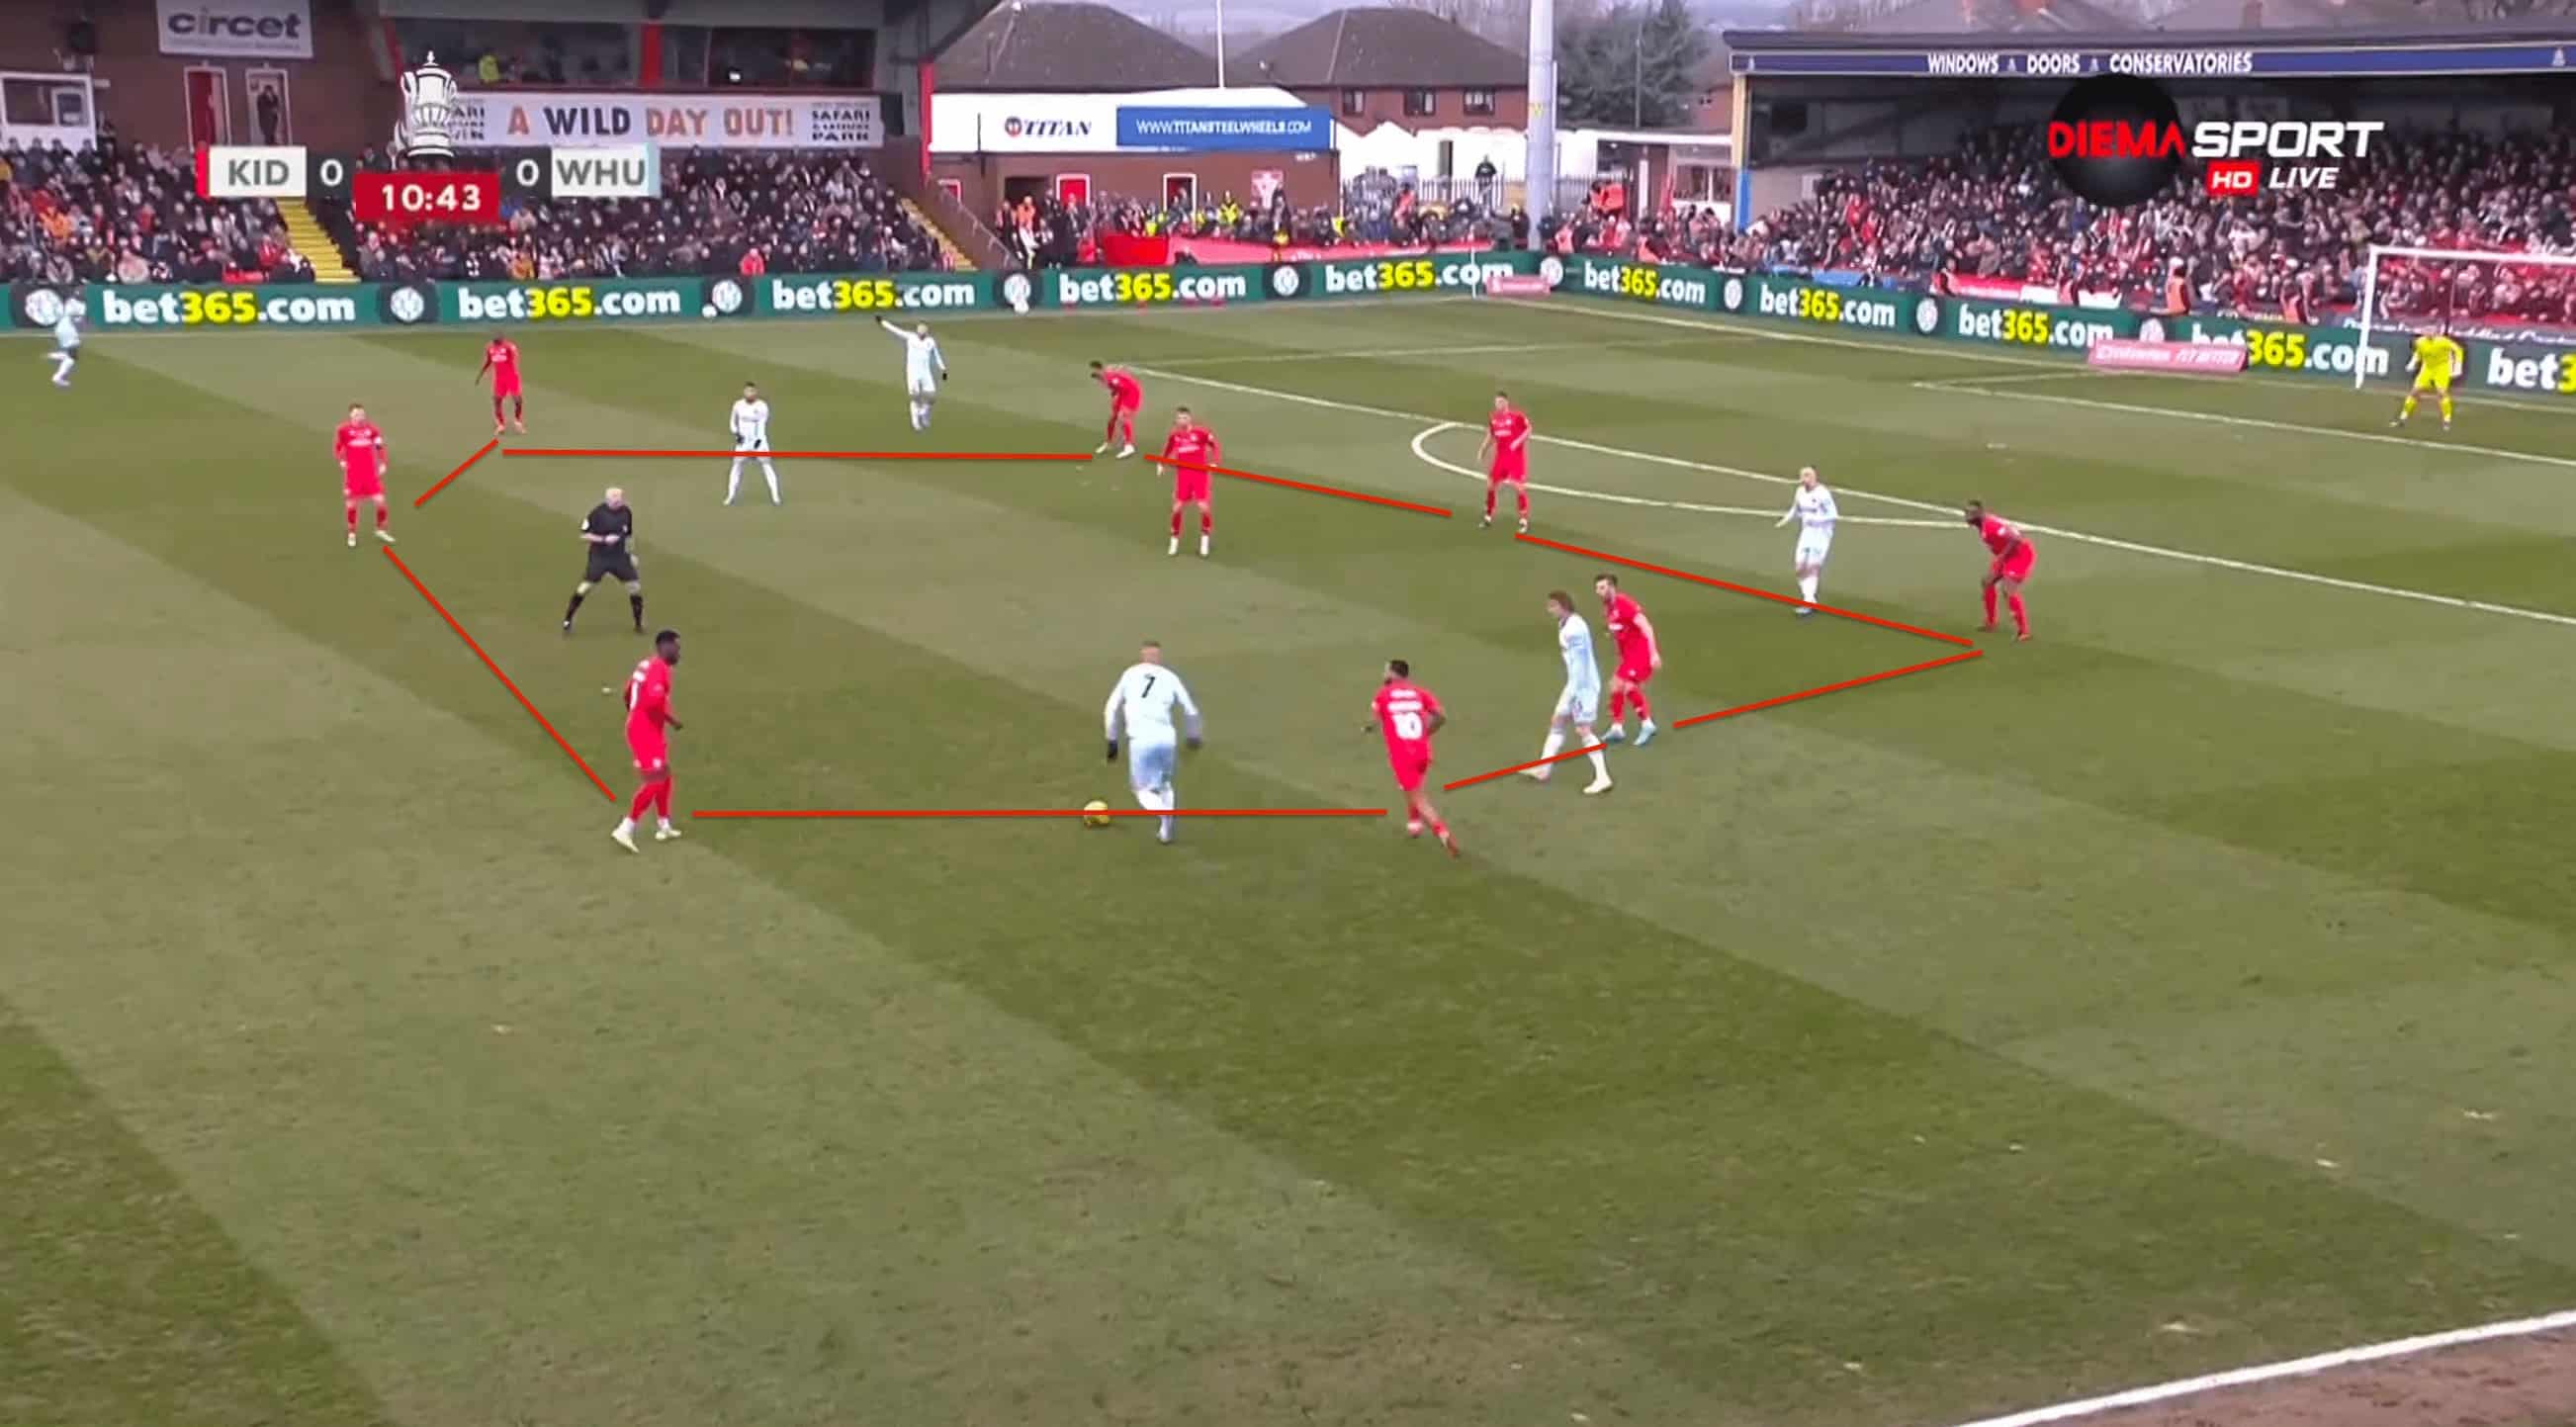
We can see an example of the low-block in the image below.
The block was also compact in nature, with gaps being covered nicely between the defenders.
Whenever the West Ham players looked to bring the ball to the centre, the Harriers would nicely form this compact block, like in the image below, and defend well.
They also shifted to a 4-4-2 mid-game when West Ham decided to drop Mark Noble deep and look to build play.
This was done to keep the numerical inferiority to just 1 and also so that they could afford to do it without really having to worry about the space behind them.
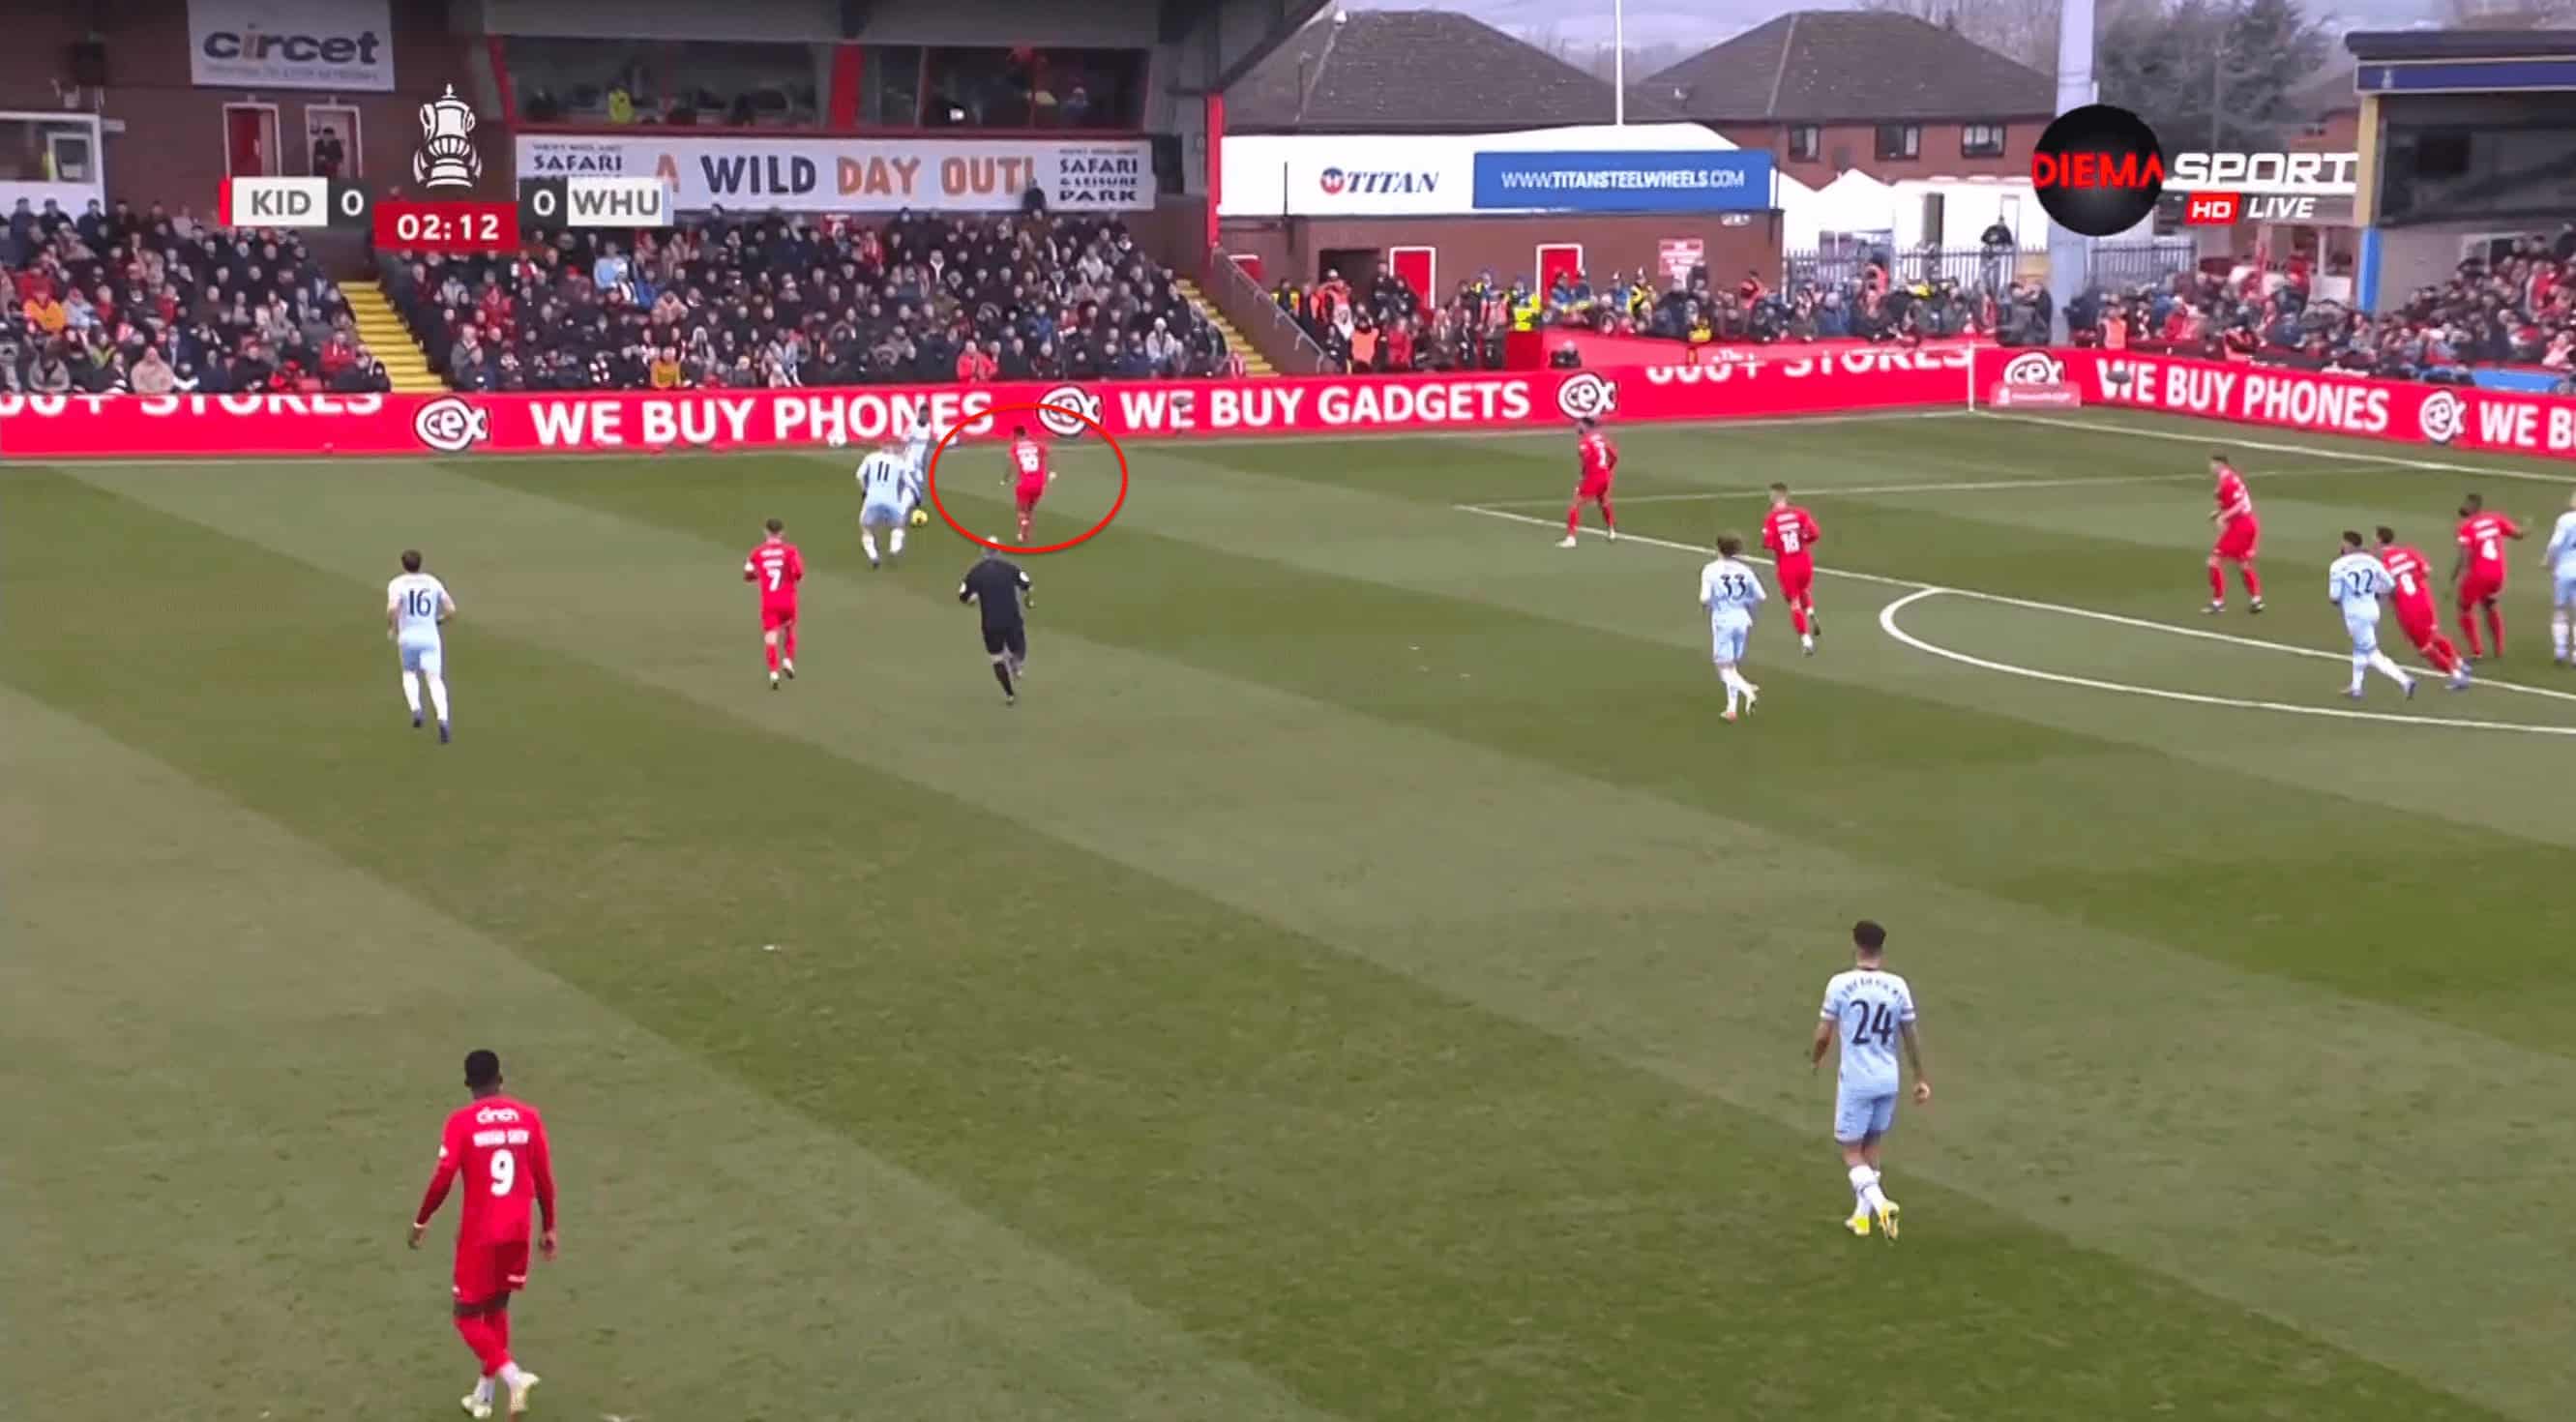
In possession, Harriers decided to go long and play direct which is understandable given the strength of the opposition and also to be much safer in possession.
They had a very strong and tall forward in Morgan-Smith, who would, for this reason, be the main receiver of the long balls from the goalkeeper.
Here’s an example of Morgan-Smith reaching for the aerial ball first and looking to play it to one of his teammates on either side.
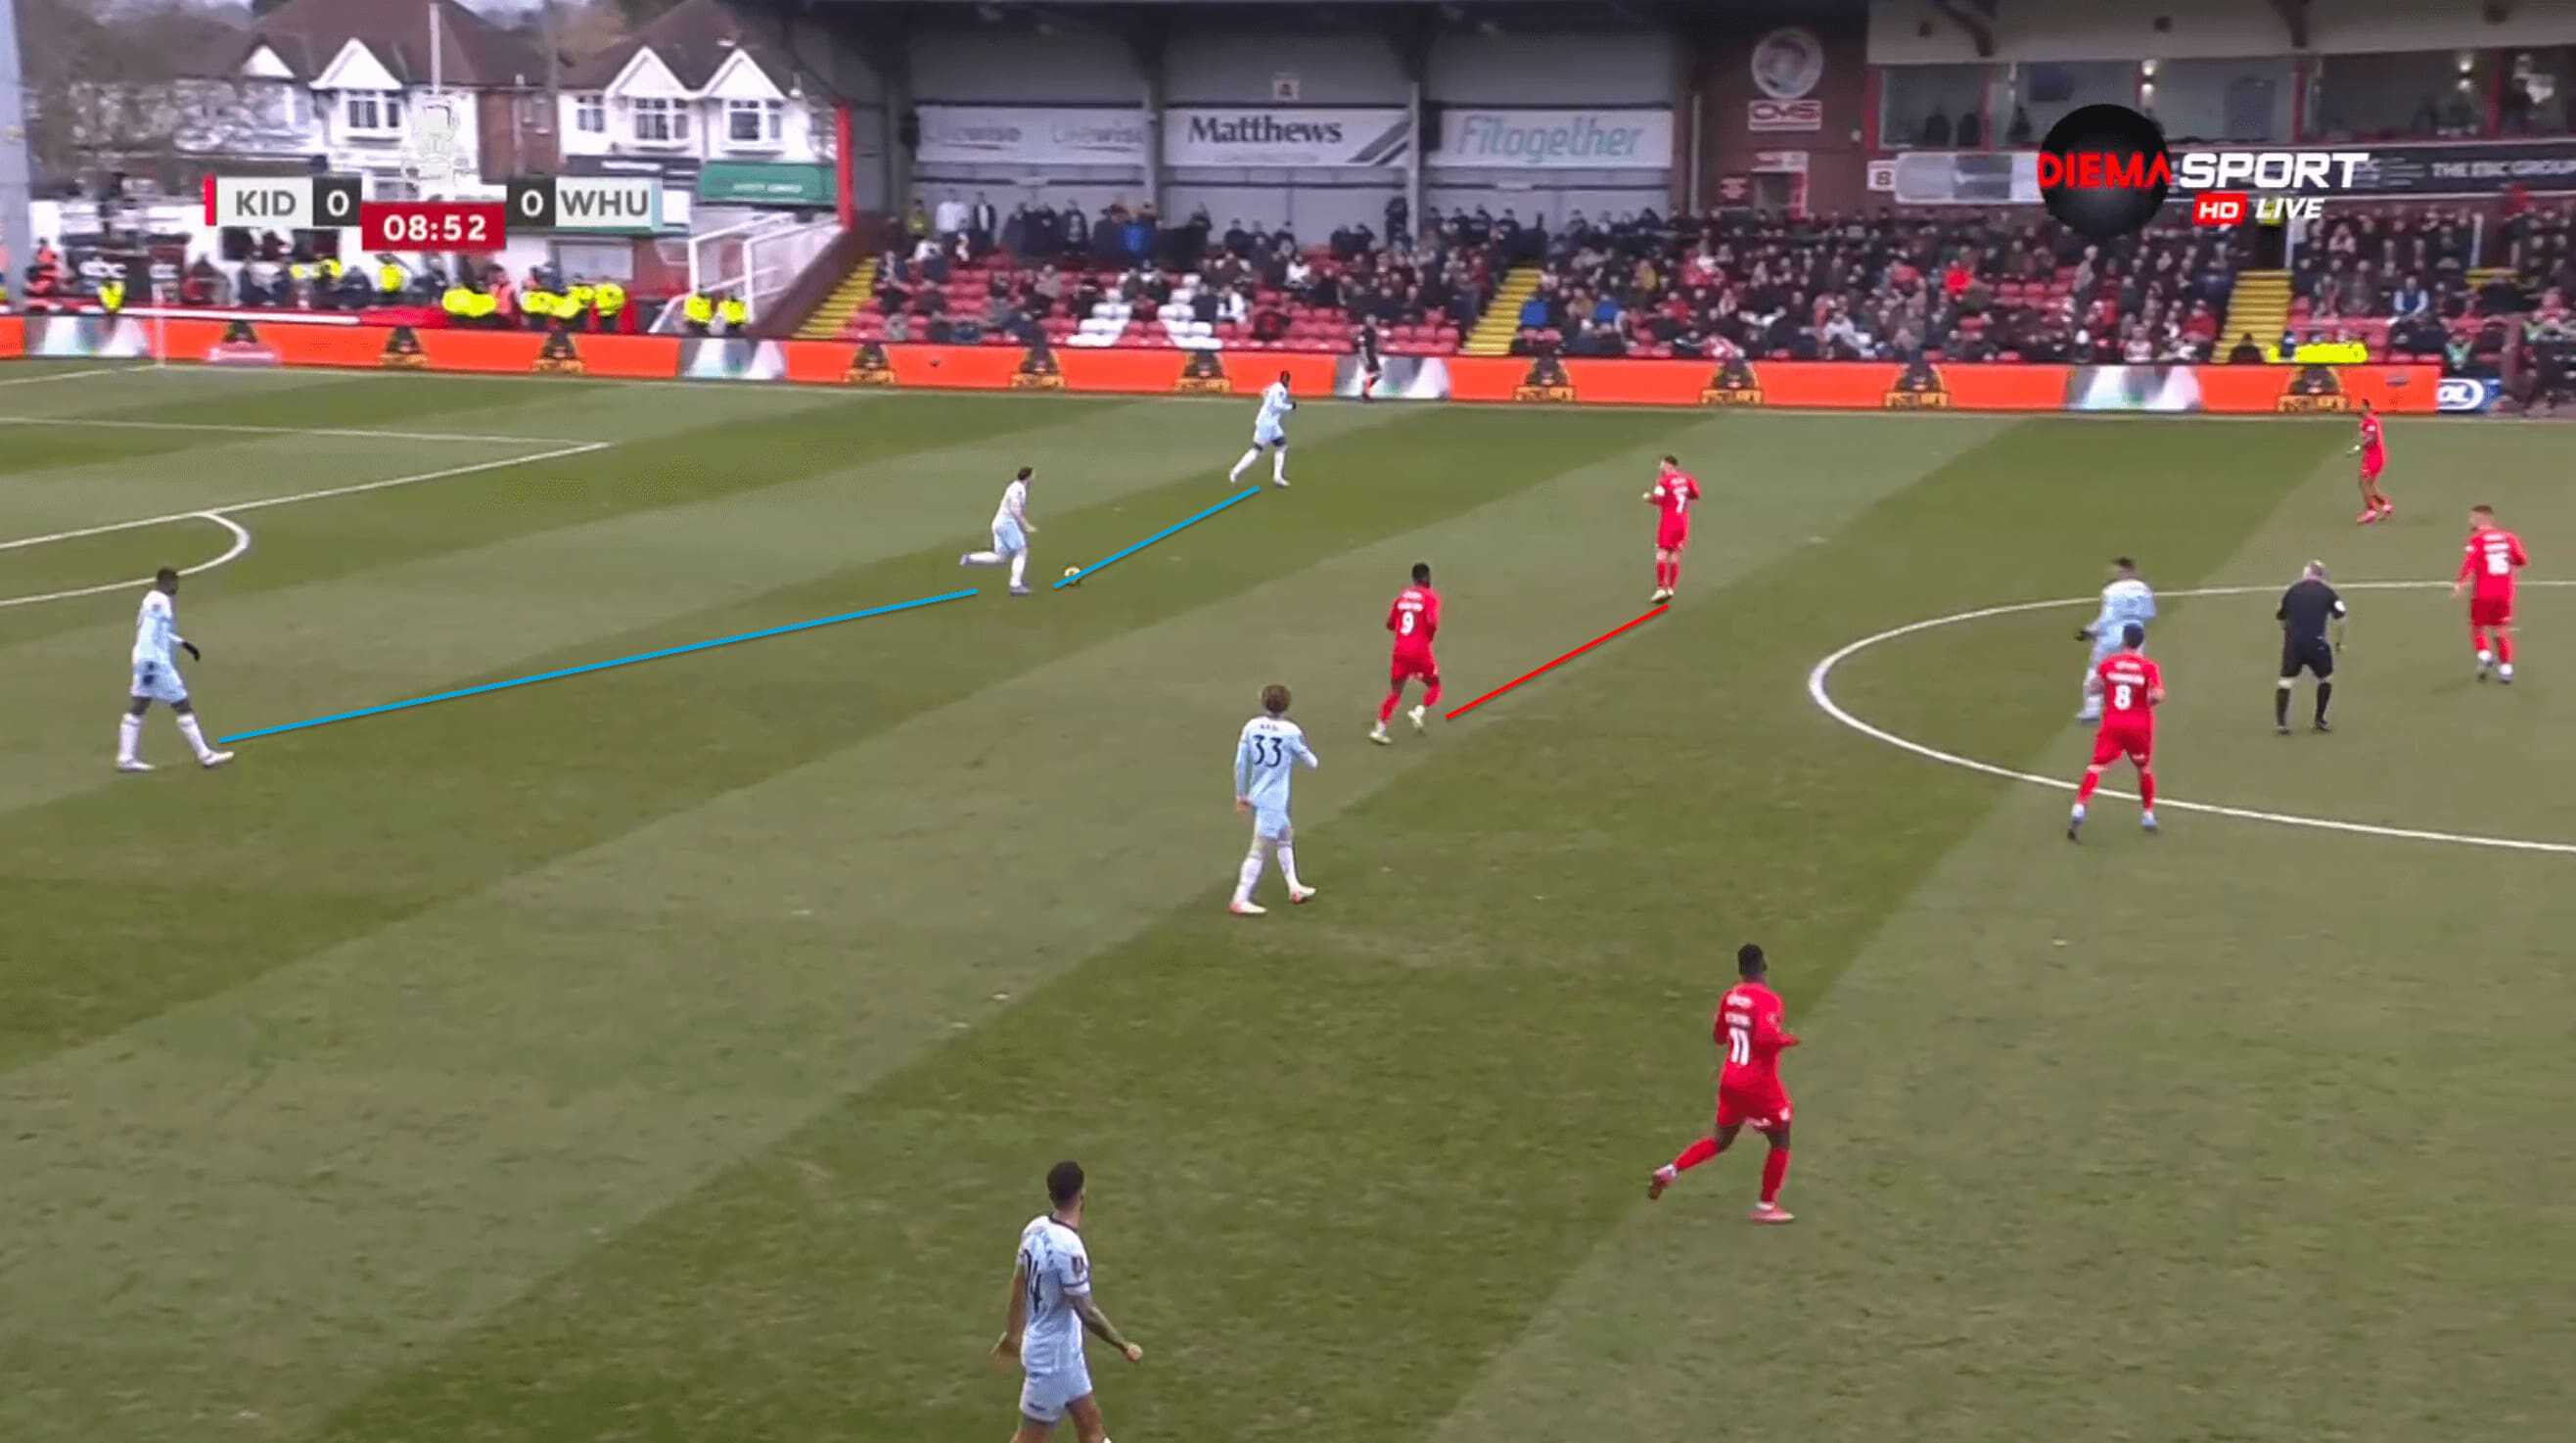
The main idea of playing long was to immediately make good use of the second balls and immediately counter-attack.
The players were positioned exactly at the right place for this and looked to reach towards the ball quickly.
The key thing here is also the runs that had to be made by the players around the one who goes to the ball as they needed to quickly recognize that and make forwards run behind the defence.
This can be seen in the image below as an example.
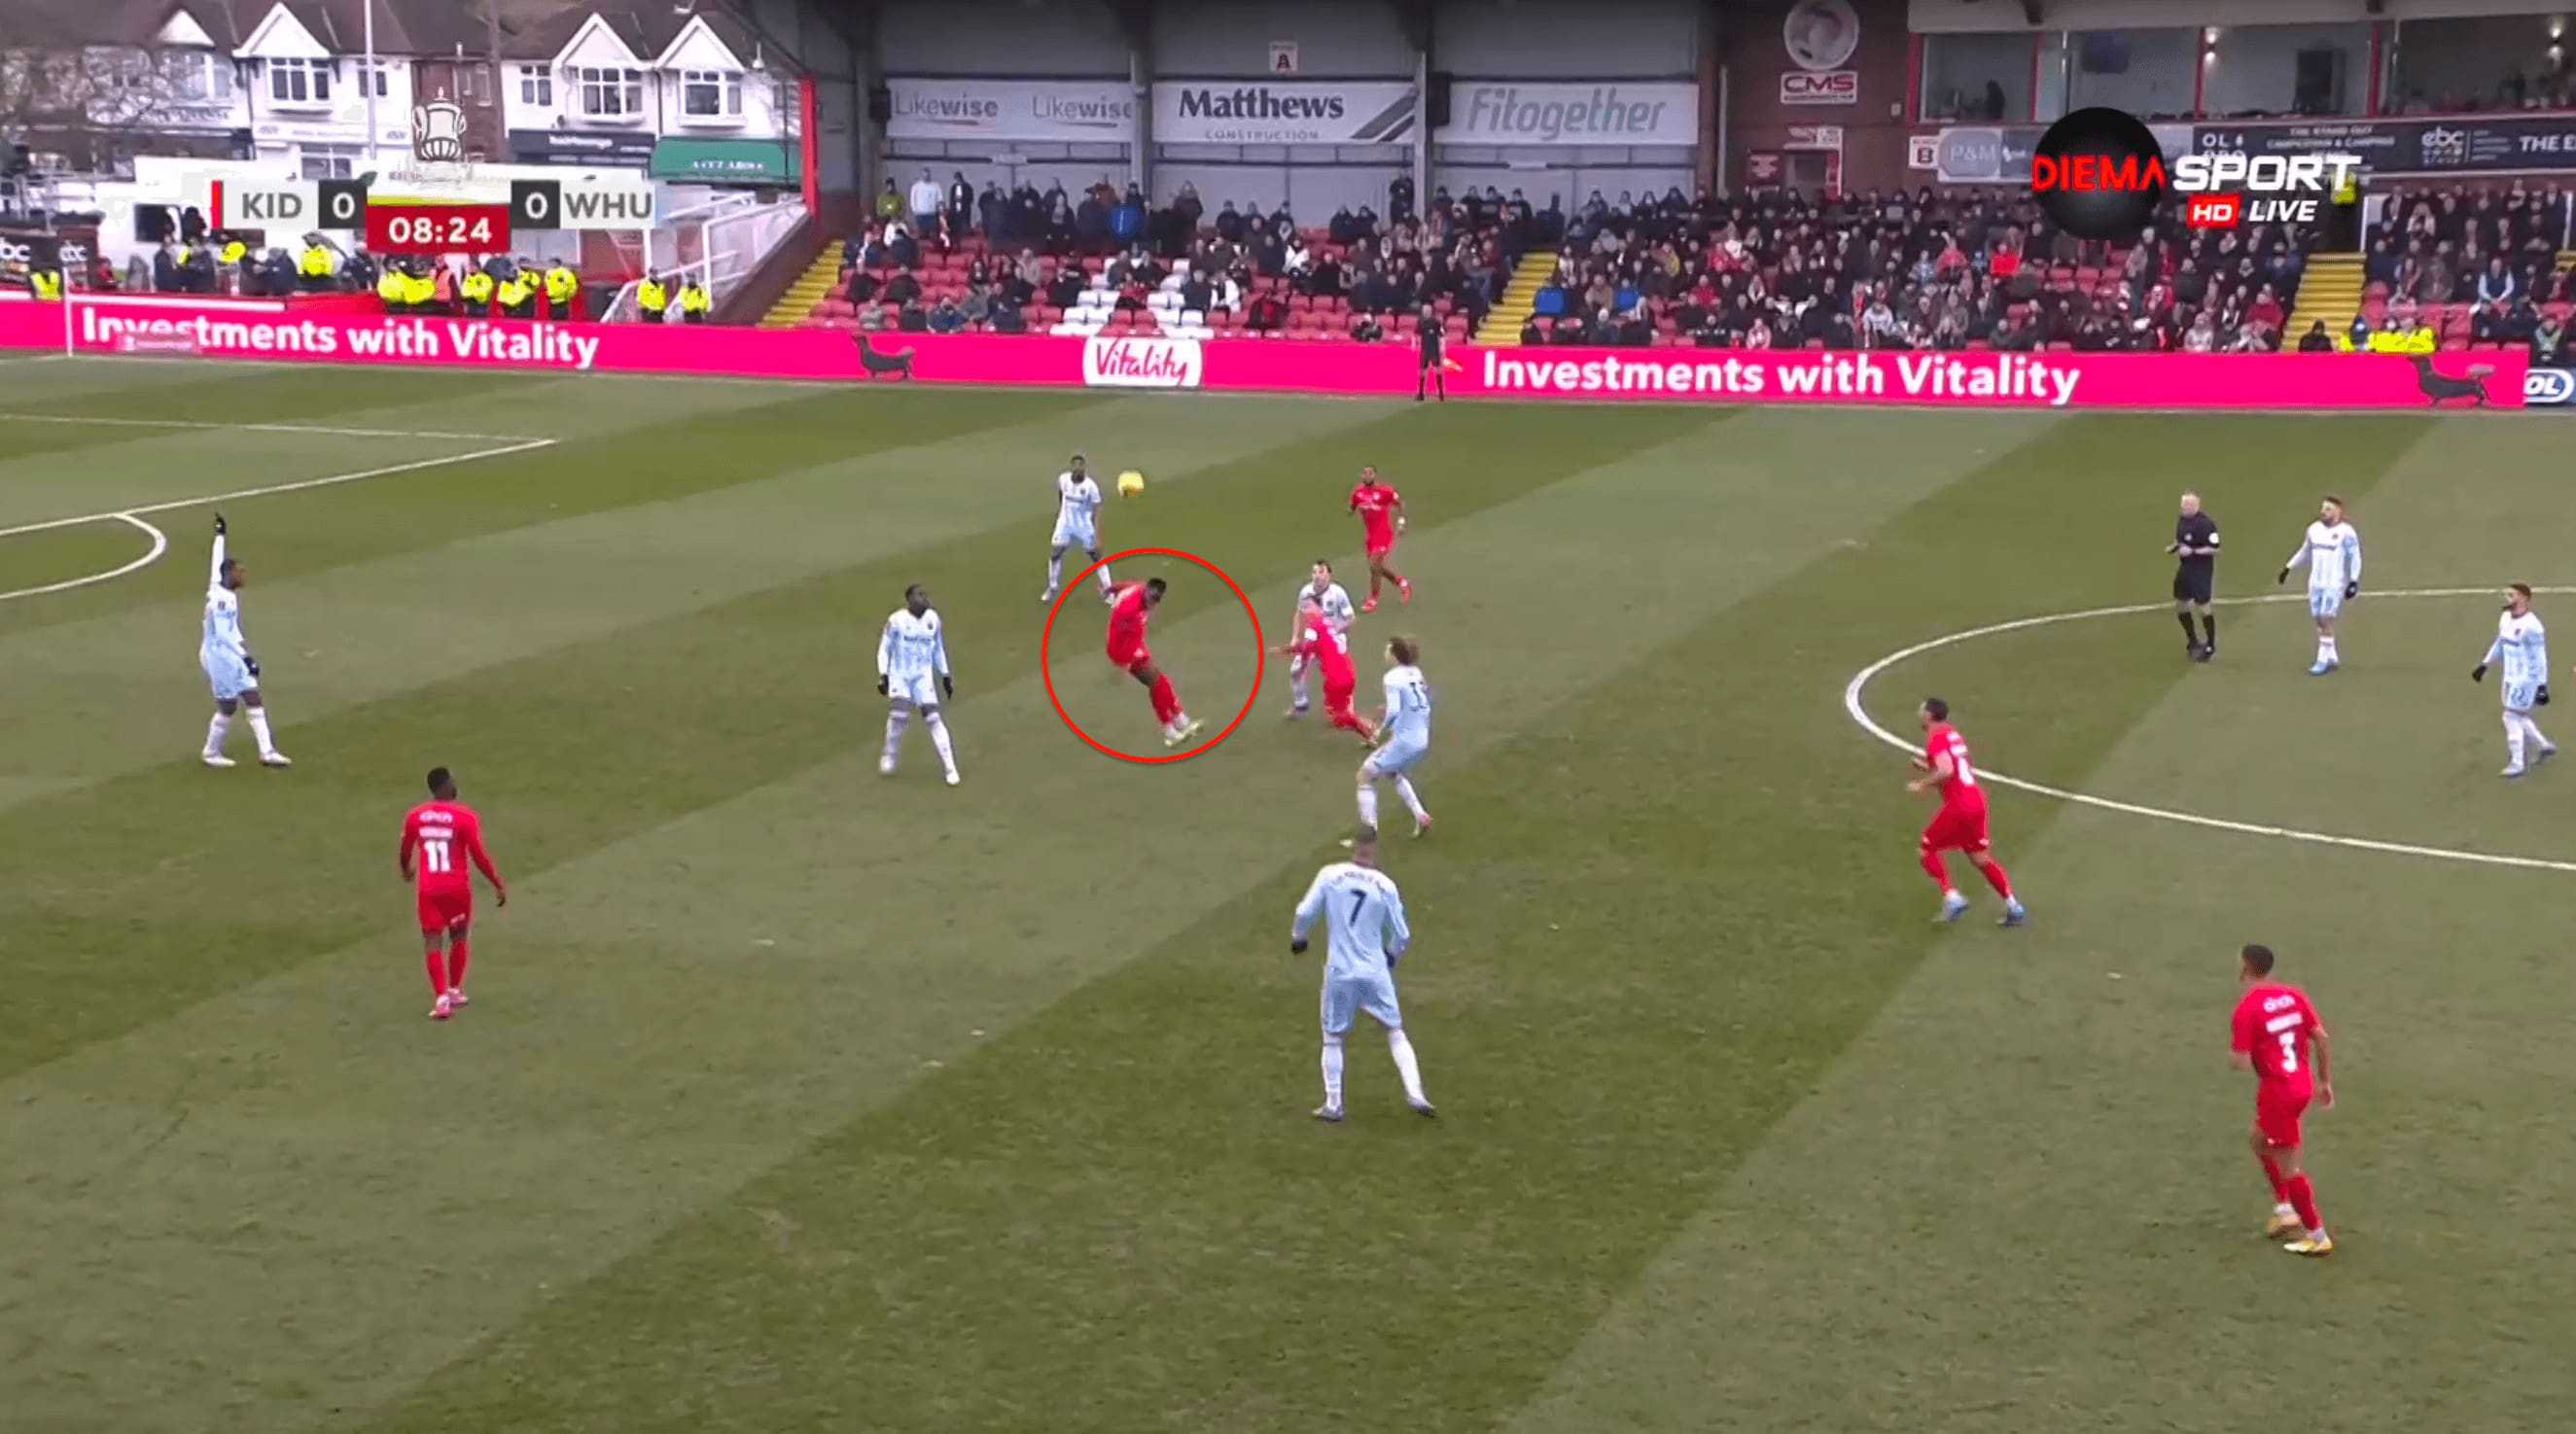
Morgan-Smith’s strength was also used in the game.
He would look to hold the ball when it was being played to him and against one of West Ham’s centre-backs and immediately lay it off to a runner beside him.
This also happened in numerous instances as Harriers looked to attack using these ways.
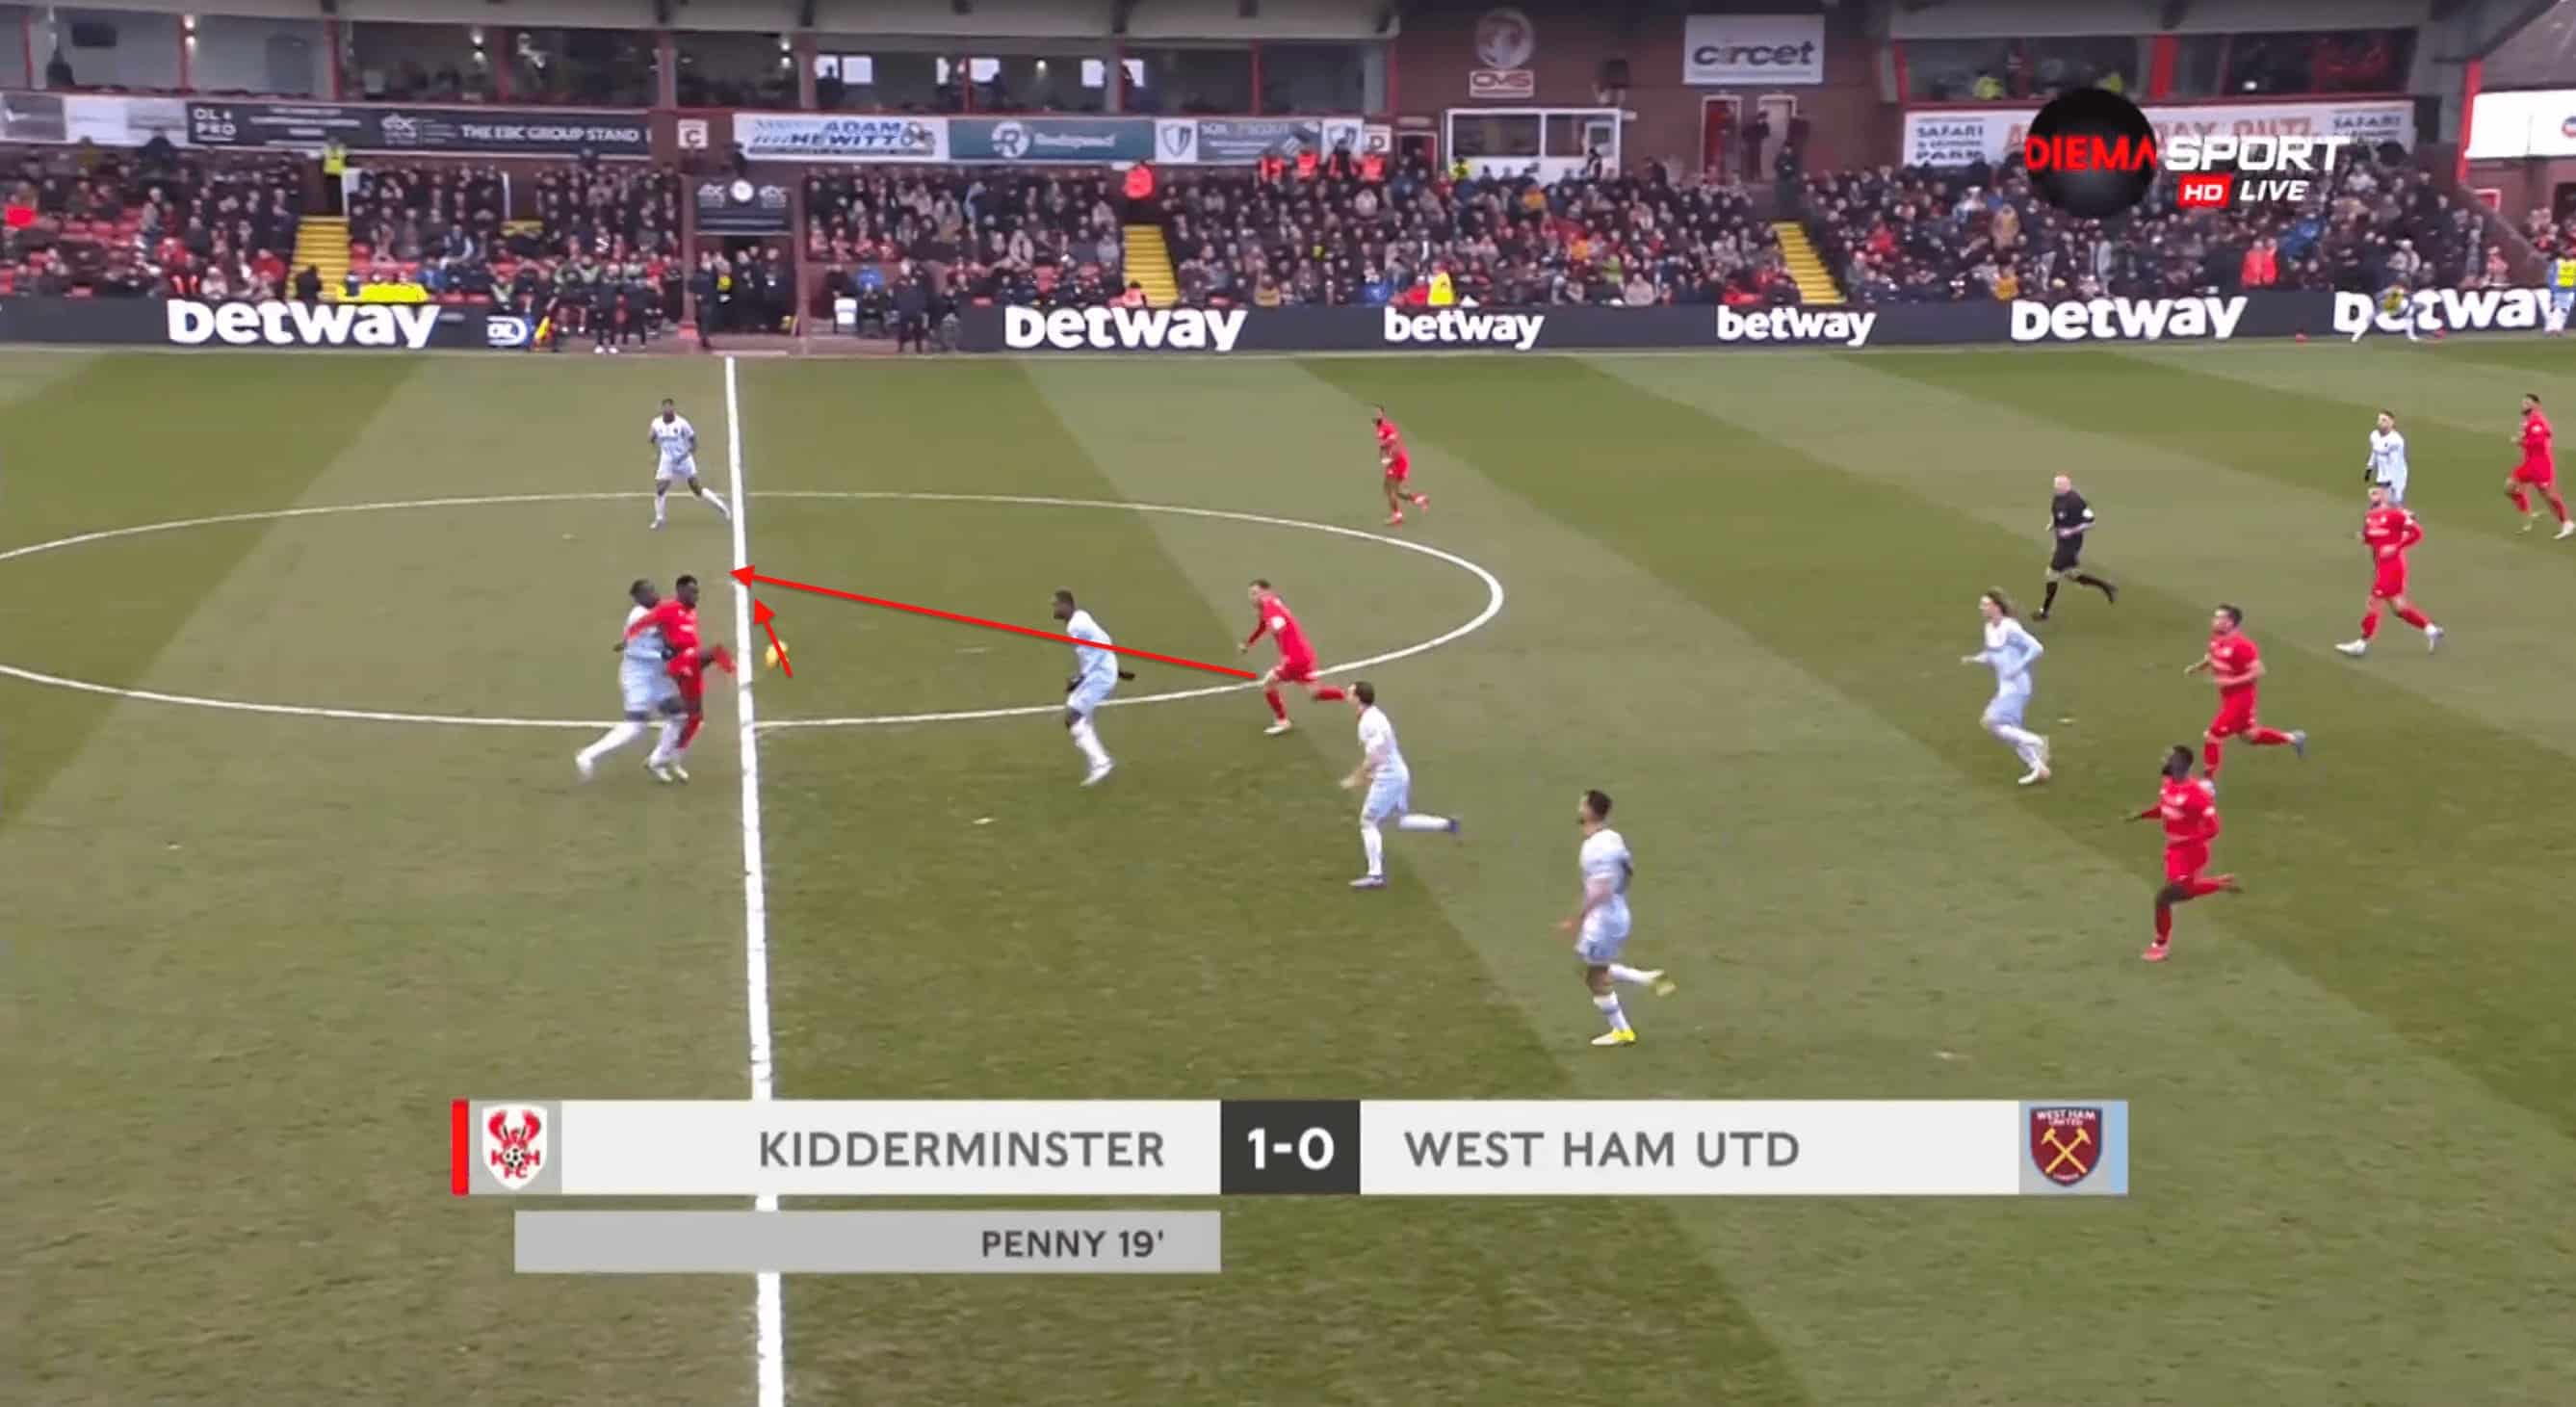
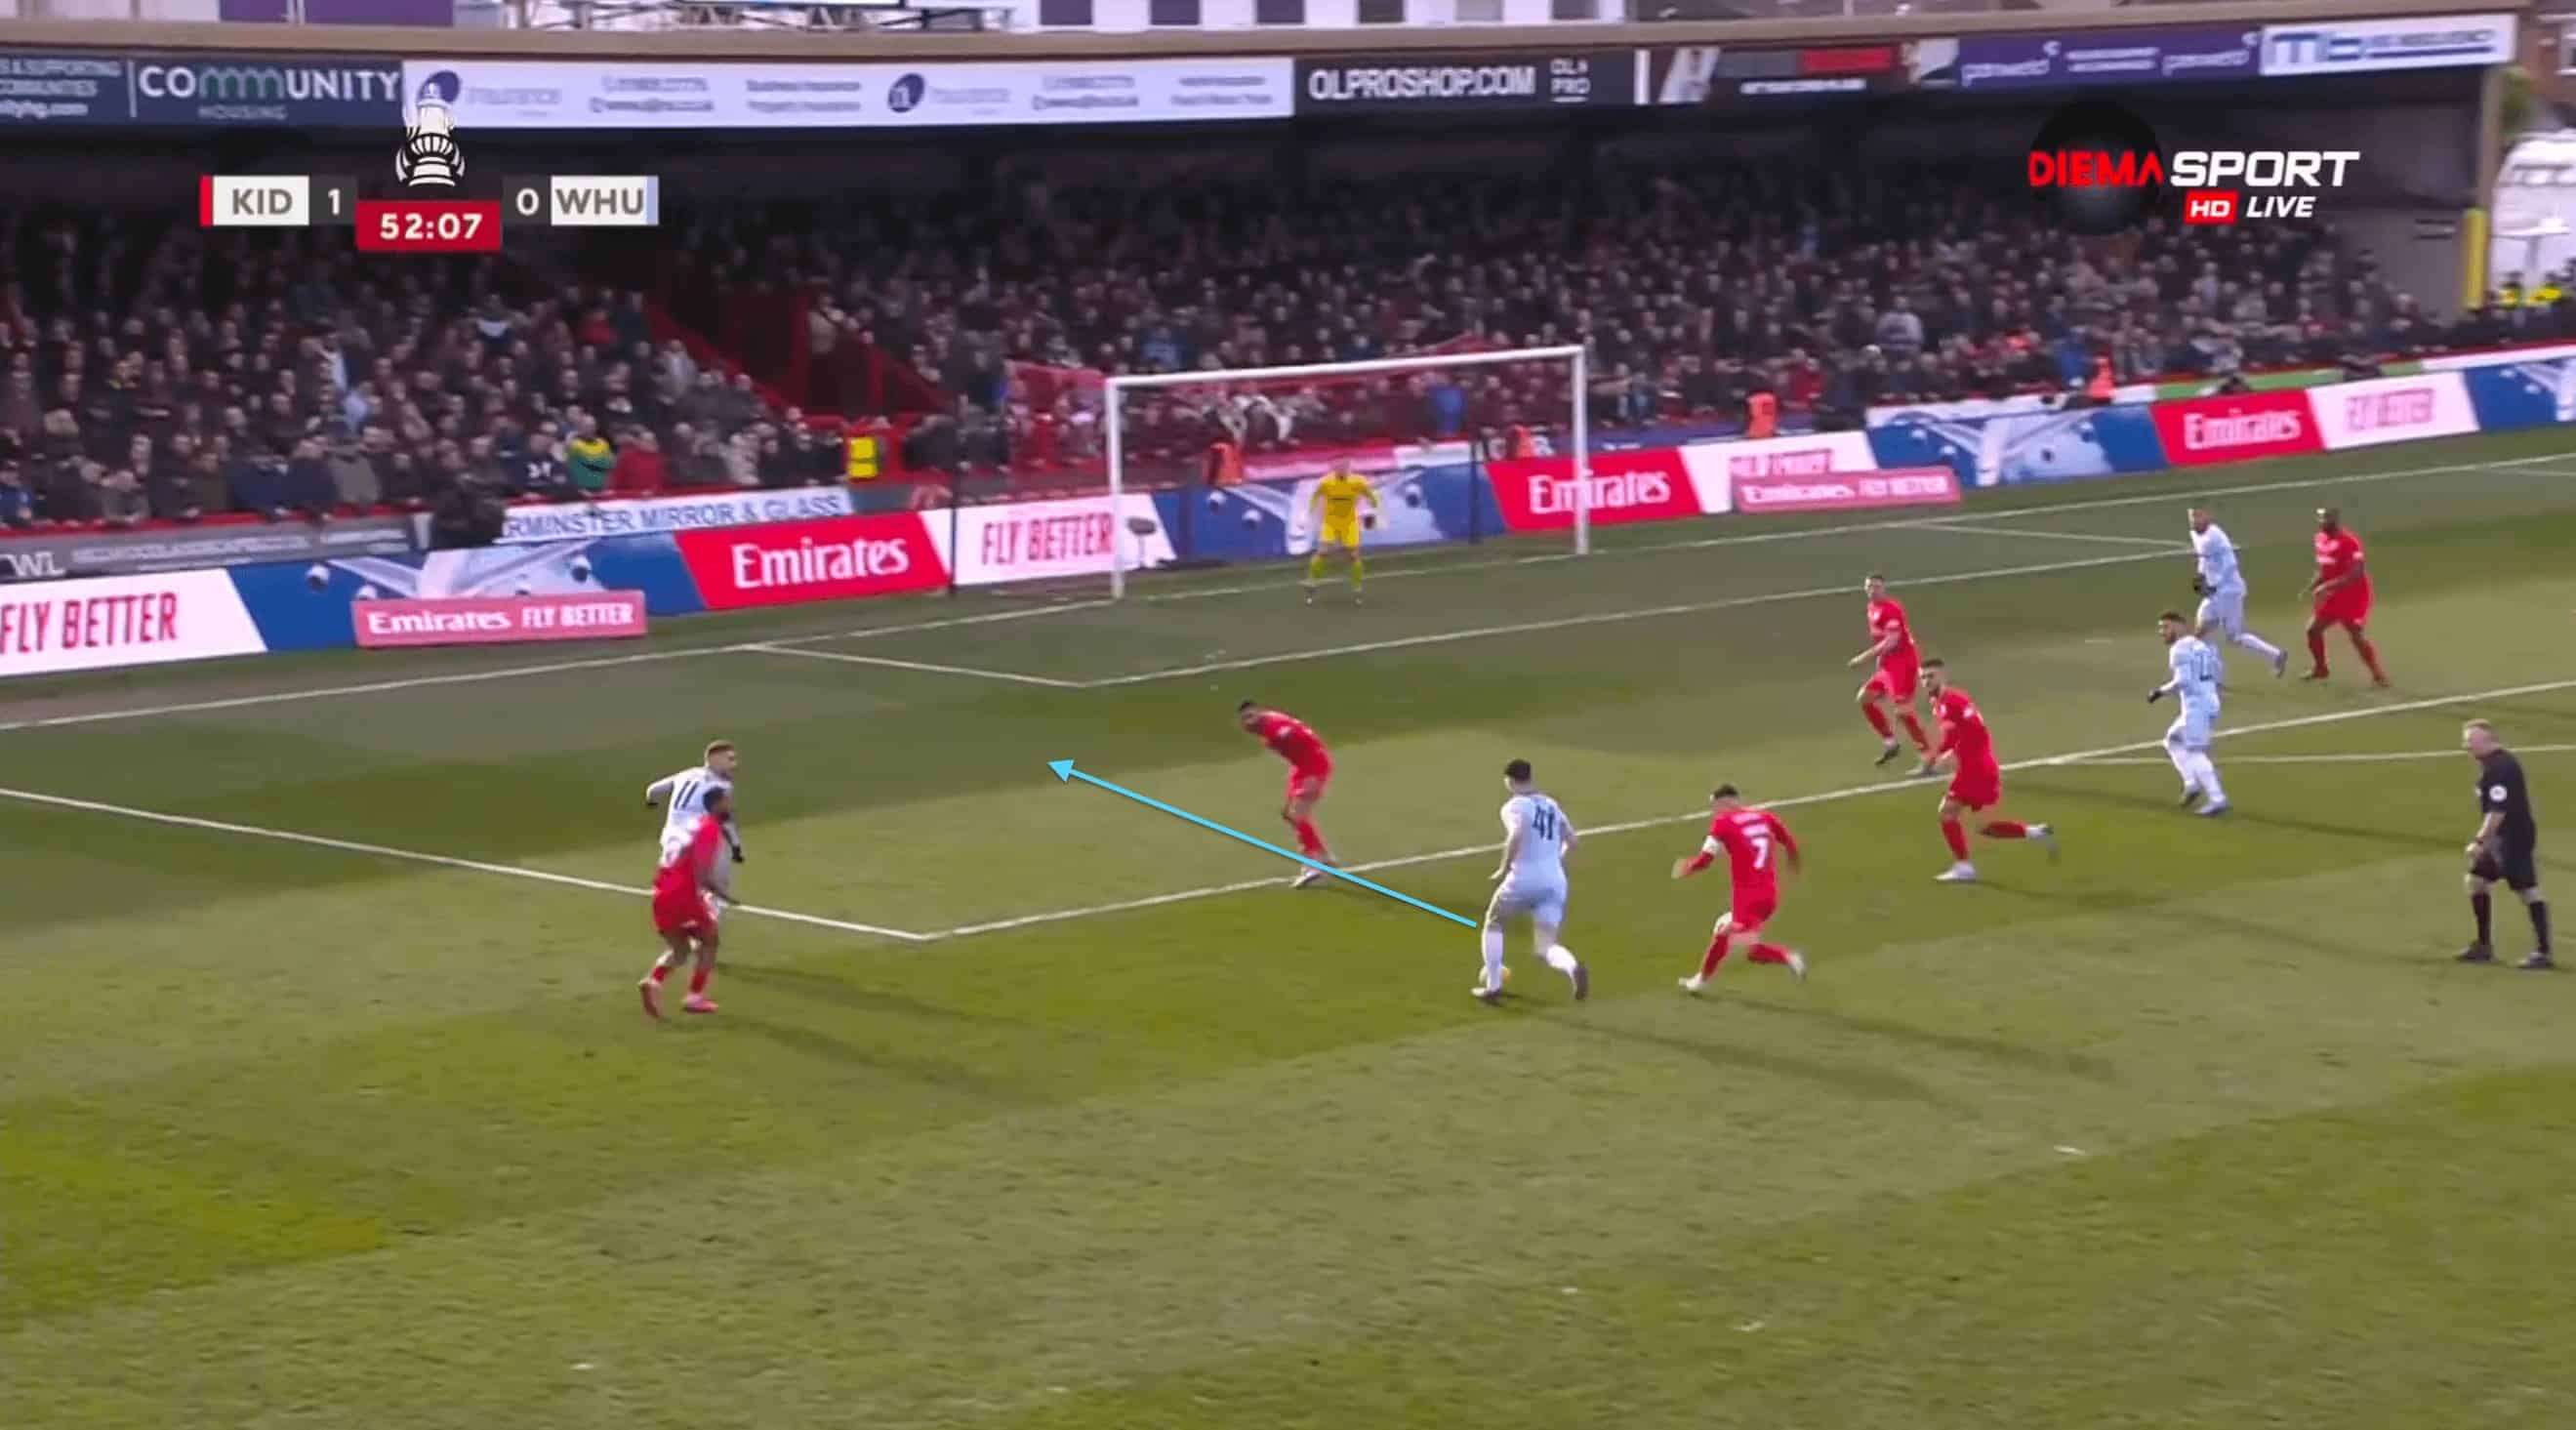
Harriers also looked to find gaps in West Ham’s defence, especially after a counter-press when the Hammers’ defence looked disjointed.
They would then have the opportunity to play through West Ham’s midfield, which was also seen after the arrival of their midfield lynchpin Declan Rice.
The image below shows how the Harriers’ midfielder has the passing lane open to play a through ball straight to the feet of a forward when Noble looks to be out of position as a DM.
West Ham’s lack of quality shown on the pitch
One thing that this game indicated was a gulf of class between West Ham’s first and second teams. The usual bench options struggled to show their quality against a team outside the top four tiers of the league system.
Alex Kral couldn’t control or dominate the midfield, similar to how Rice or Soucek does it for them.
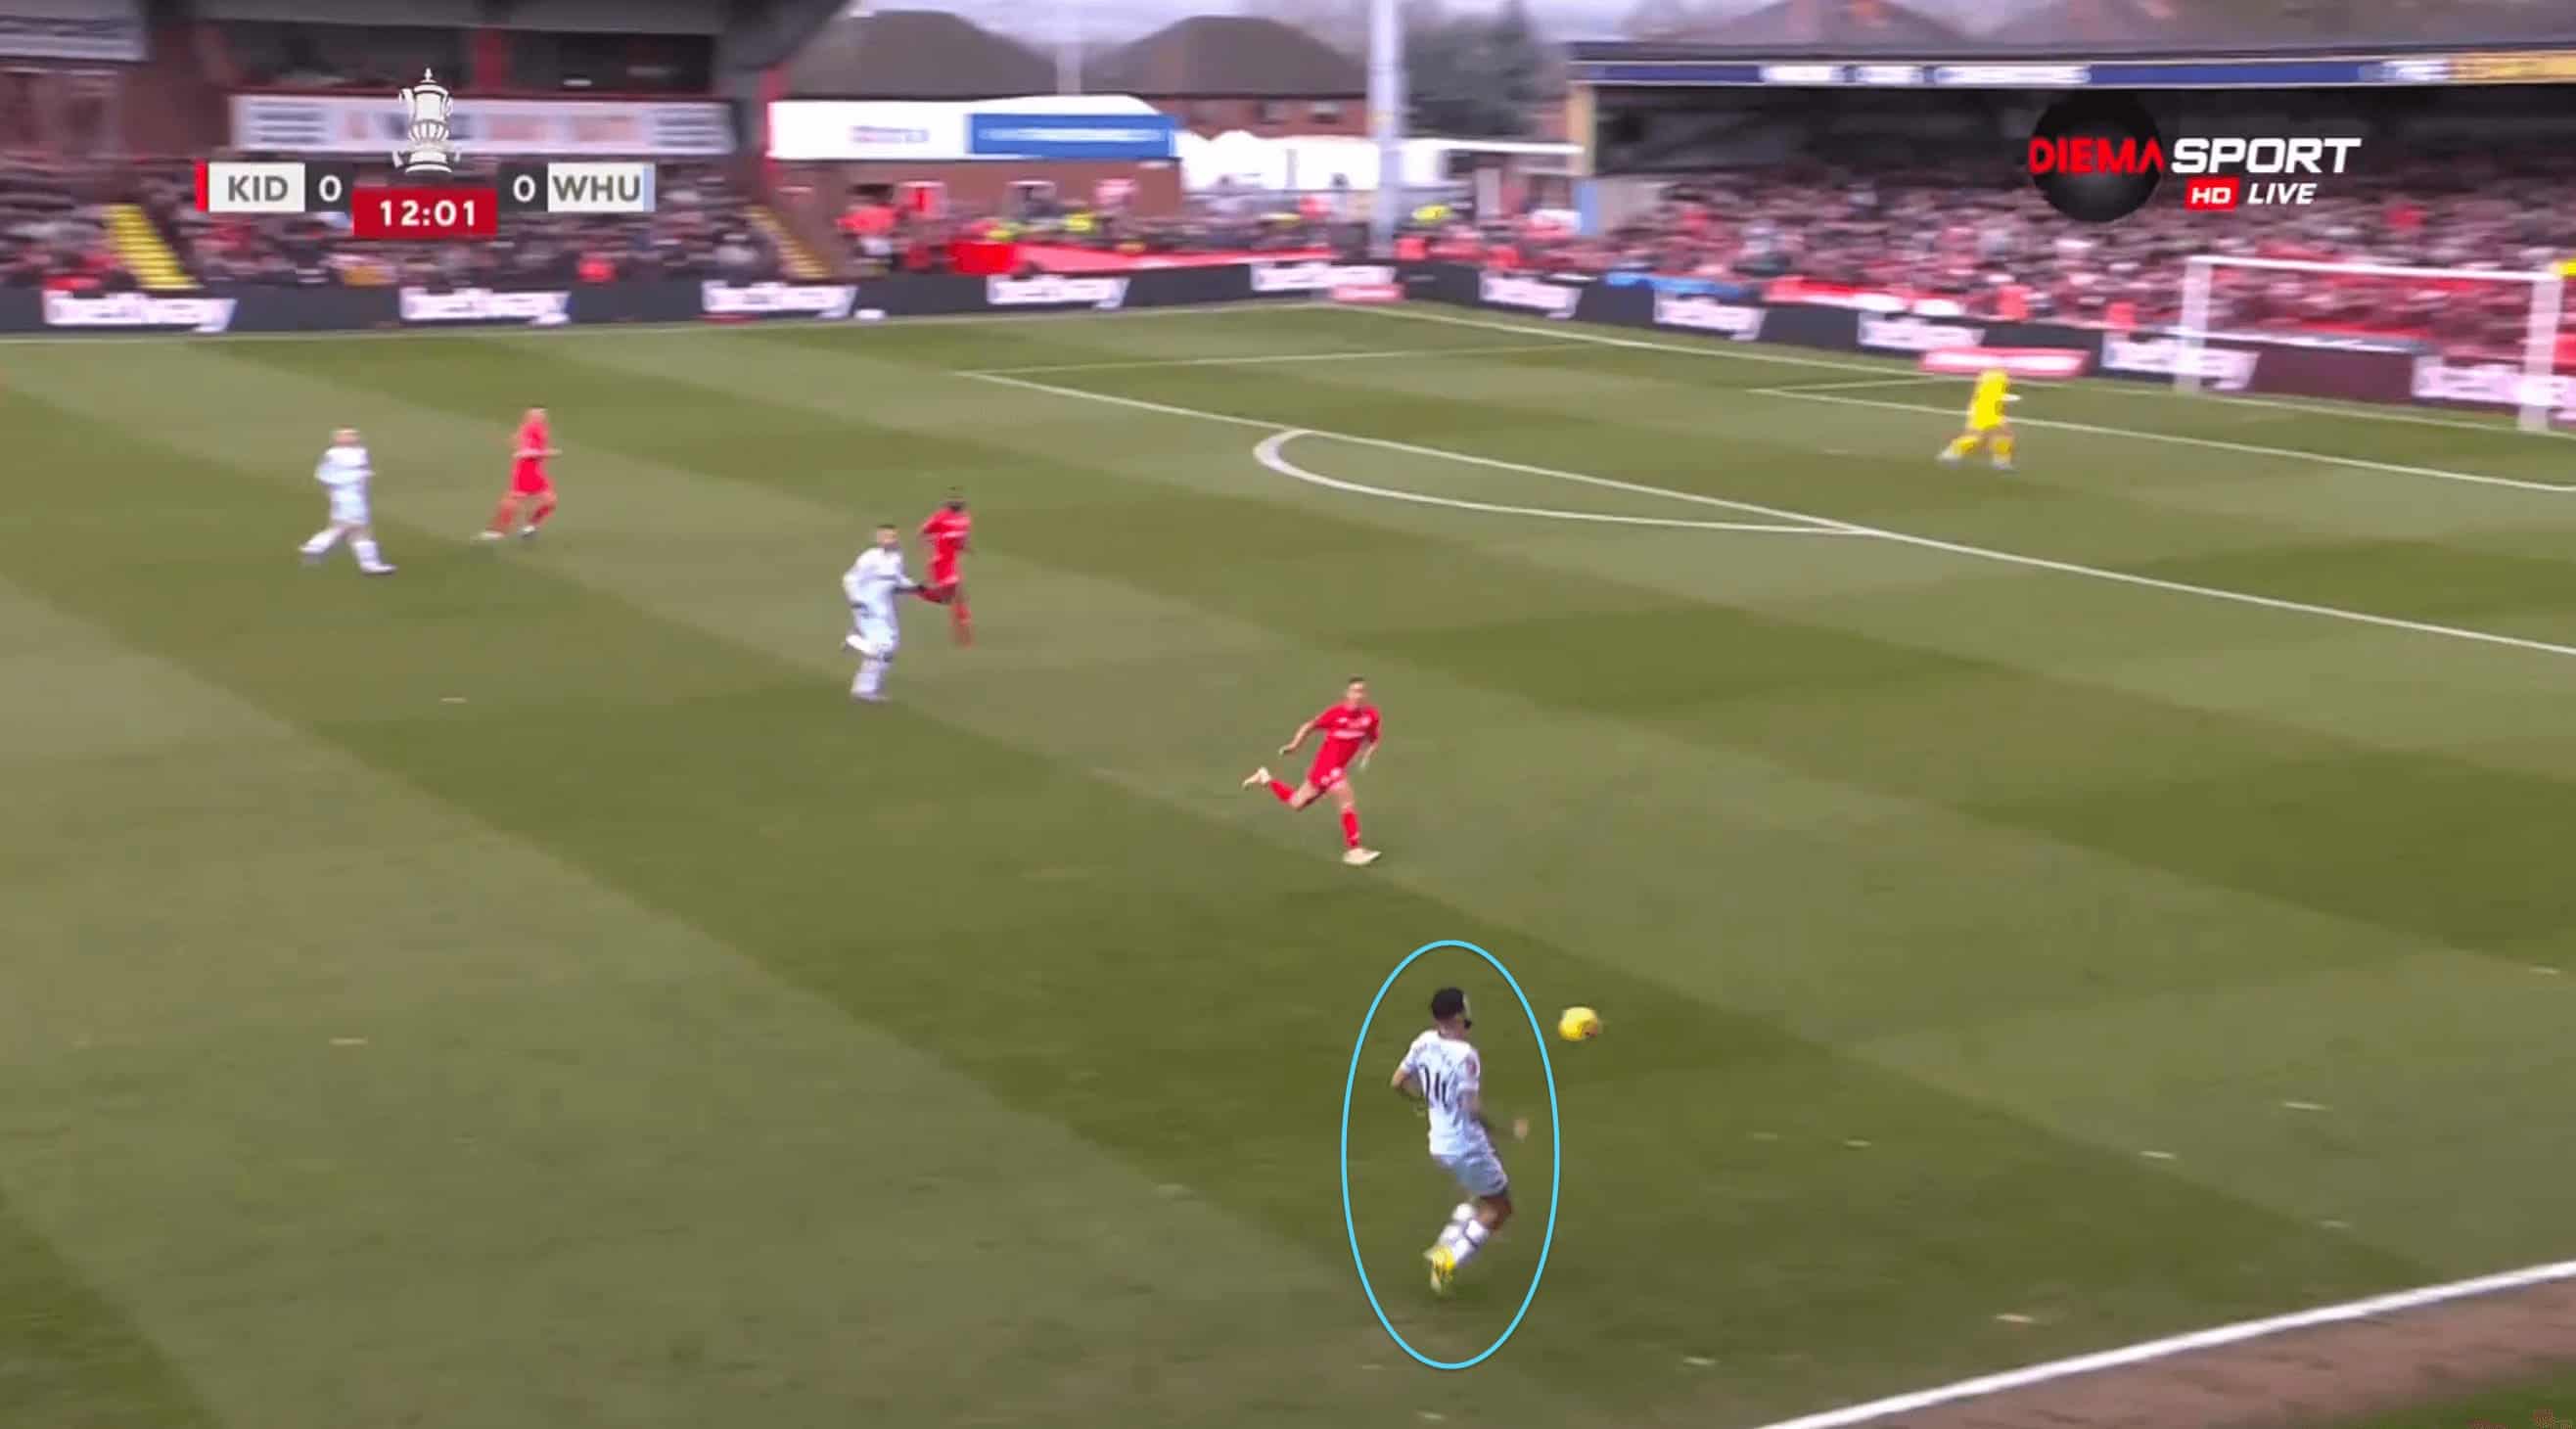
West Ham had good opportunities to attack the wide regions on the far side when Harriers set themselves very compact left huge spaces in the wings to attack.
The key thing that they lacked in those scenarios was the instincts of their first-choice full-backs to know when to make forward runs and show themselves for cross-diagonal passes from their teammates.
The image below shows Fredericks a little late to the ball played by Zouma from the other side.
If this had worked out, West Ham would have had a good opportunity to attack their opponents.
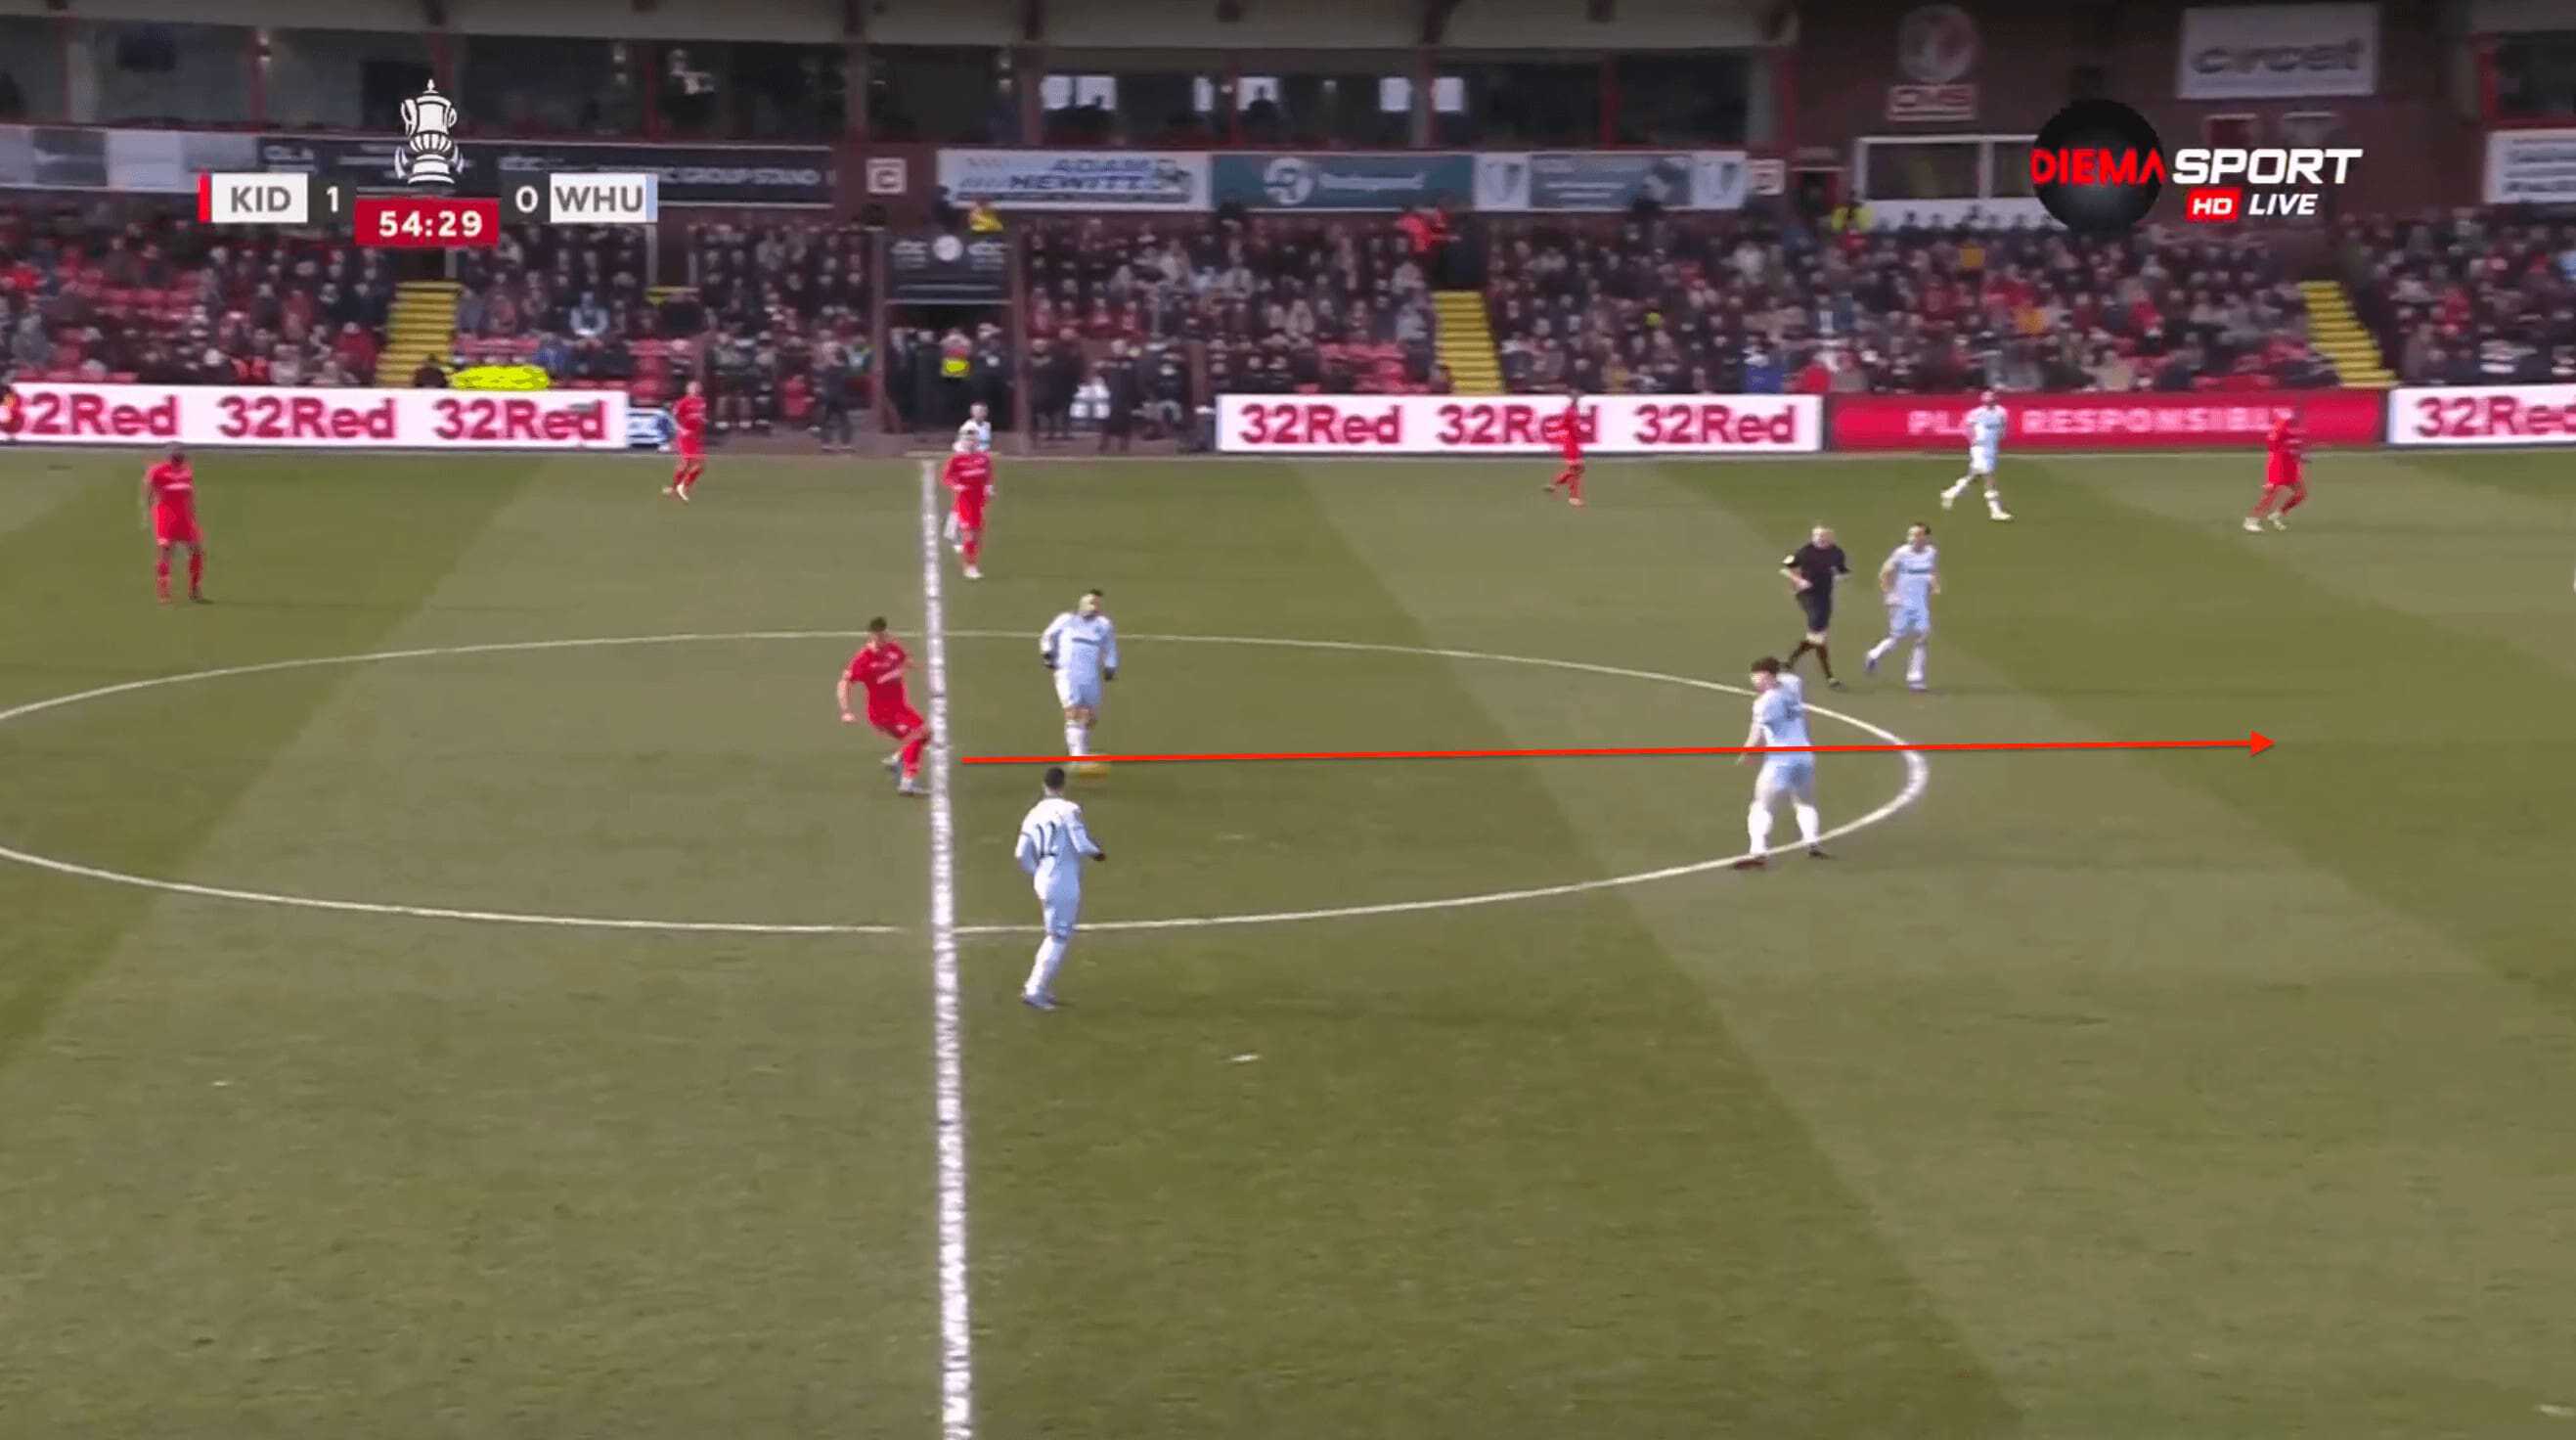
The introduction of Declan Rice really added the much-needed presence that West Ham needed to overcome their opponent’s low block.
The England international’s ability to drive forward with the ball opened a lot of opportunities for his side.
We can see an example of that in the image below, where he drives with the ball with ease and releases the ball at the right time to play a pass that would create a chance.
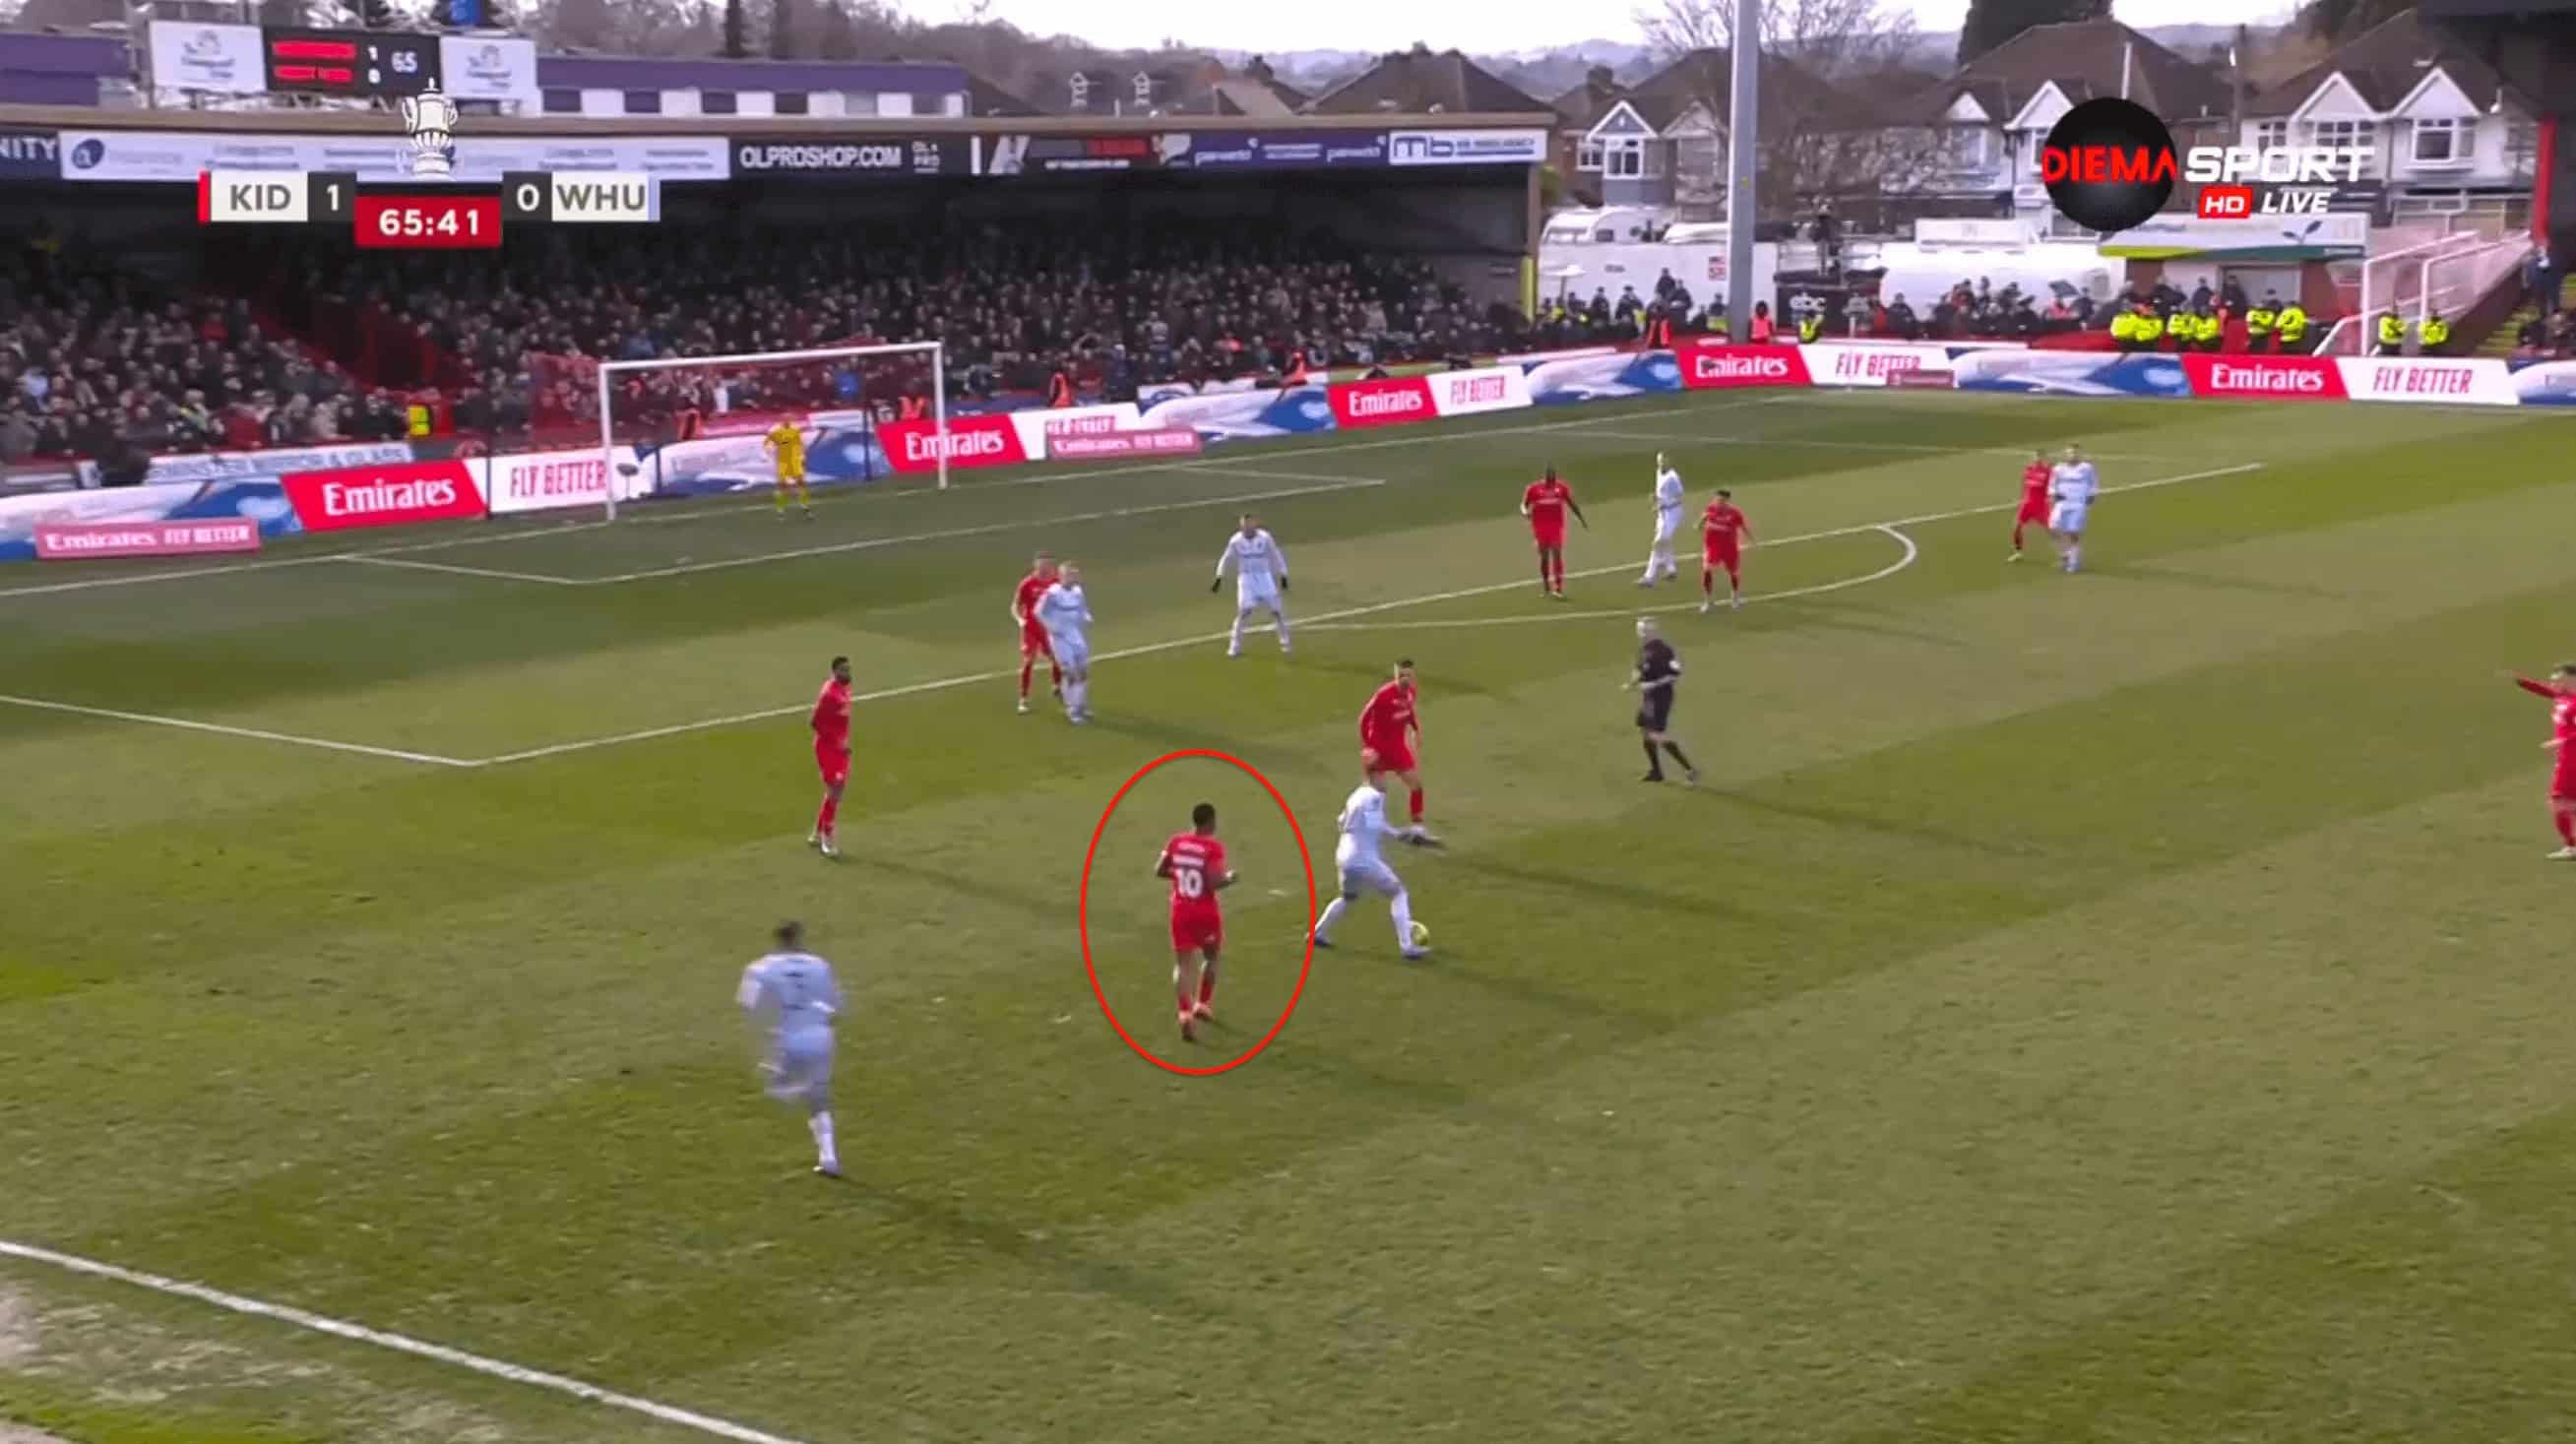
This, coupled with the fact that the Harriers looked a little bit exhausted as the game went on, played a huge role in West Ham’s coming back into the game.
The once disciplined forwards lost their tenacity that led to West Ham continuously gaining control and territory in the wings.
We can see that in the image below, where Hemmings did not follow his marker and track back, which left the full-back to defend him from an uneasy position.
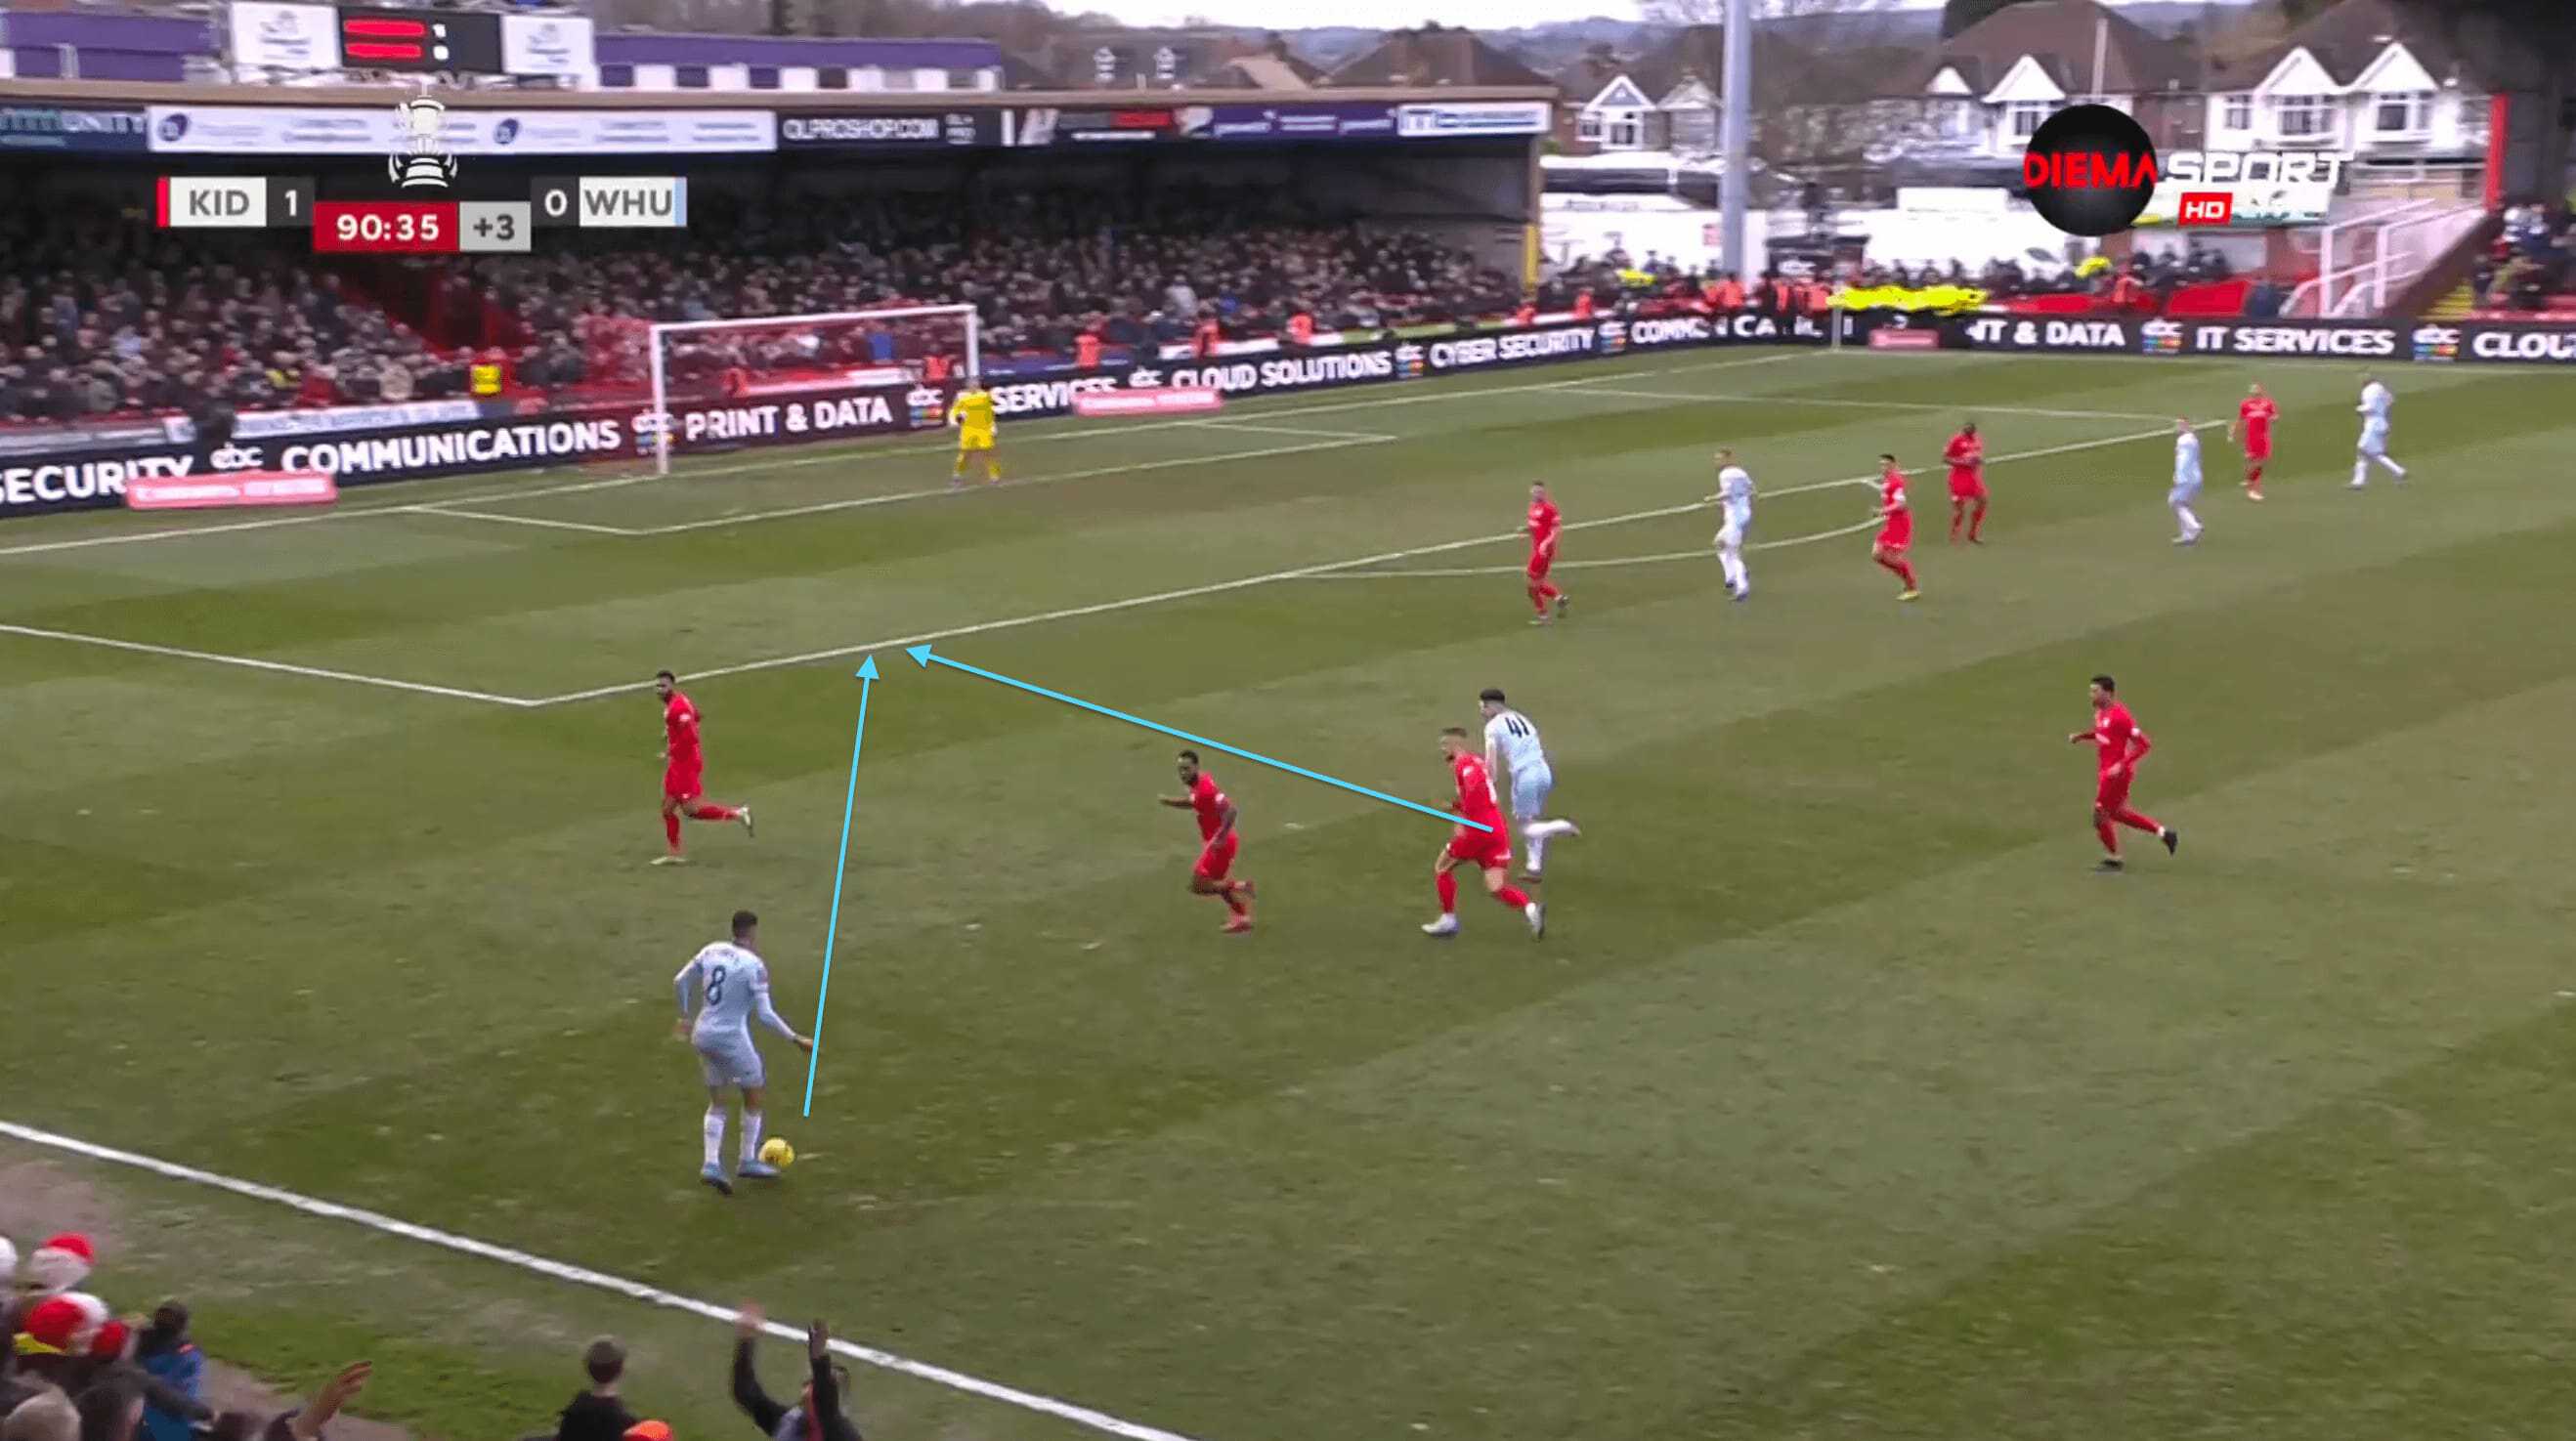
The lead-up to Declan Rice’s equaliser also saw them not tracking him. He made a very good run into the space, which his teammate found well with a very good pass.
Conclusion
West Ham managed to scrap a win after finding themselves moments away from being knocked out before a Declan Rice’s equalizer and moments away from being taken to a penalty shoot before a Bowen winner took them to the next round.
Kidderminster should be very proud of themselves. They punched above their weight to take the game to a Champions League-challenging EPL team and almost did the unthinkable.