After an exciting final against Liverpool, Newcastle United won the EFL Cup, securing their first trophy in 70 years.
In a match that Newcastle United aimed to be filled with emotions, physicality, and transitions, the Magpies triumphed as they succeeded in their objectives, securing their first silverware since the FA Cup in 1955.
Both teams struggled to create chances from open play.
Still, Newcastle United emerged victorious through their impressive set-piece plans and lethal transitions, which were exactly what Newcastle needed to turn the match in their favour.
In this tactical analysis, we will examine the rivalry between Eddie Howe and Arne Slot‘s teams, analyzing how each team attempted to counter the other during the match.
We will highlight the key tactics of both teams in open play and set-pieces in this Carabao Cup Final.
Liverpool Vs Newcastle United Lineups & Formations
Liverpool used their primary 4-3-3 formation, turning into a 4-2-3-1.
RB: Jarell Quansah
RCB: Ibrahima Konaté
LCB: Virgil van Dijk
LB: Andy Robertson
CDM: Ryan Gravenberch
LCM: Alexis Mac Allister
RCM: Dominik Szoboszlai
RW: Mohamed Salah
LW: Luis Díaz
ST: Diogo Jota
Newcastle United employed a 4-3-3 shape, which, as we will explain, varied depending on the game phase.
GK: Nick Pope
RB: Kieran Trippier
RCB: Fabian Schär
LCB: Dan Burn
LB: Tino Livramento
CM: Joelinton
LCM: Sandro Tonali
RCM: Bruno Guimarães
RW: Jacob Murphy
LW: Harvey Barnes
ST: Alexander Isak
Liverpool With The Ball
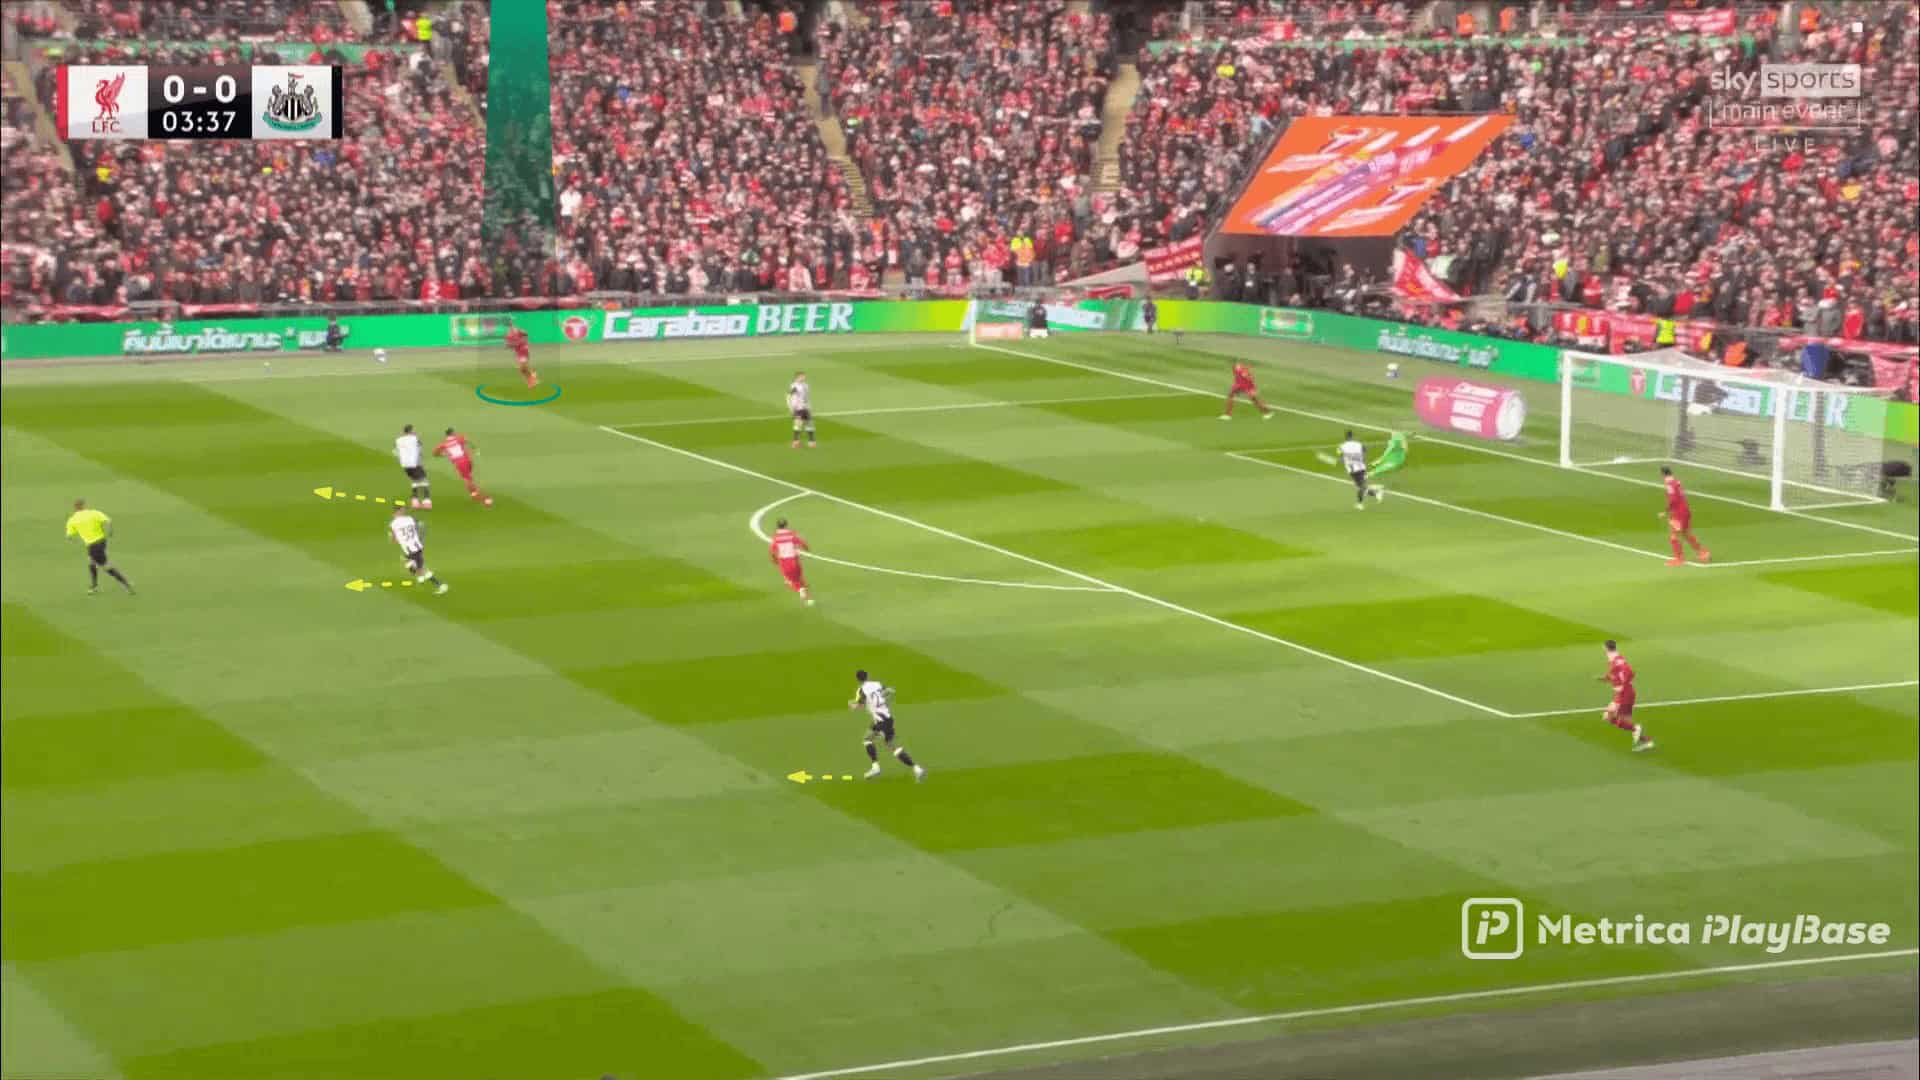
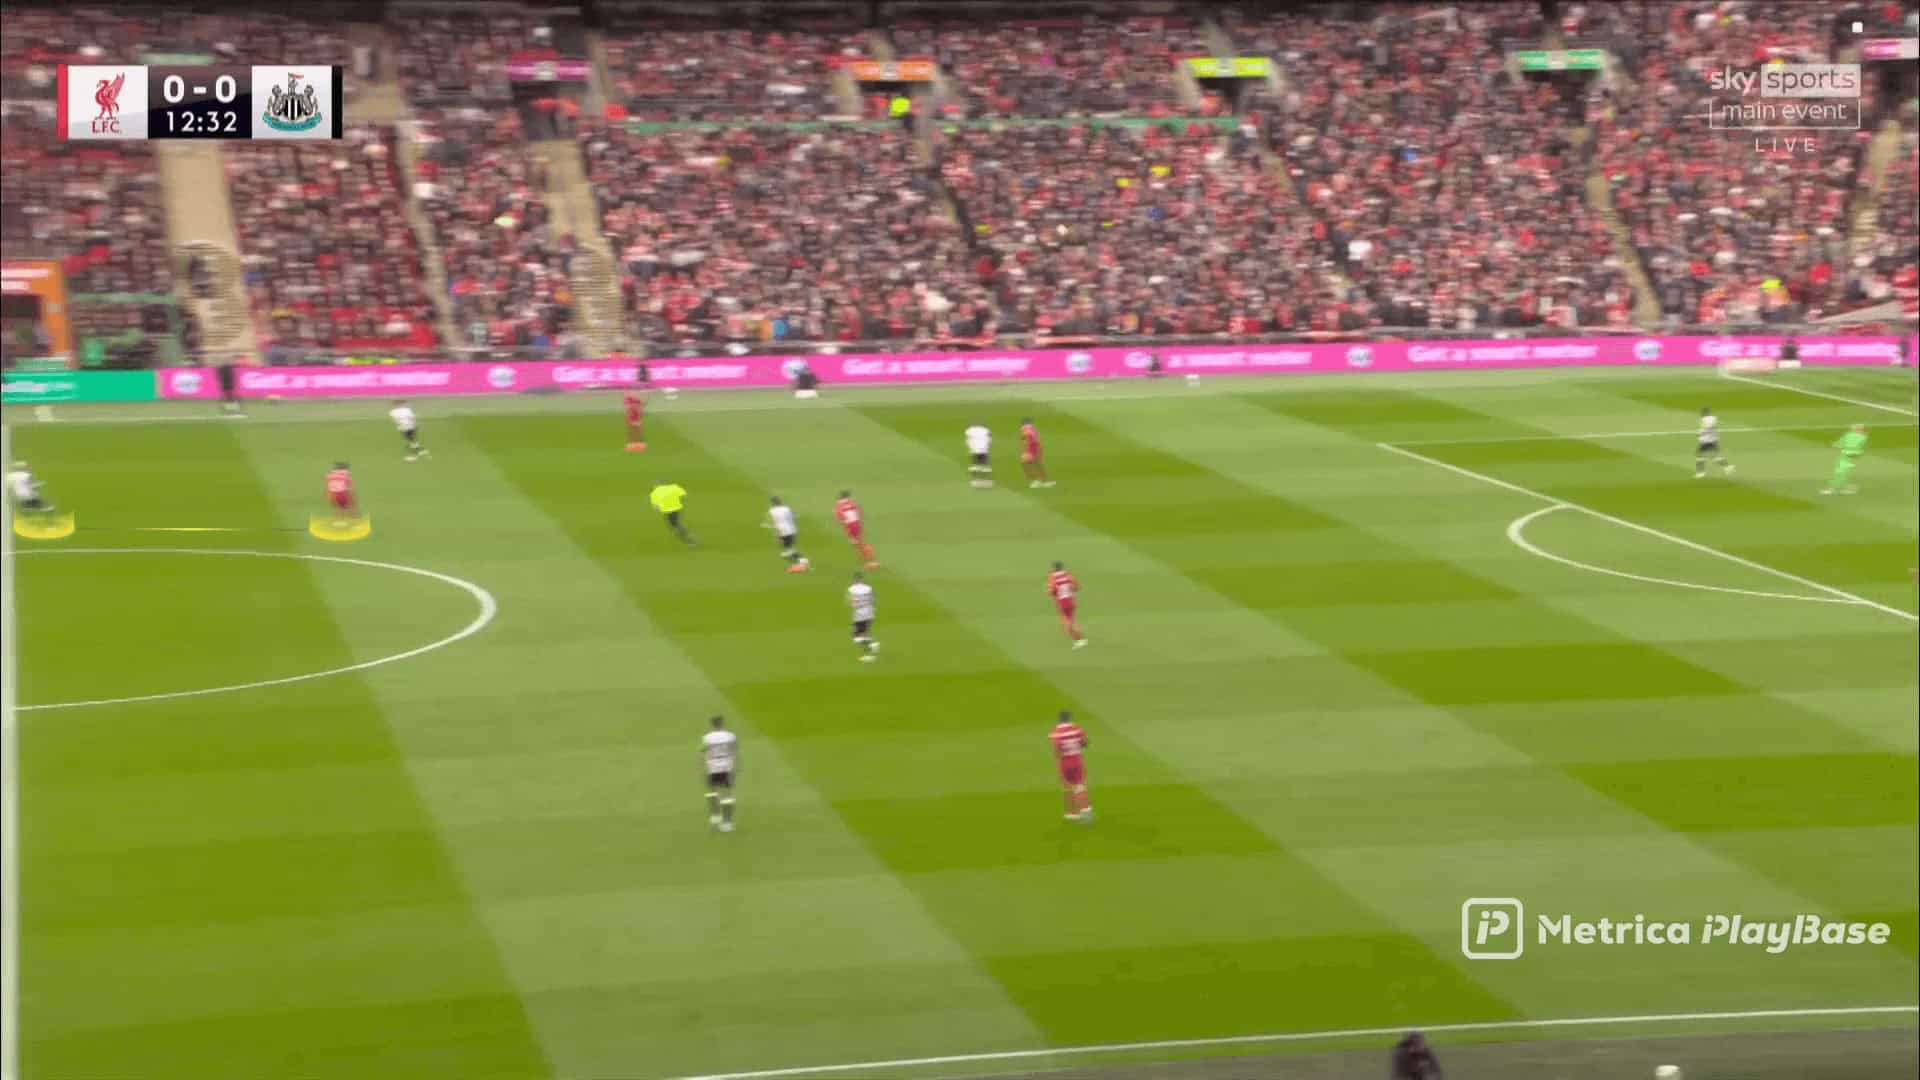
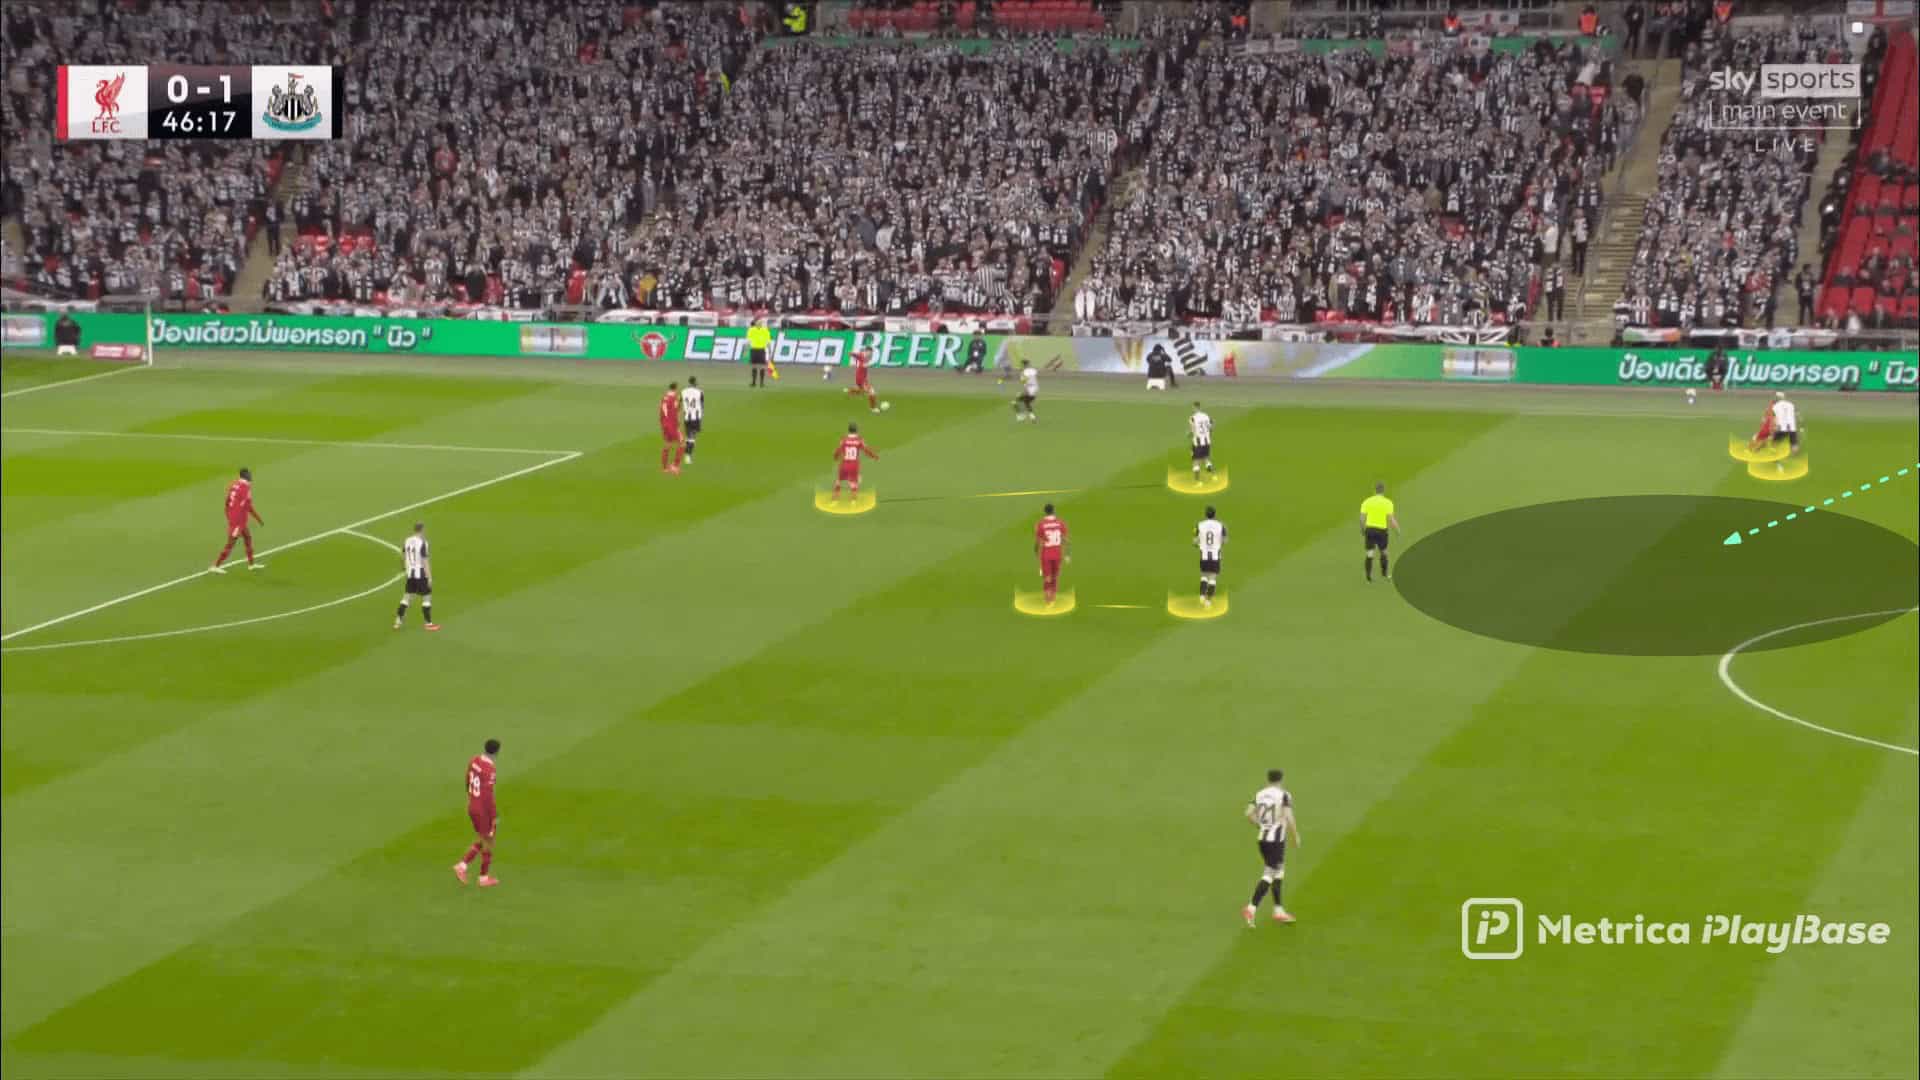
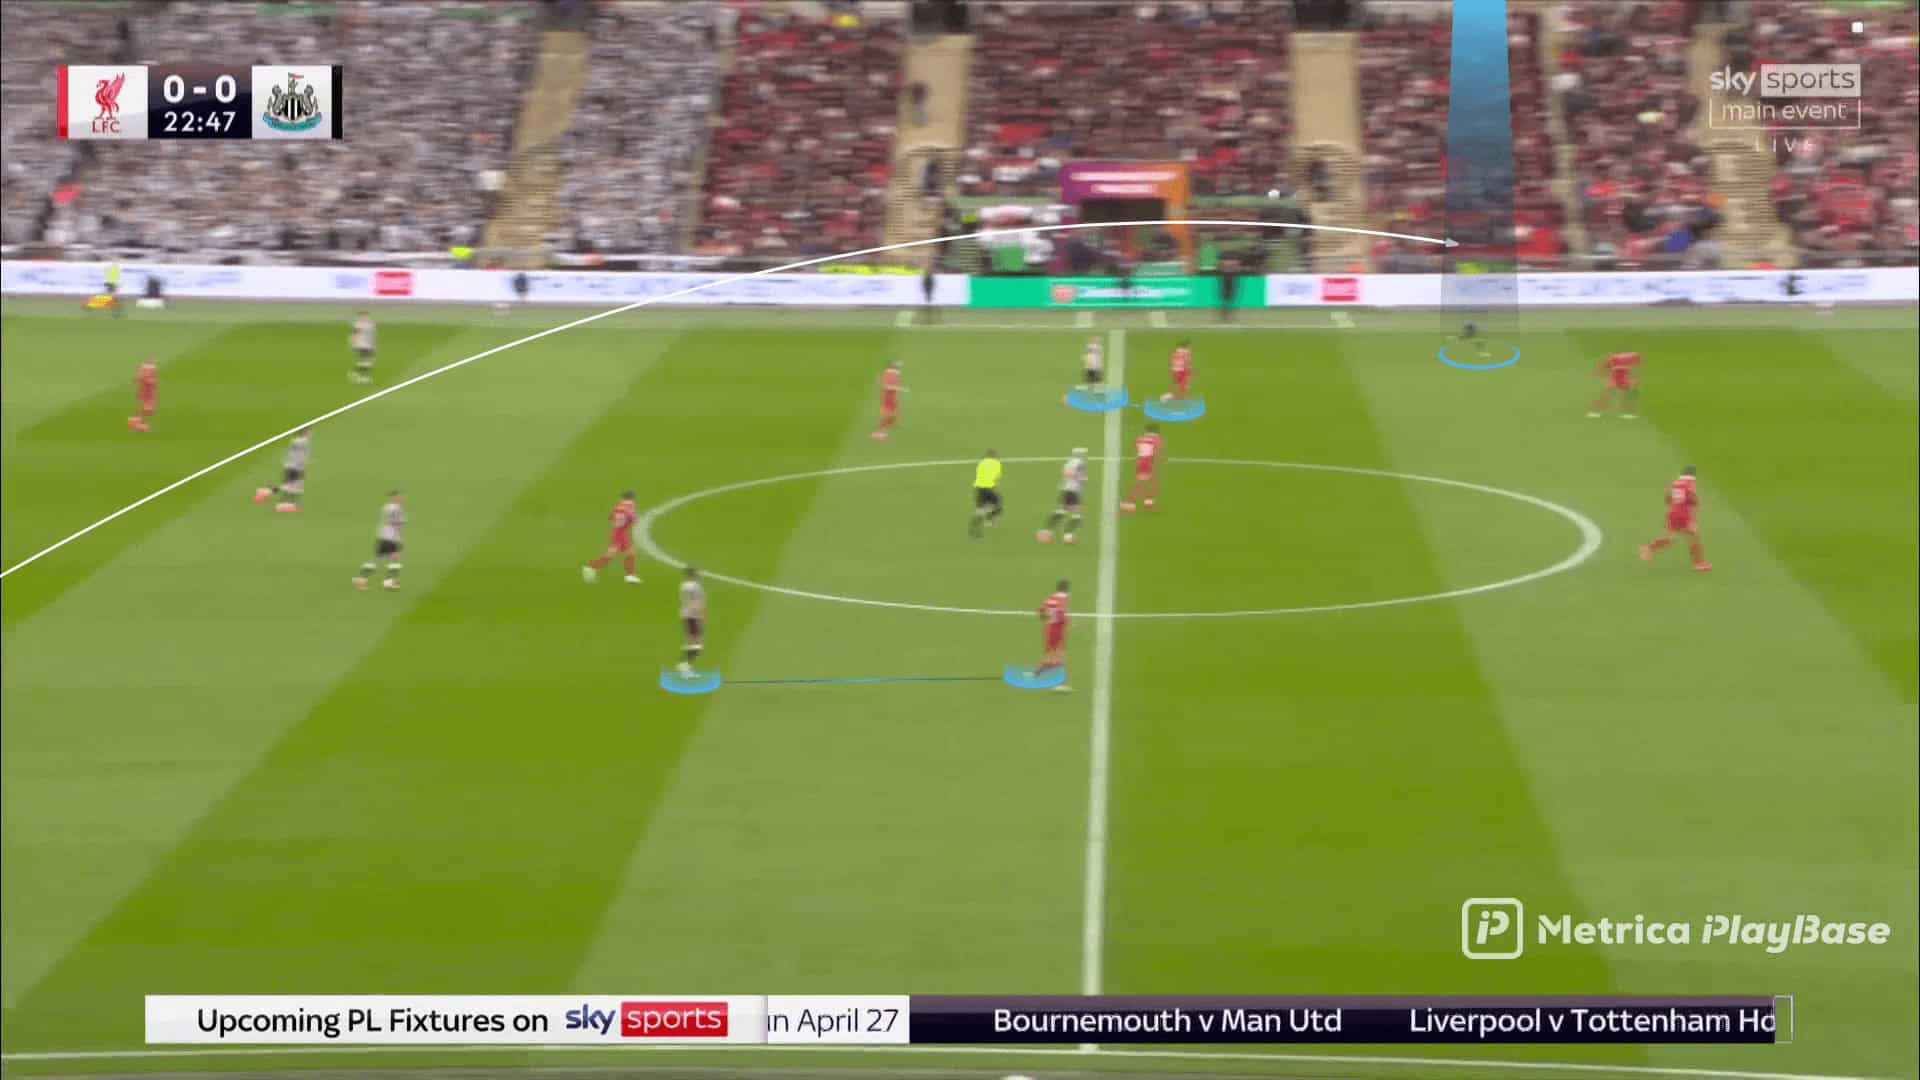
Starting with Liverpool’s tactics with the ball, they spent most of the match in a build-up phase as Newcastle United pressed high.
As shown below, Harvey Barnes (LW) joins Alexander Isak to form two in the first pressing line, with three players behind them in the second line (RW, RCM, and LCM).
Isak always presses the goalkeeper with a curved run, shadowing Virgil van Dijk to implement side pressing.
This forces the goalkeeper to pass to his right or to send a long ball.

Their plan works, as shown in the photo below, and Liverpool’s RB is free.
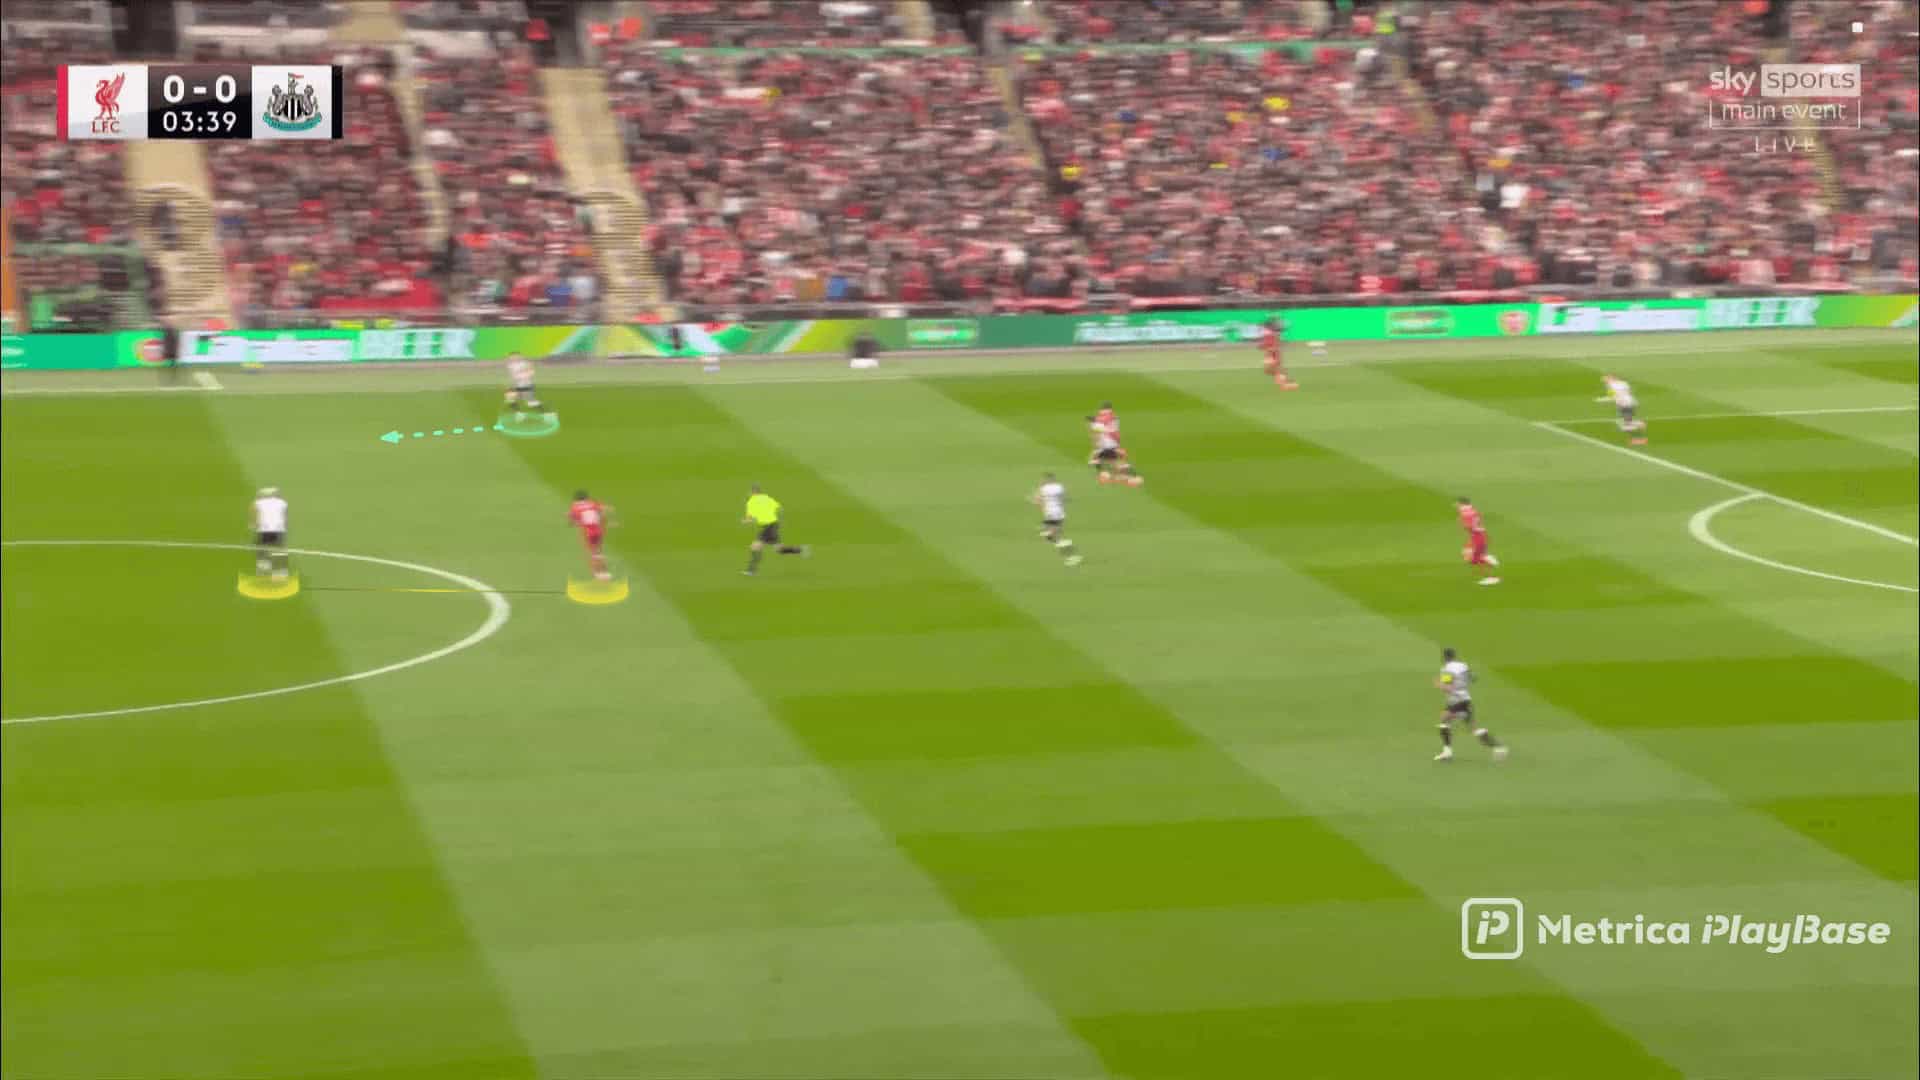
At the same time, Newcastle’s second line starts to drop back.
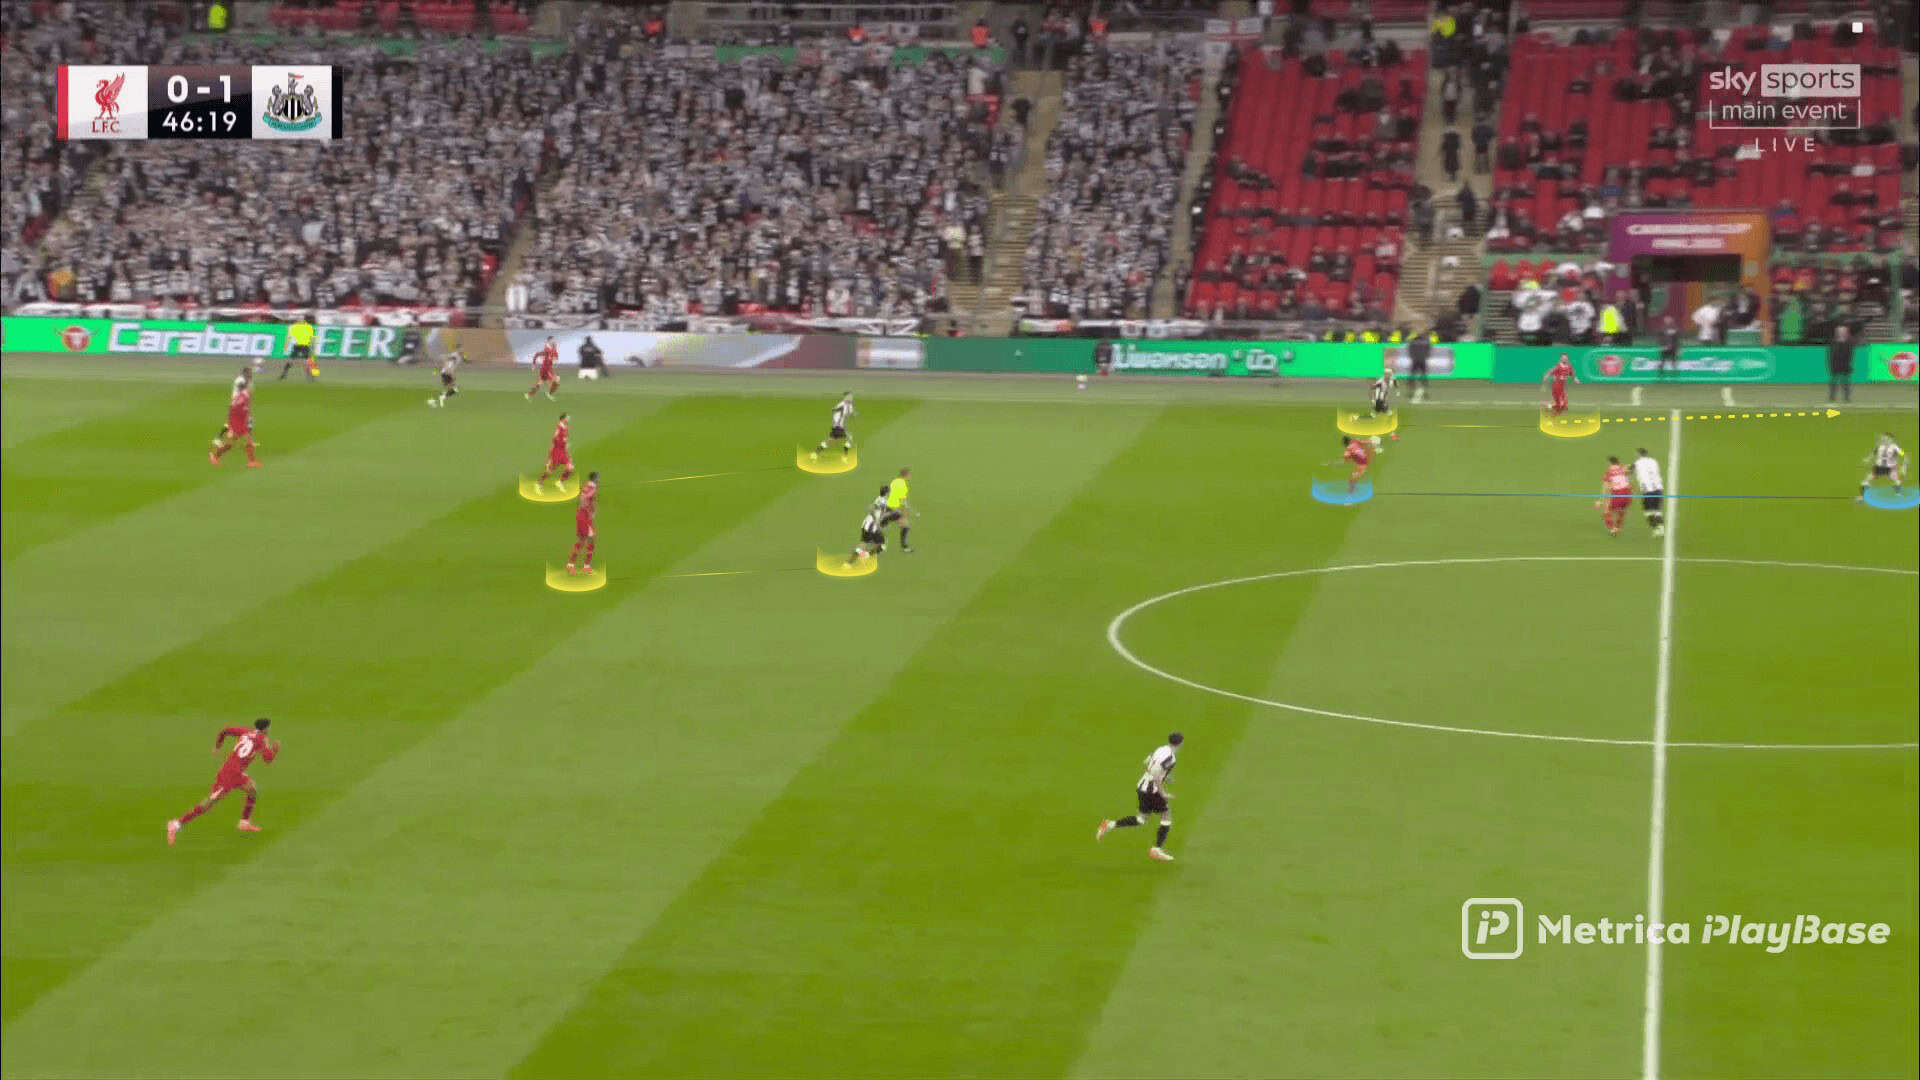
As shown below, Newcastle’s LB stands in an in-between position to press Liverpool’s RB if they can reach him.
He can also go back to cover the LCB (Dan Burn) so that he is not left alone with Salah.
You can also note that the sixer is with the 10 now (Joelinton is with Szoboszlai).
As shown below, the back line is clearly in a 3v3 situation, but the green left full-back tries to offer help.
Overall, Burn was amazing in this match and could easily contain Salah.

Hence, they forced Liverpool to send long balls, which they liked, turning the match into aerial duels, conflicts, and transitions.
Newcastle United’s challenge was to have an additional player to cover in this dangerous three-versus-three at the back.
The photo below shows the first way they do that: Asking Joelinton not to rush pressing Szoboszlai from the beginning.
He should be in between to be able to step back and help the three defenders against long balls.
In the end, he was the one who actually cleared the ball, protecting the three at the back, as shown below.
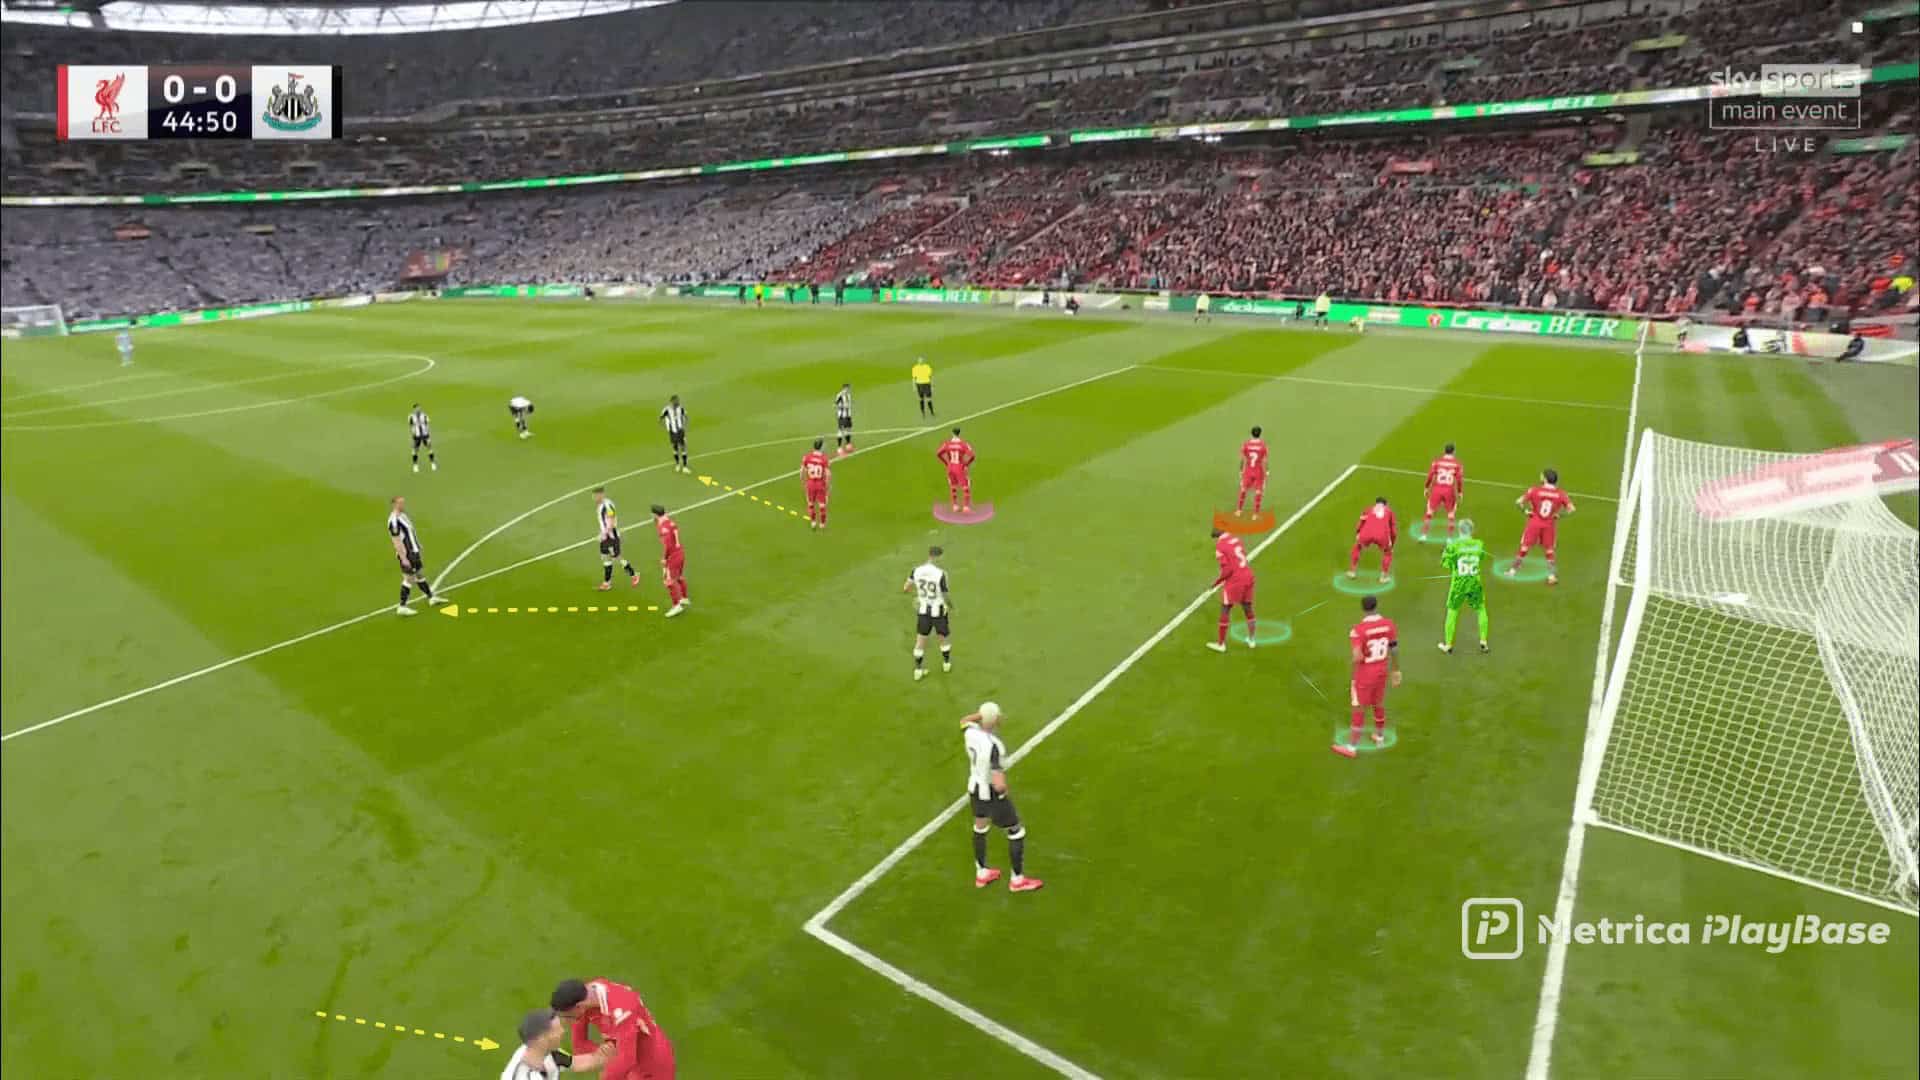
In the second half, Arne Slot asked Jota to drop, trying to drag Schär with him to isolate Salah and Díaz in a two-versus-two situation to receive this long ball.
Still, Schär also stands between, trying to press him and drop back with the line when needed, as shown below.
As shown below, the idea is to drag Schär away and ask Díaz to run behind him, making Dan Burn hesitate to follow Díaz or still go with Salah.
In the end, Dan Burn was amazing at this match, dealing well with most duels.
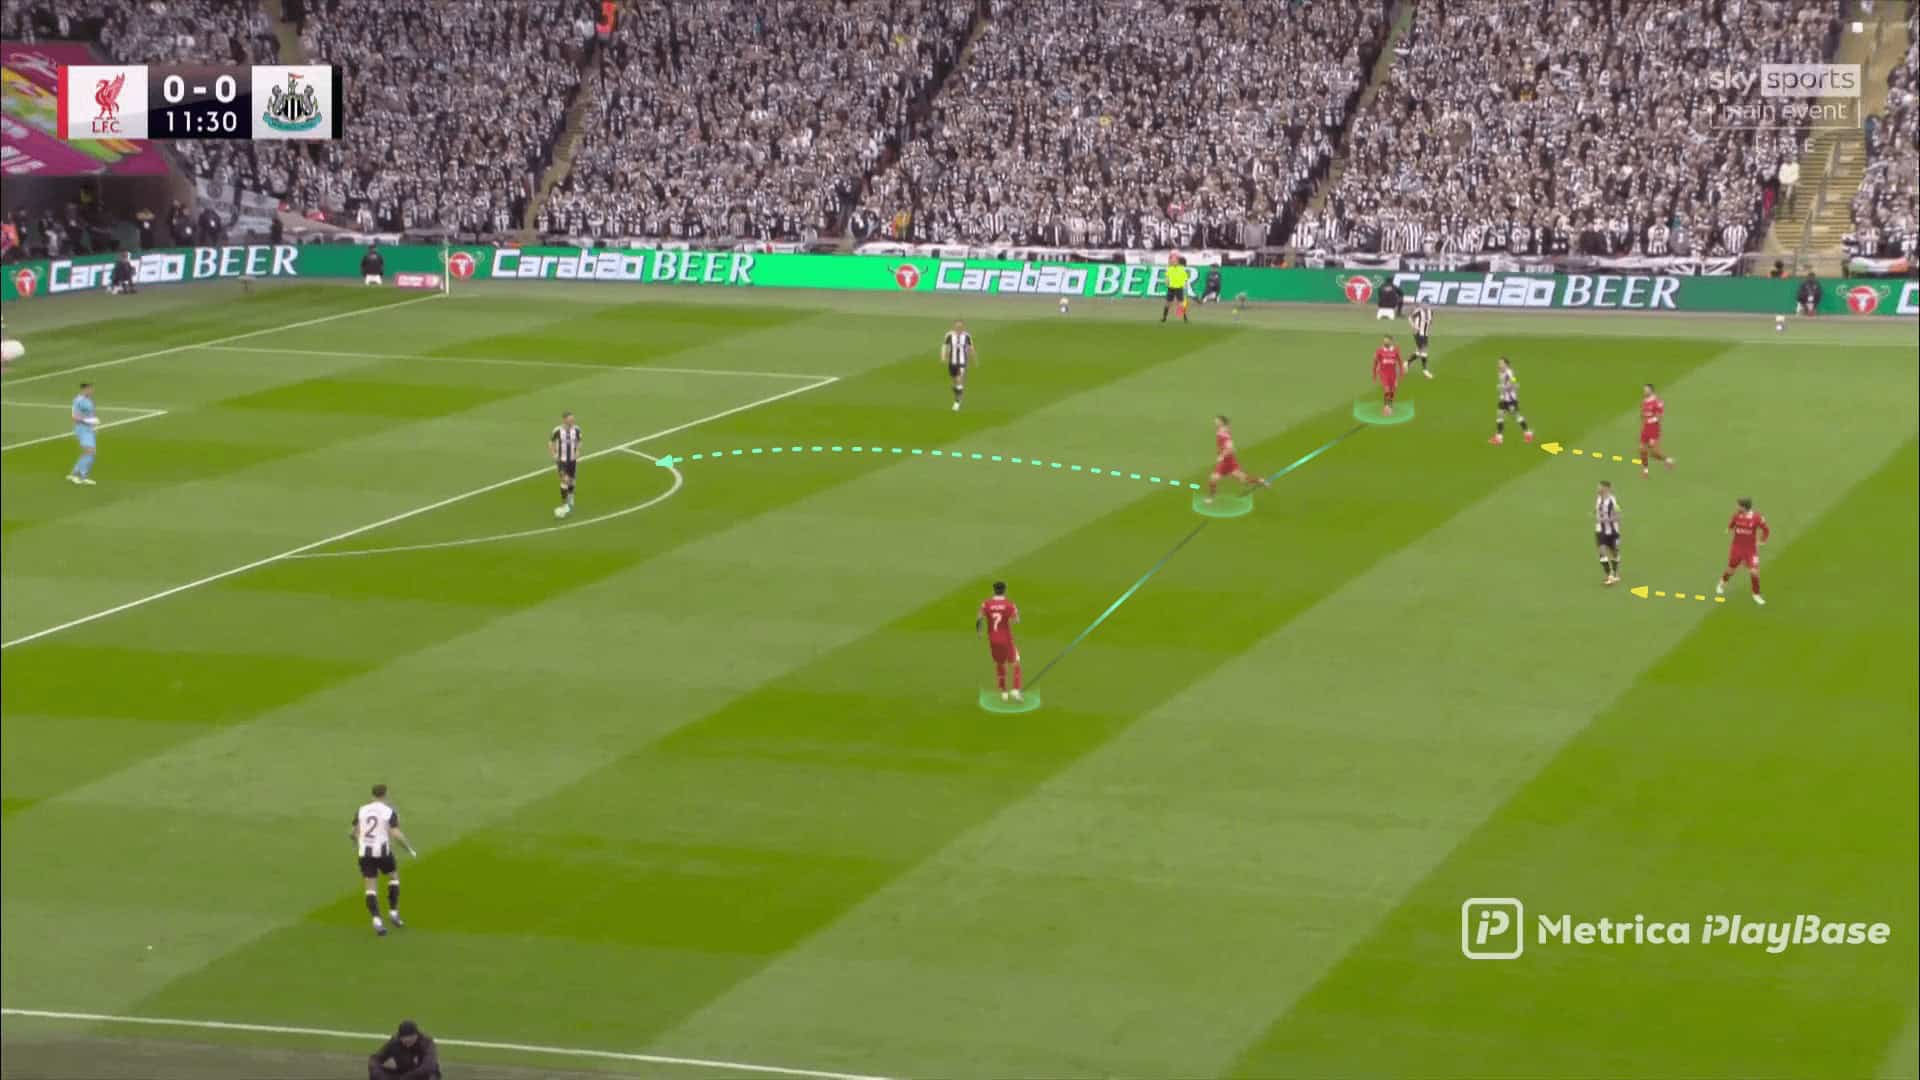
After that, Liverpool tries to drag all three midfielders away to clear the area behind them for Díaz, who cuts in suddenly, as shown below.
As shown below, Trippier hesitates to go all this diagonal distance with Díaz, especially since Szoboszlai runs behind him while Jota tries to block Schär.
The plan was good, but Díaz couldn’t control the ball.
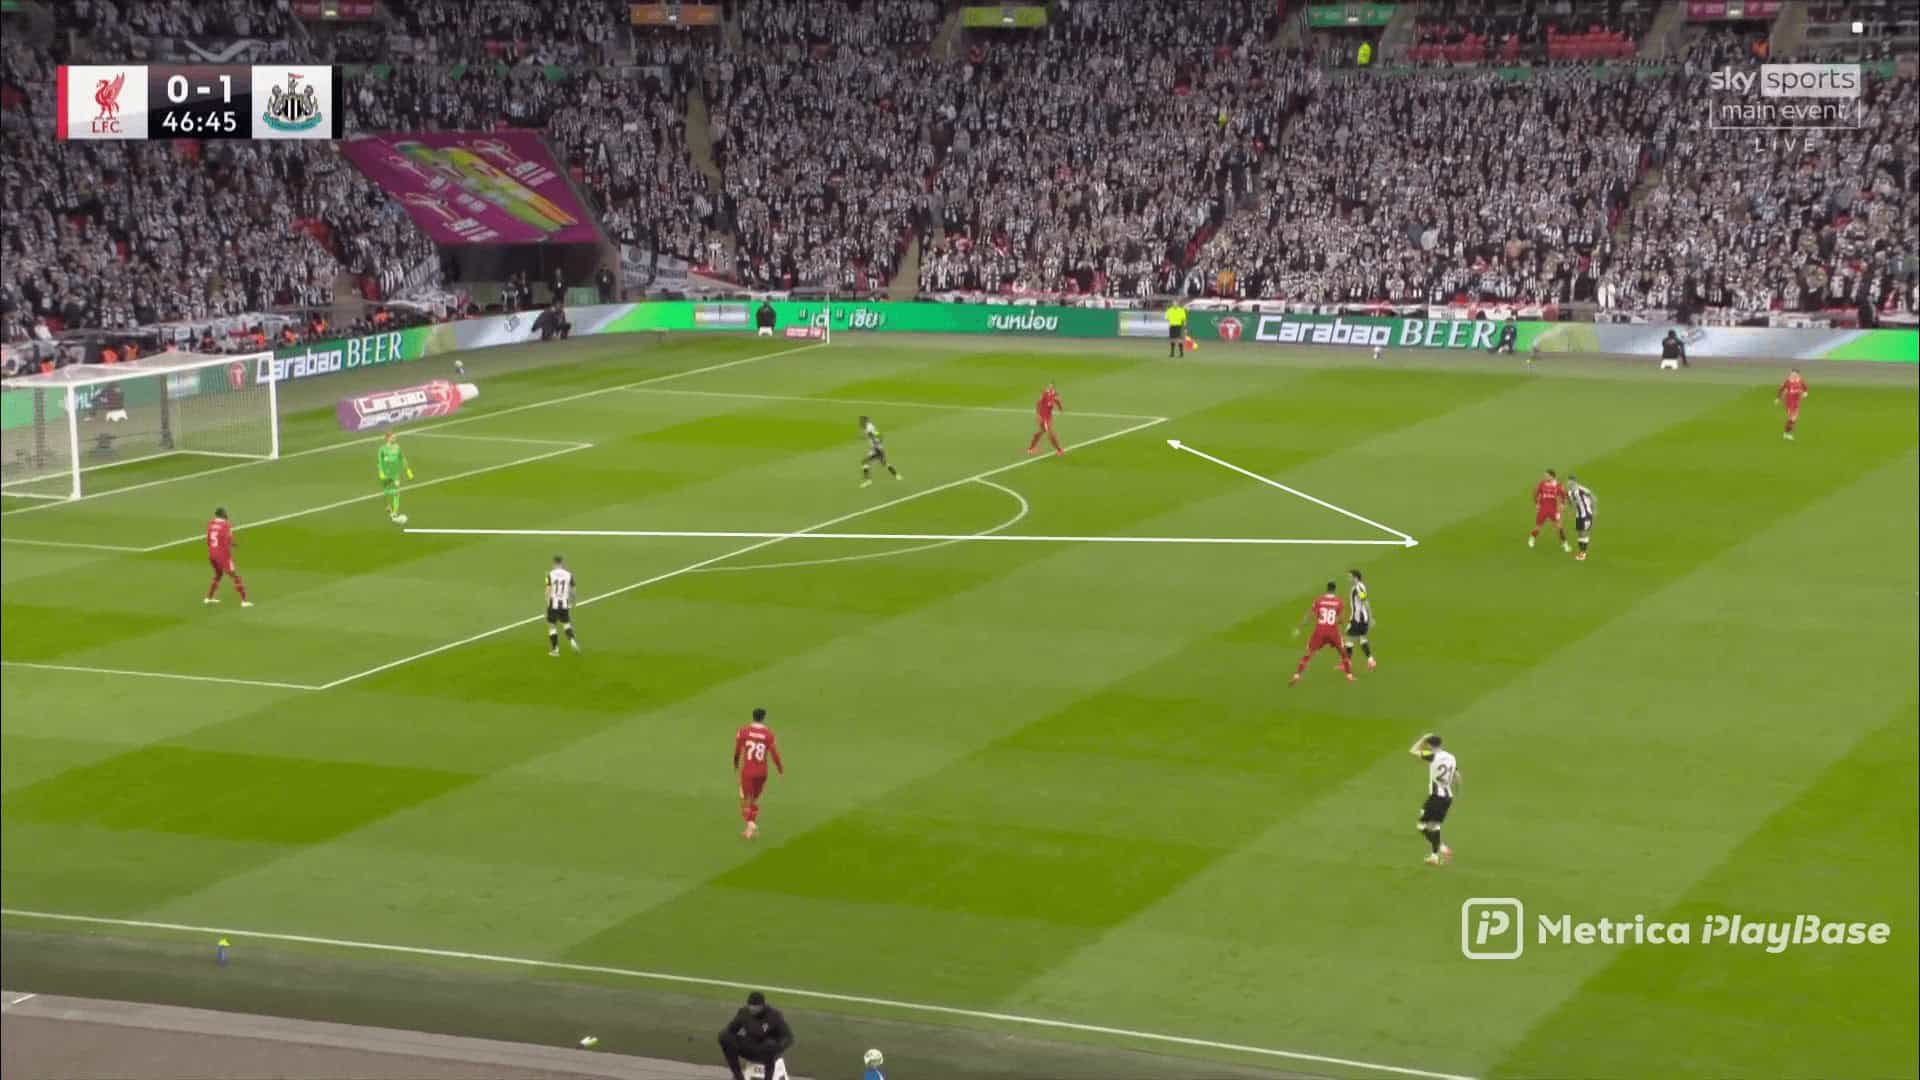
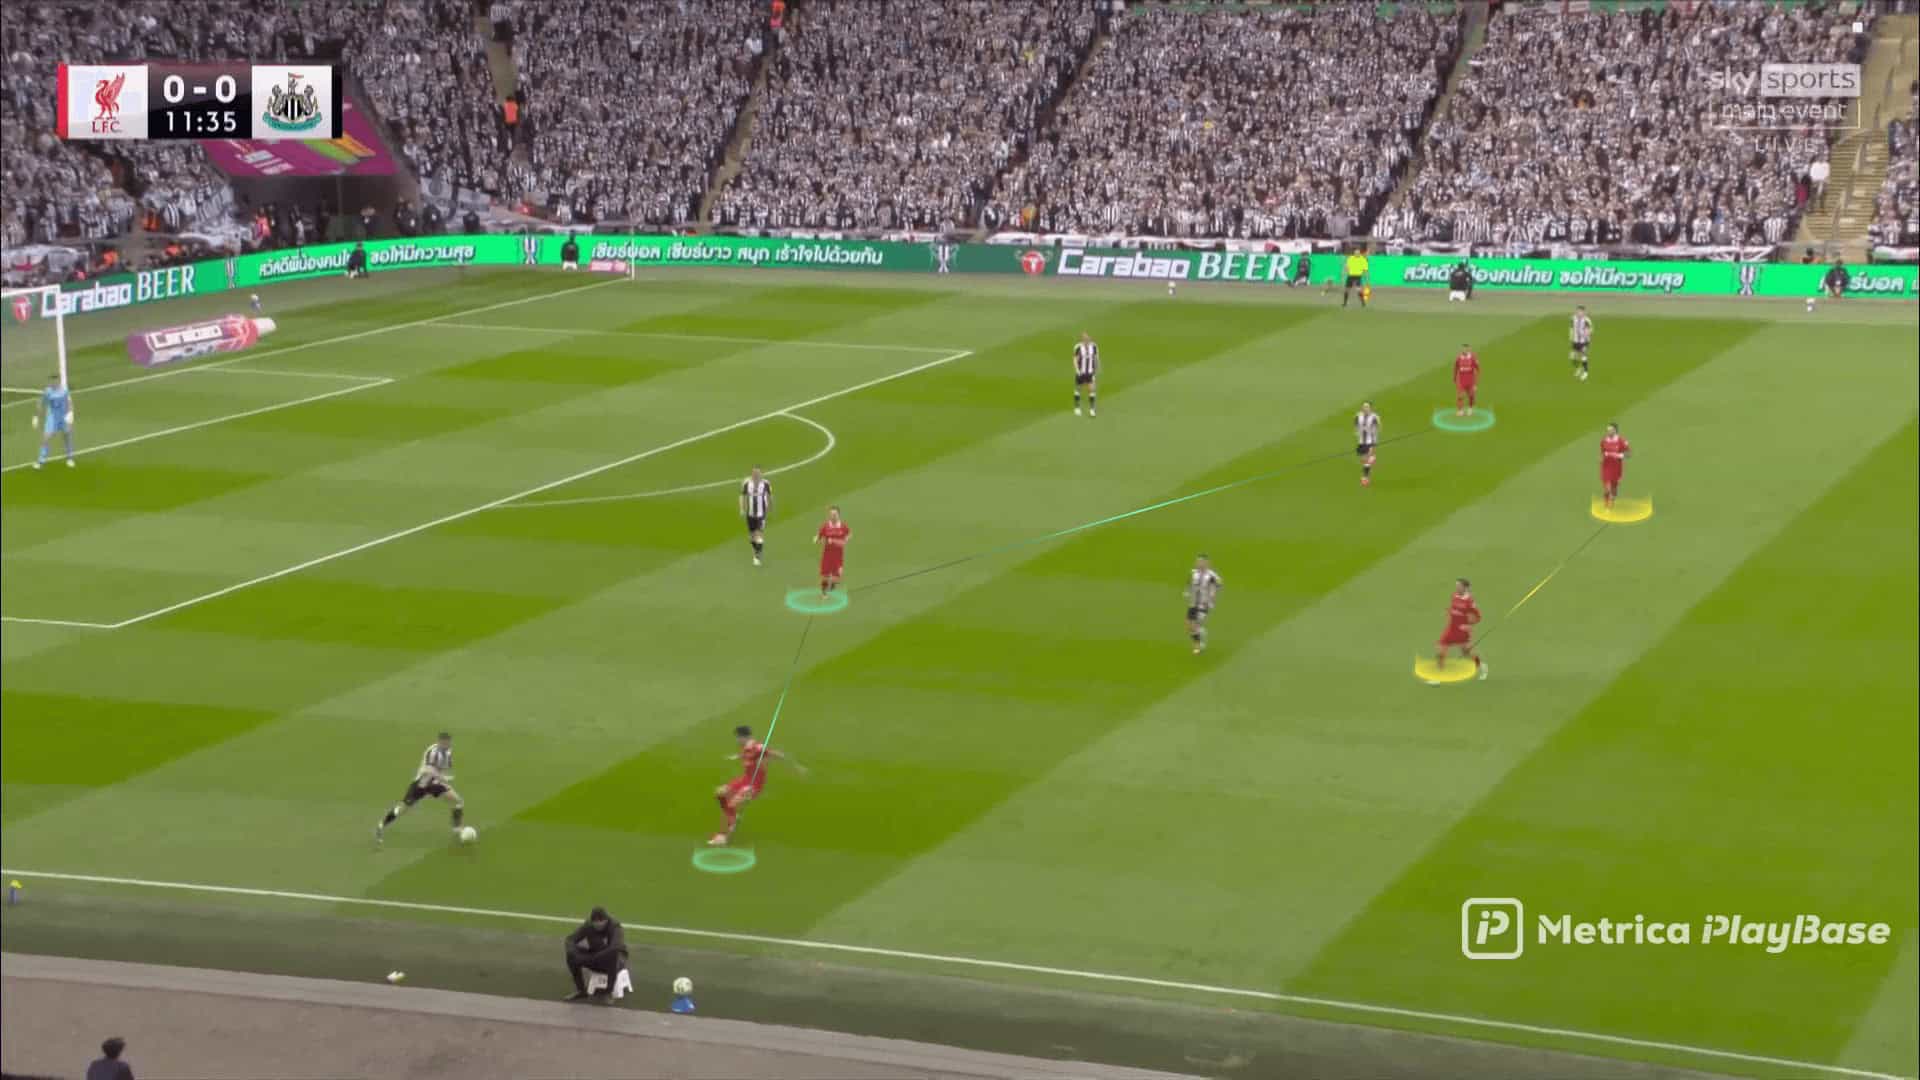
Hence, they tried to find another solution: Mac Allister’s drop to receive the ball and send a wall pass to Virgil, who would be free and could dribble a long distance, as shown in the diagram below.
After that, Jota drops with Schär while Díaz cuts inside, making Trippier hesitate.
He hesitates to go with Díaz to avoid receiving in this large area or to stay in his position against Jota, who turns around to run behind his back, as shown below.
In the end, it was a good chance for Liverpool.
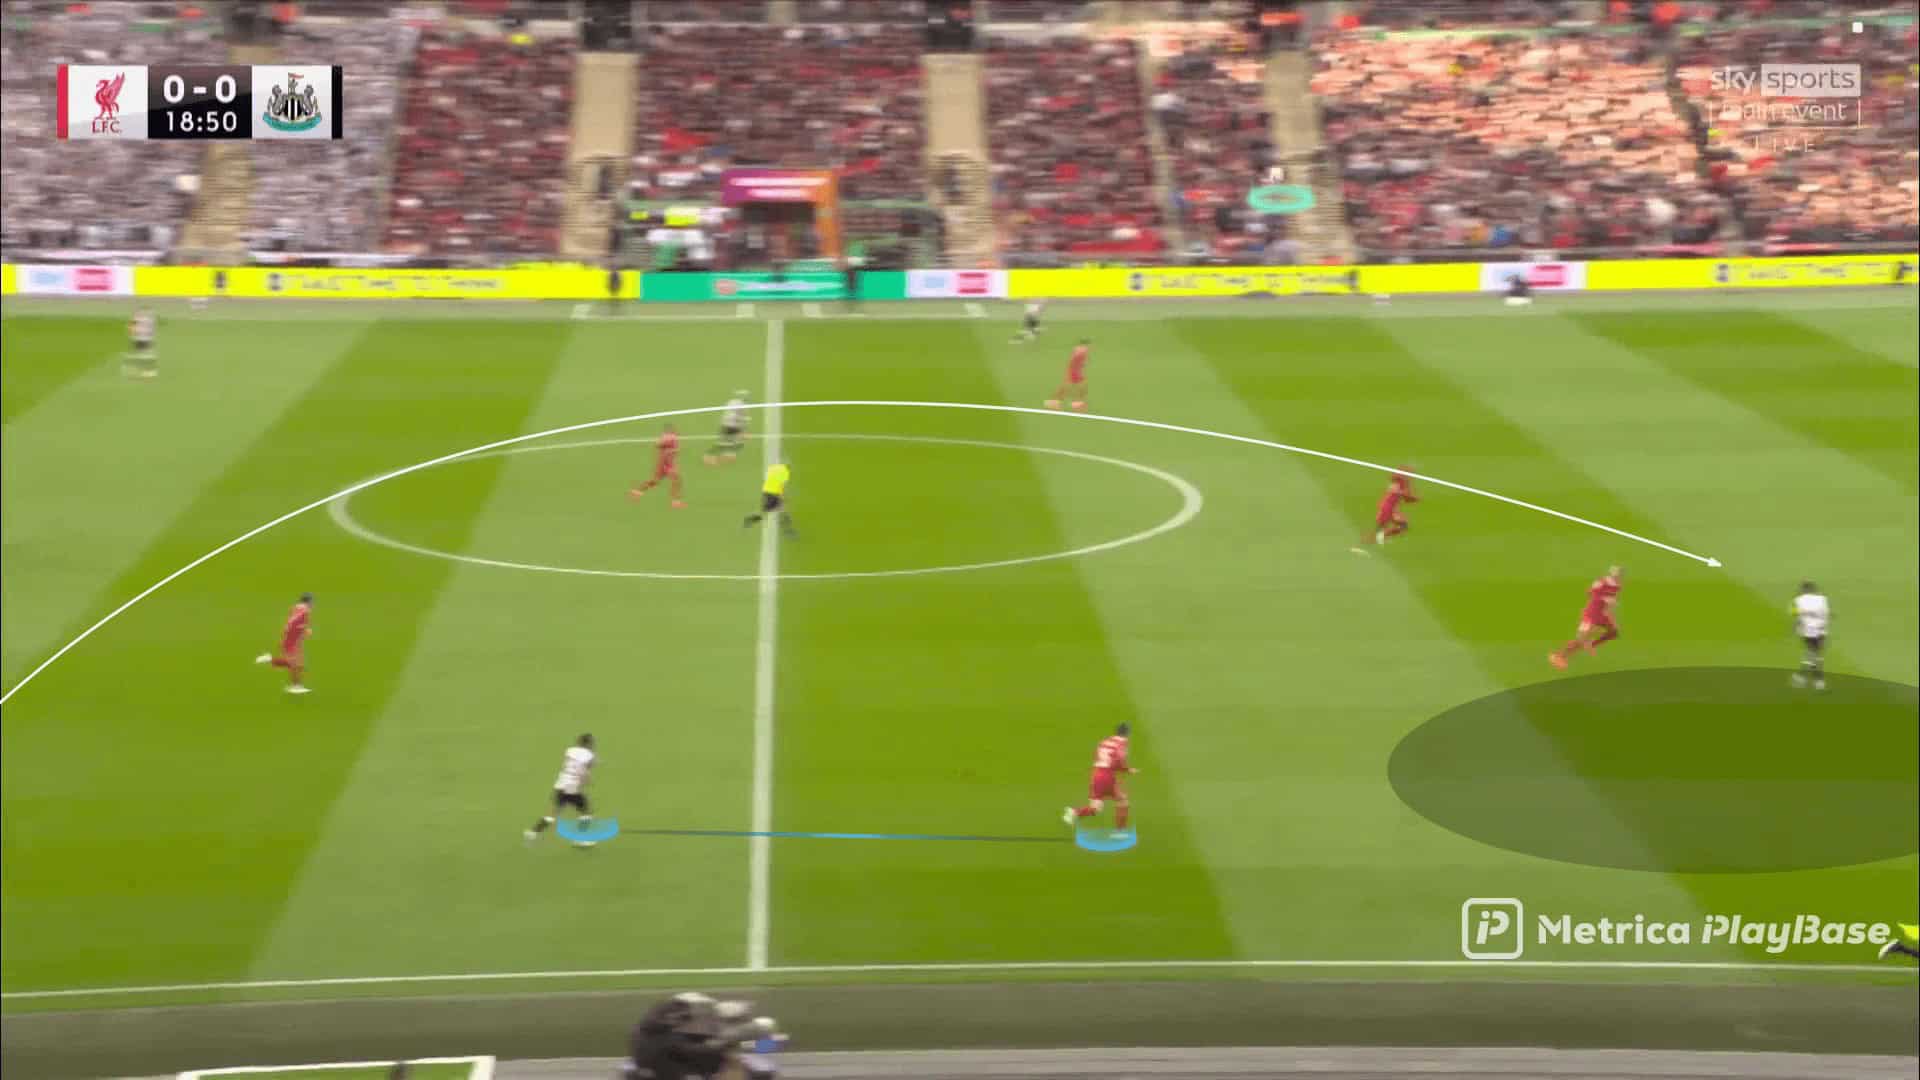
They started to improve after that, but they couldn’t control the tempo because Newcastle maintained a high tempo by using every free-kick as a set-piece, even if it was near their goal, as they dealt with most goal kicks as set-pieces, sending the ball long, as we will explain.
That also happens because the second goal came quickly after that.
Newcastle United With The Ball
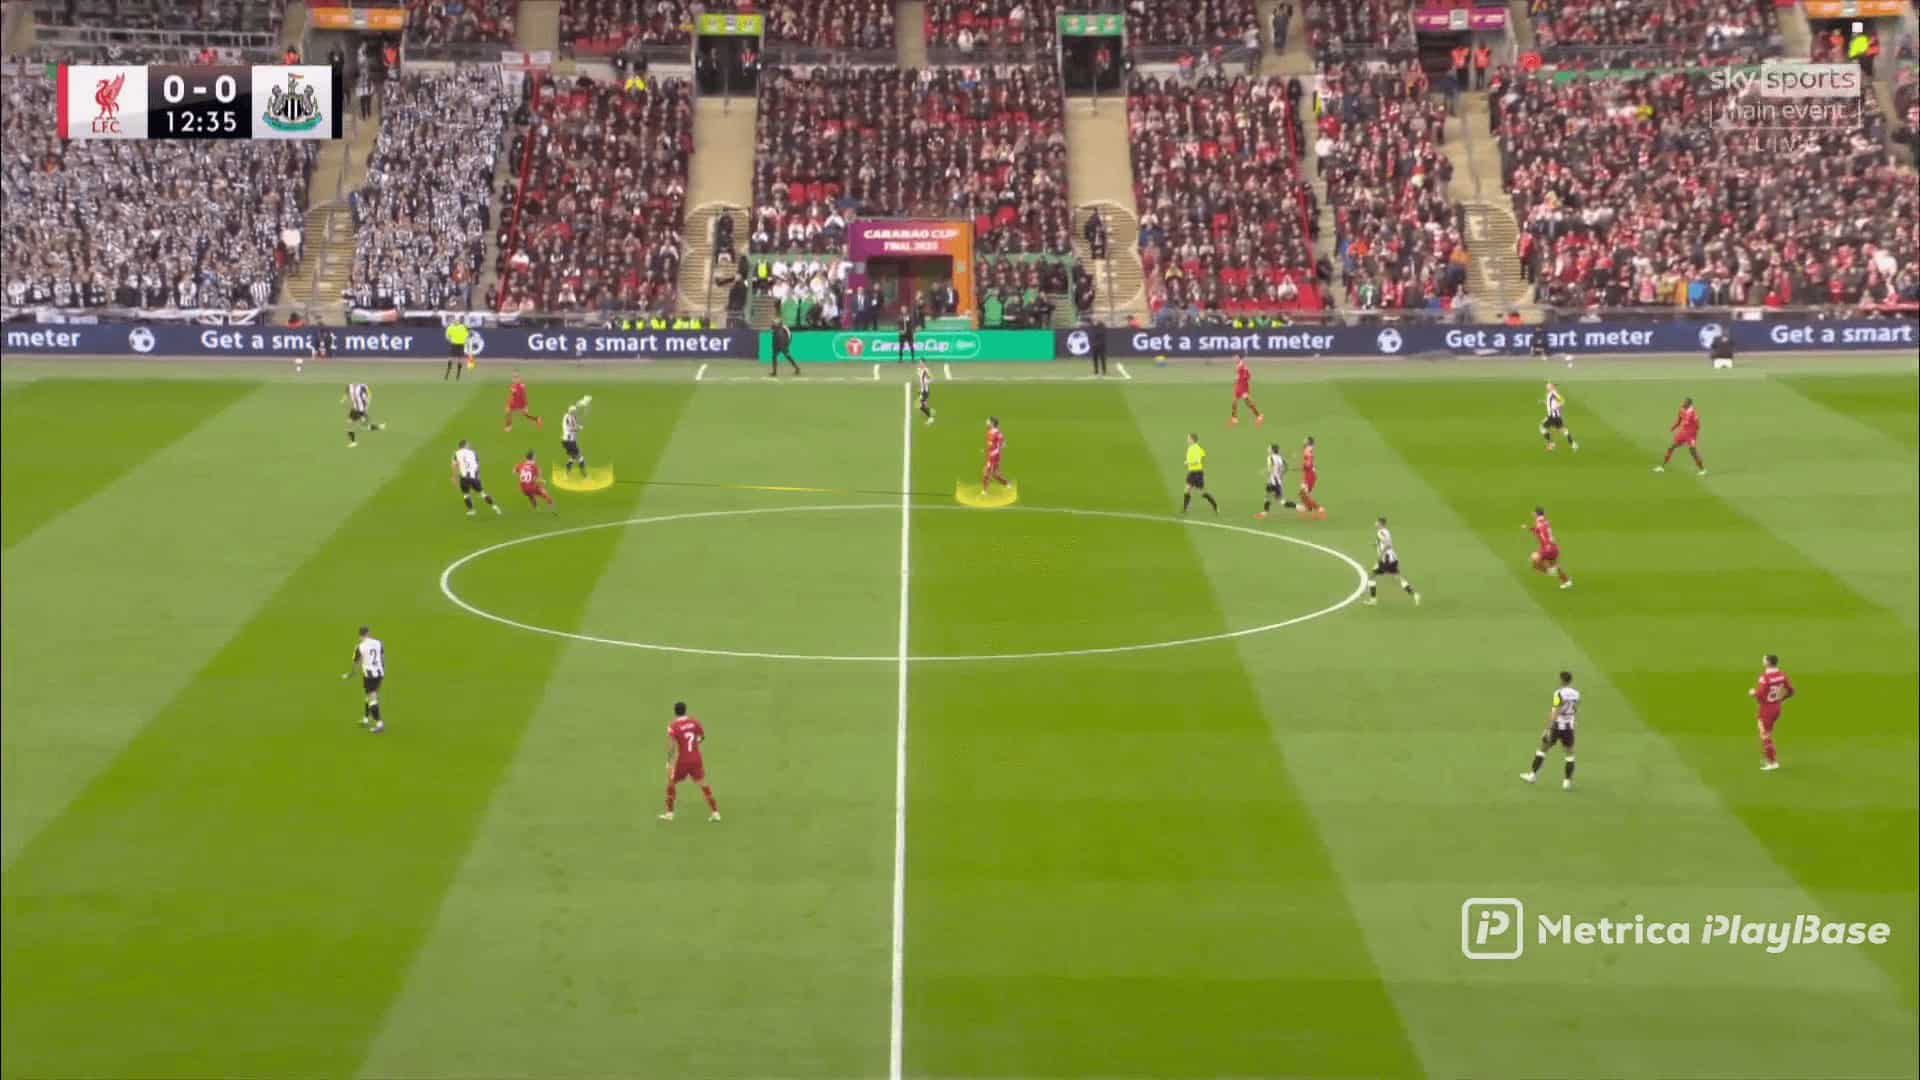
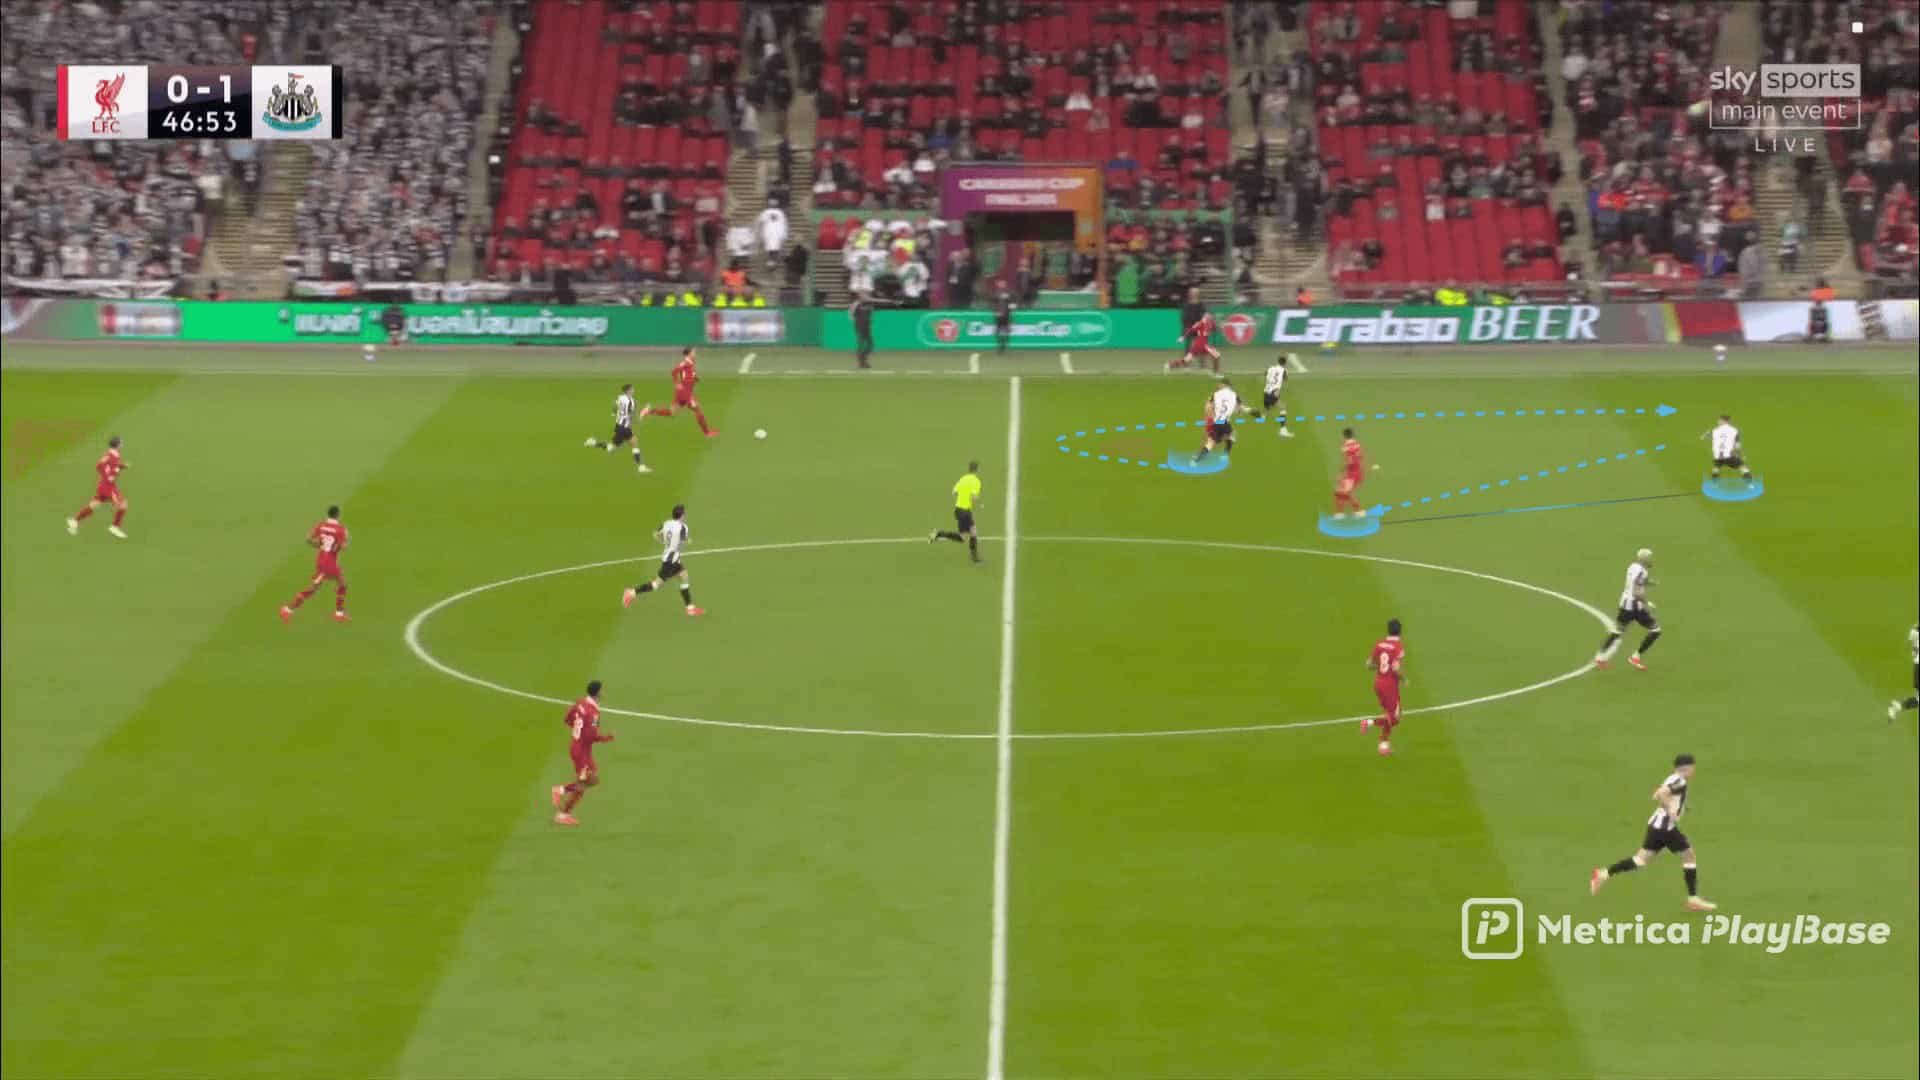
Liverpool pressed firmly with their traditional 4-3-3 formation, asking Jota to press in a curved run on Schär.
He cut the way to pass to Dan Burn on the other side, forcing him to play the ball to Trippier, who found himself trapped next to the touchline, as shown below.
In the end, he couldn’t escape this pressure, and the result was a throw-in, as shown below.
Newcastle intended to send long balls from the beginning, so they have no problem with that, unlike Liverpool, which tries to send long balls to Isak.
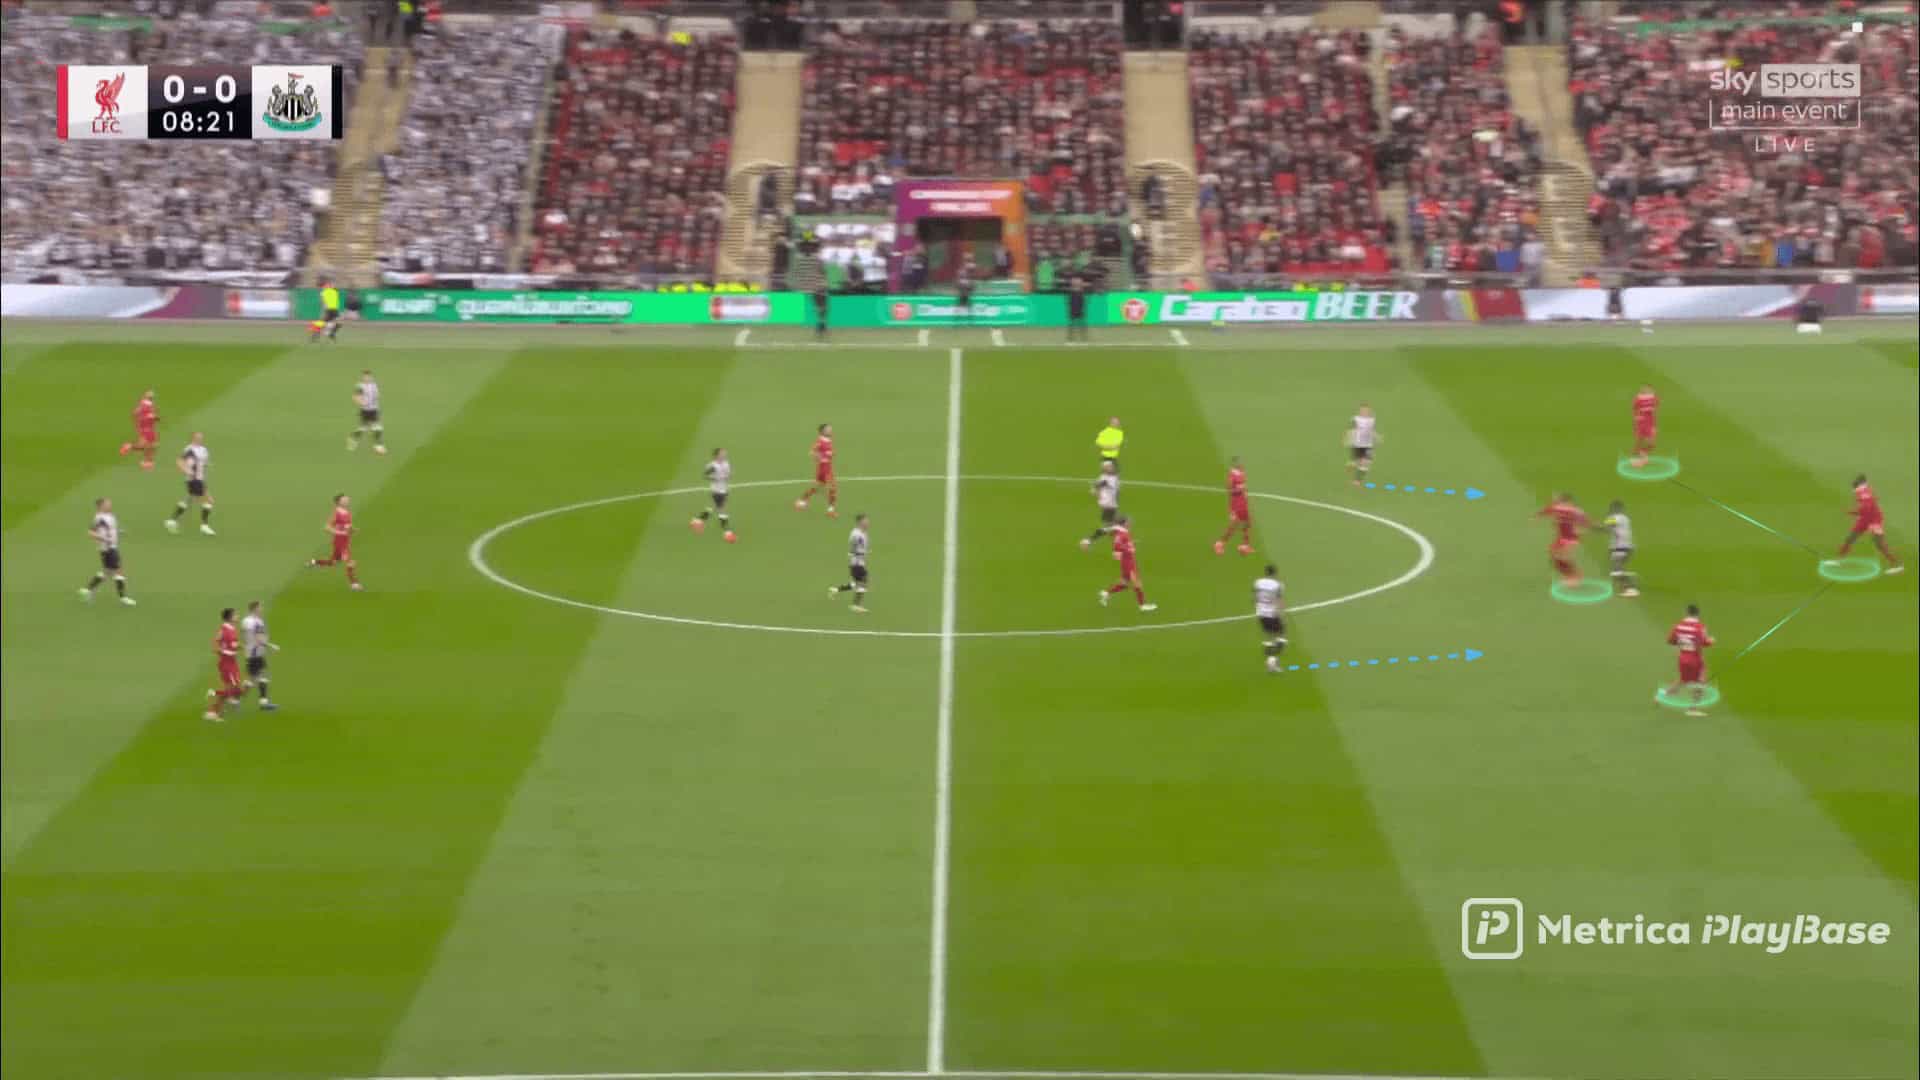
However, as shown in the image above, Liverpool used five players to press six players, meaning they have an additional defender in the backline.
As shown below, Virgil van Dijk chases Isak while Ibrahima Konaté covers behind him, making it difficult for Newcastle United to create a chance.
As a variation, they tried to pass the ball to Trippier while Jacob Murphy (RW) dropped to drag Robertson, asking Isak to target the area behind him.
However, Virgil van Dijk was able to cover him effectively, as shown below.
Hence, they tried to target Isak in the other direction, asking the two wingers to drop to drag the full-backs with them, but Konaté was read, too, as shown below.
However, they could have some chances from the second ball after the centre-back cleared the ball.
Set-Piece Analysis
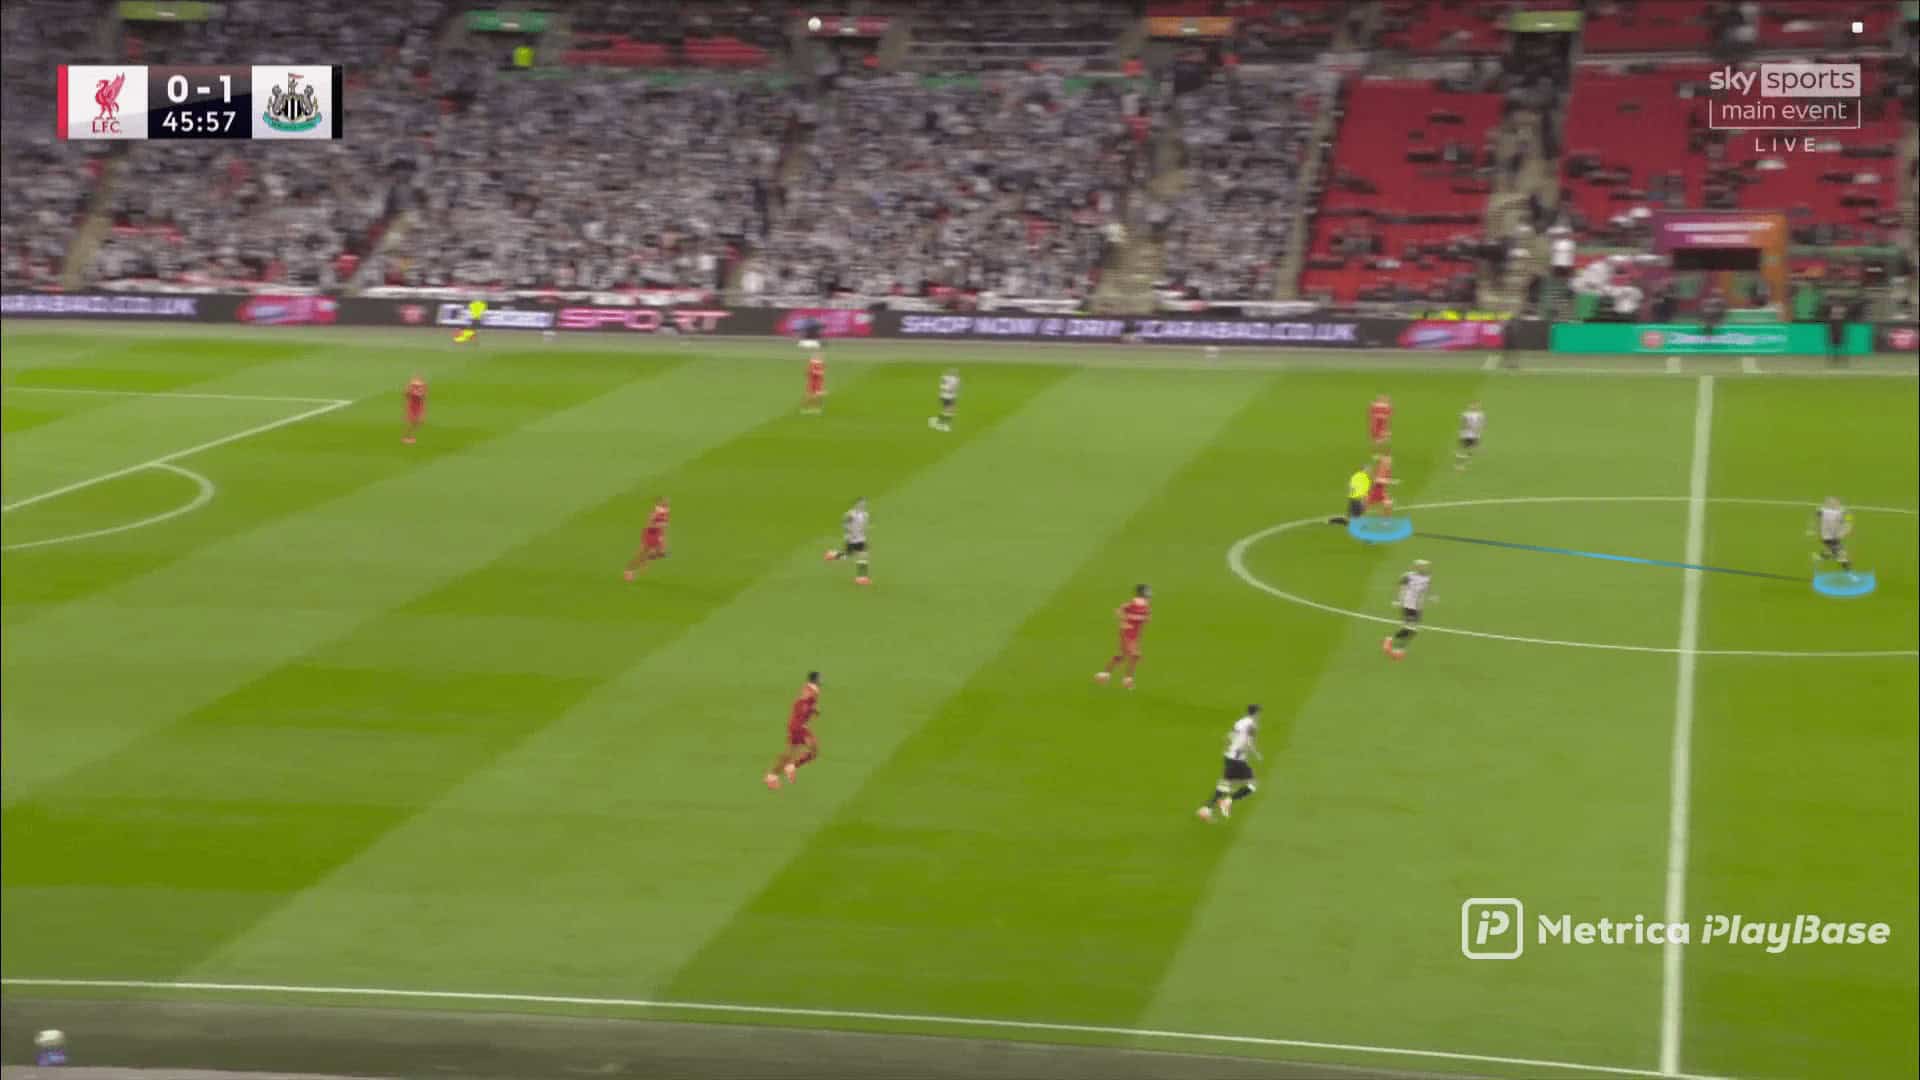
As we mentioned, the performance was close, although Newcastle United had an advantage because they excel at sending long balls and waiting for the rebound.
Hence, we should mention the decisive factor of the game.
You can easily see that most of Newcastle’s 90 minutes were spent on set-pieces, not just the initial wave, but they also chased the rebound for the second and third waves of attacks.
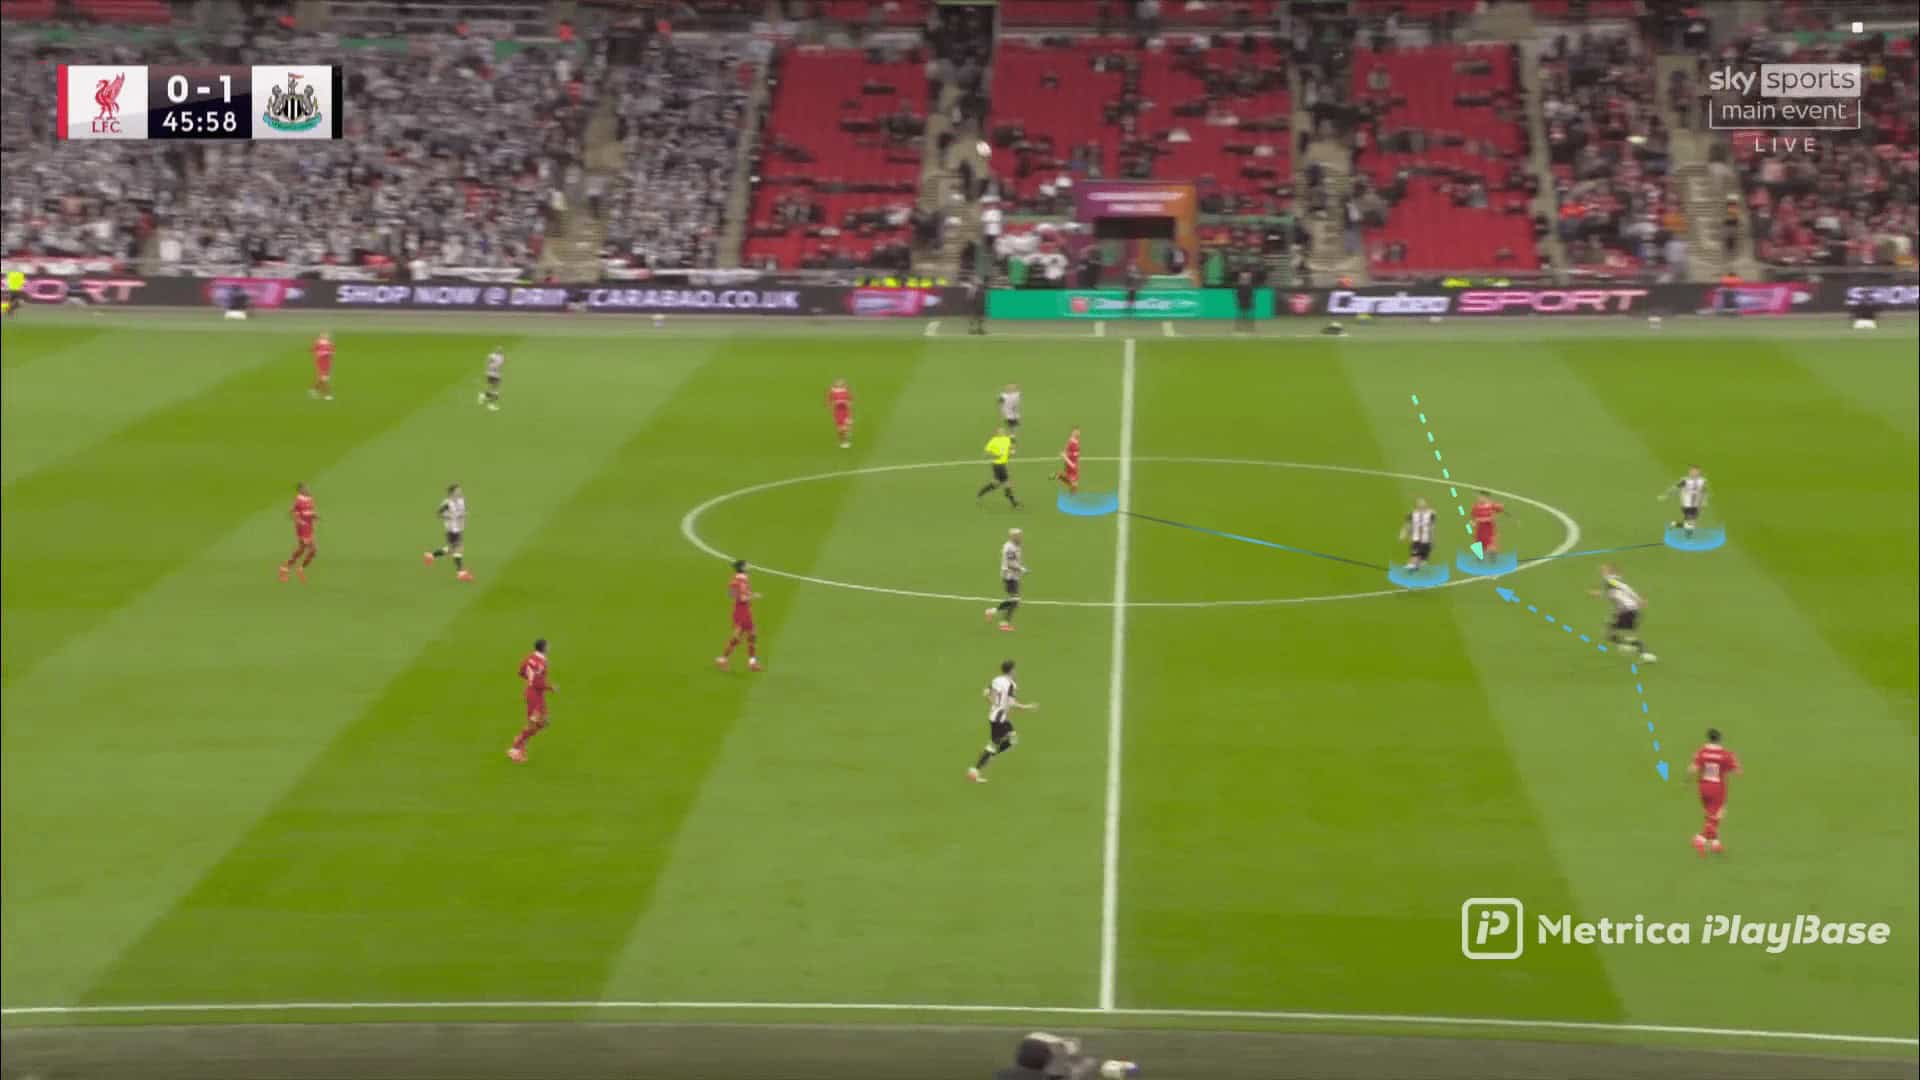
Going to the first and most important goal came from a common weakness in Liverpool’s defending scheme in corners, and you can read more about that in this analysis.
As shown below, Liverpool defends with five zonal defenders (green), a short-option defender (orange) who starts as an additional zonal defender in case there are no short-option attackers, a rebound defender (pink), and three-man markers (yellow arrows).
These man markers are pre-assigned.
Every man is with his assigned attacker wherever he goes, as follows:
1- Alexis Mac Allister with Dan Burn
2- Jarell Amorin Quansah with Fabian Schär
3- Diogo Jota with Alexander Isak
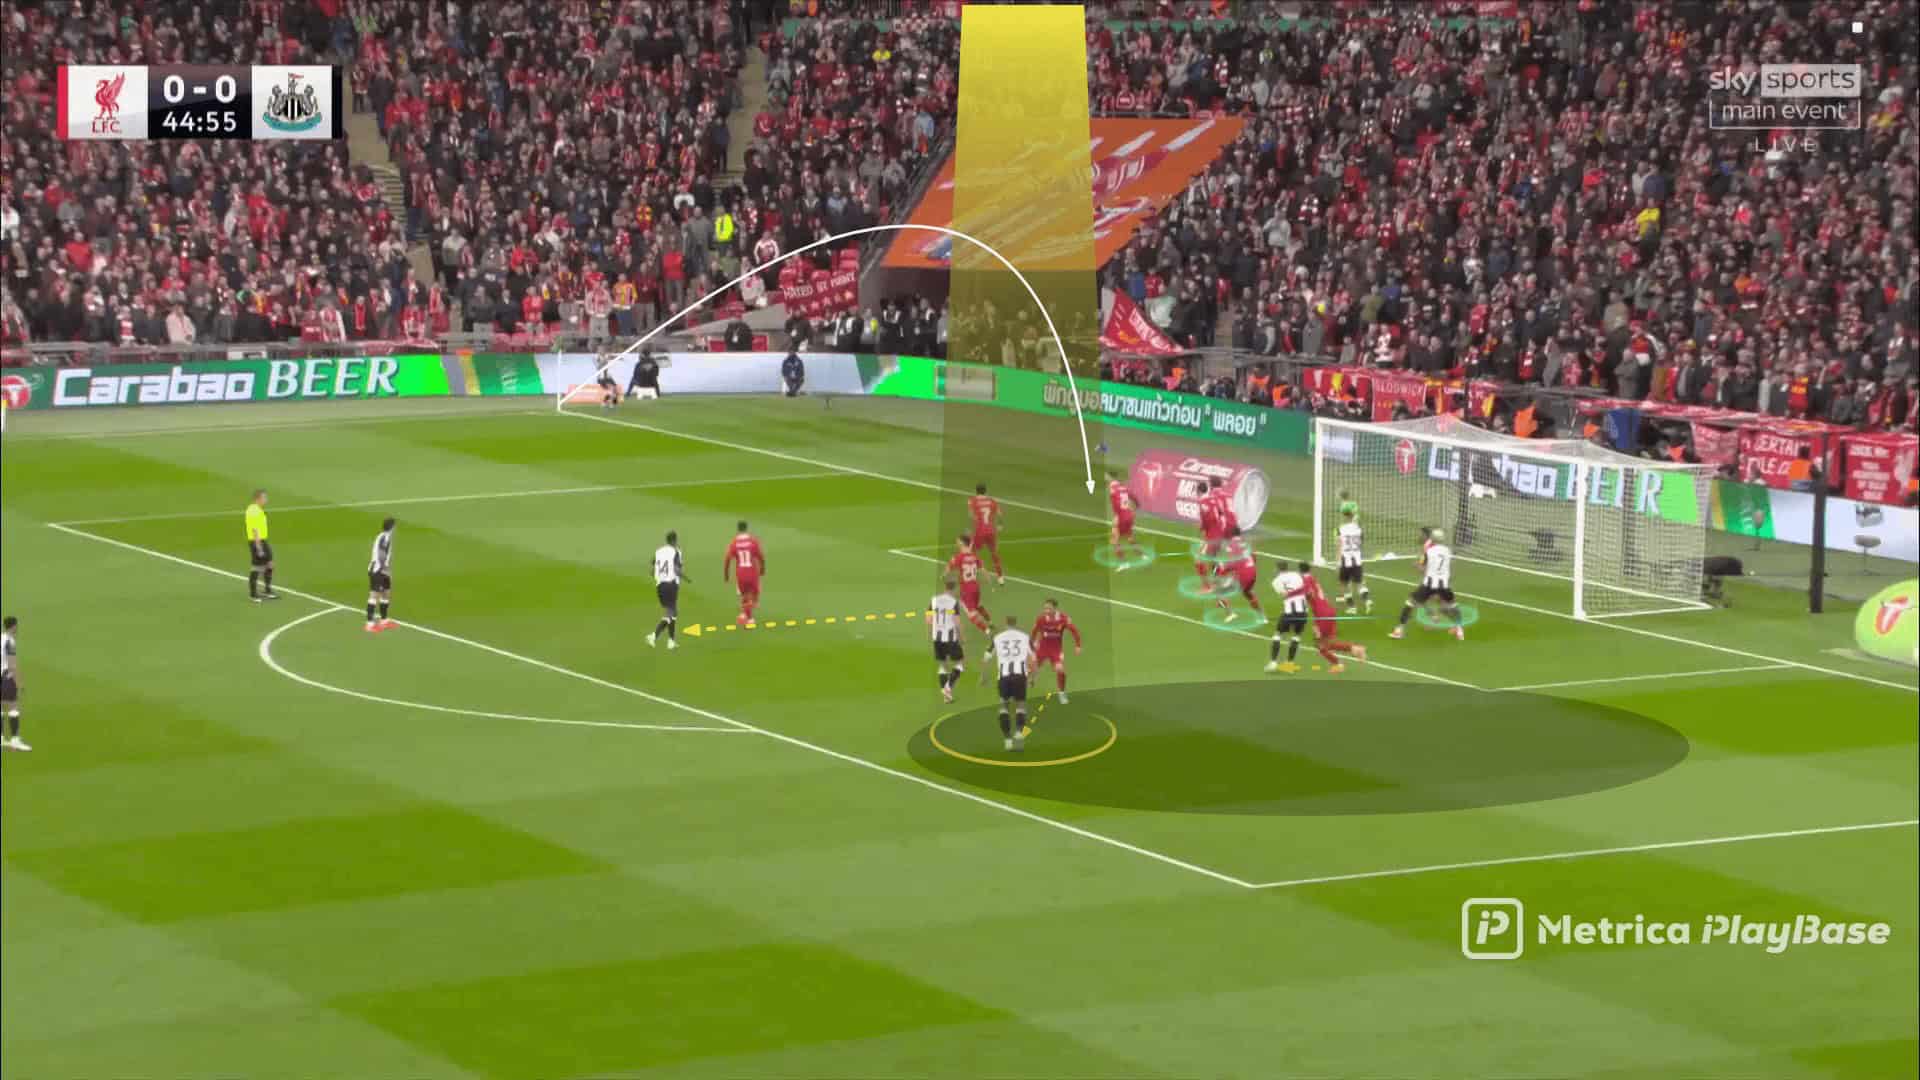
As shown below, Newcastle United planned to target Dan Burn in the shown area, exploiting the mismatch between him and his marker so he could easily overcome him.
Hence, they target a far area from the zonal defenders using out-swinging crosses from both sides, which leads us to discuss this brilliant delivery technique, allowing Trippier to send an out-swinging cross with his right foot from the right side.
To be more sure, #7 blocks the last zonal defender while #39 takes the goalkeeper’s attention not to go to claim the ball, and #5 blocks his man marker not to leave him going to Dan Burn after measuring the ball in the air
In addition to the previous points, I have another point using floated crosses.
Here, I don’t mean in-swinging, out-swinging, or straight crosses.
I mean that the cross has a very high trajectory and stays in the air for a long time.
This may appear as an old-school cross, but it puts the targeted player in a clear, isolated duel with the weak man marker.
The marker is forced to raise his neck to measure the ball in the air, waiting for the fight to start.
This is a disadvantage for such a weak player at aerial duels.
Mac Allister’s starting position doesn’t allow him to see the ball and the attacker simultaneously, and some coaches agree, asking him to slow down the attacker.
However, this type of cross, which takes a long time and has a high path, forces him to raise his neck trying to look up and measure the ball, which makes him lose contact with the attacker, as in the second photo below.
Hence, this type of cross increases the orientation problem, the mismatch, and the separation between the attacker and the marker, as shown here.
Mac Allister lost contact with Dan Burn, as shown in the following.
If you wanna know more about this type of cross, you can follow this article.
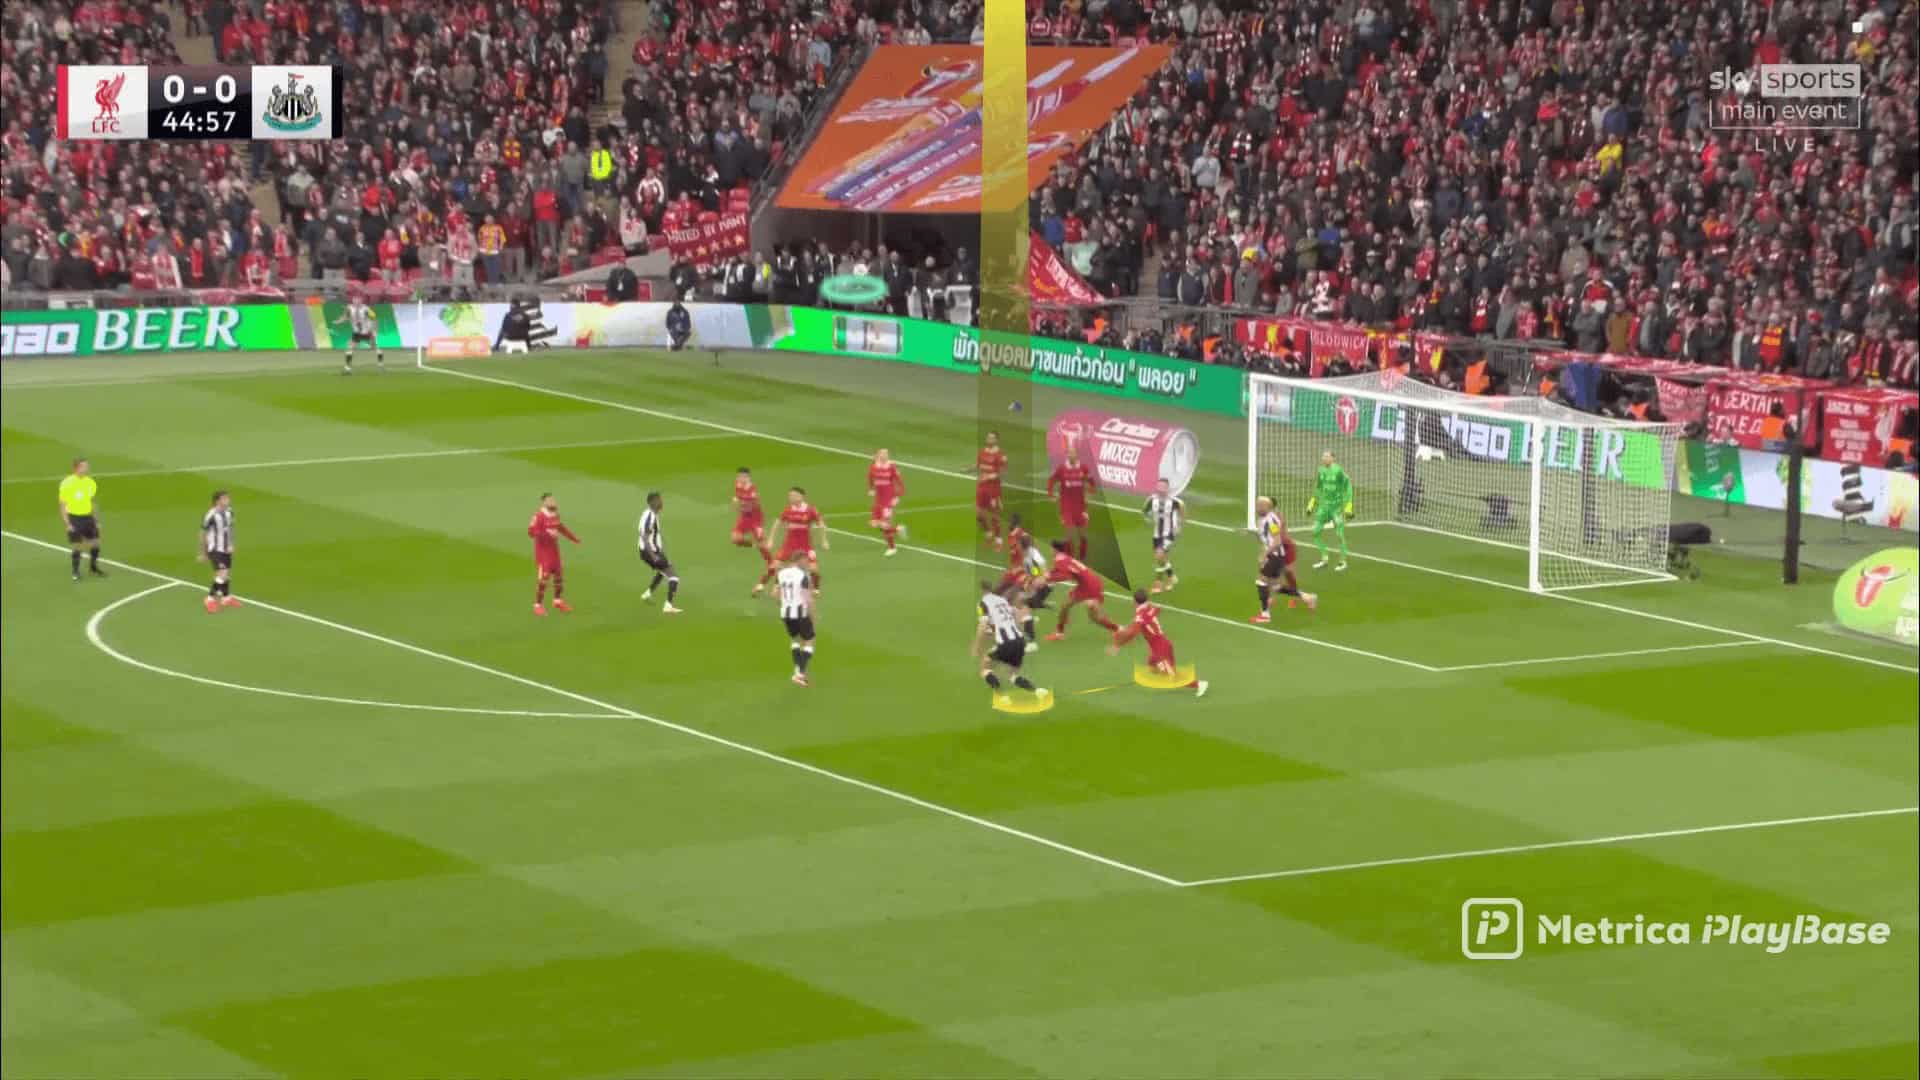
You can say that scoring from such a distance is hard, and you are right.
This is Liverpool’s perspective.
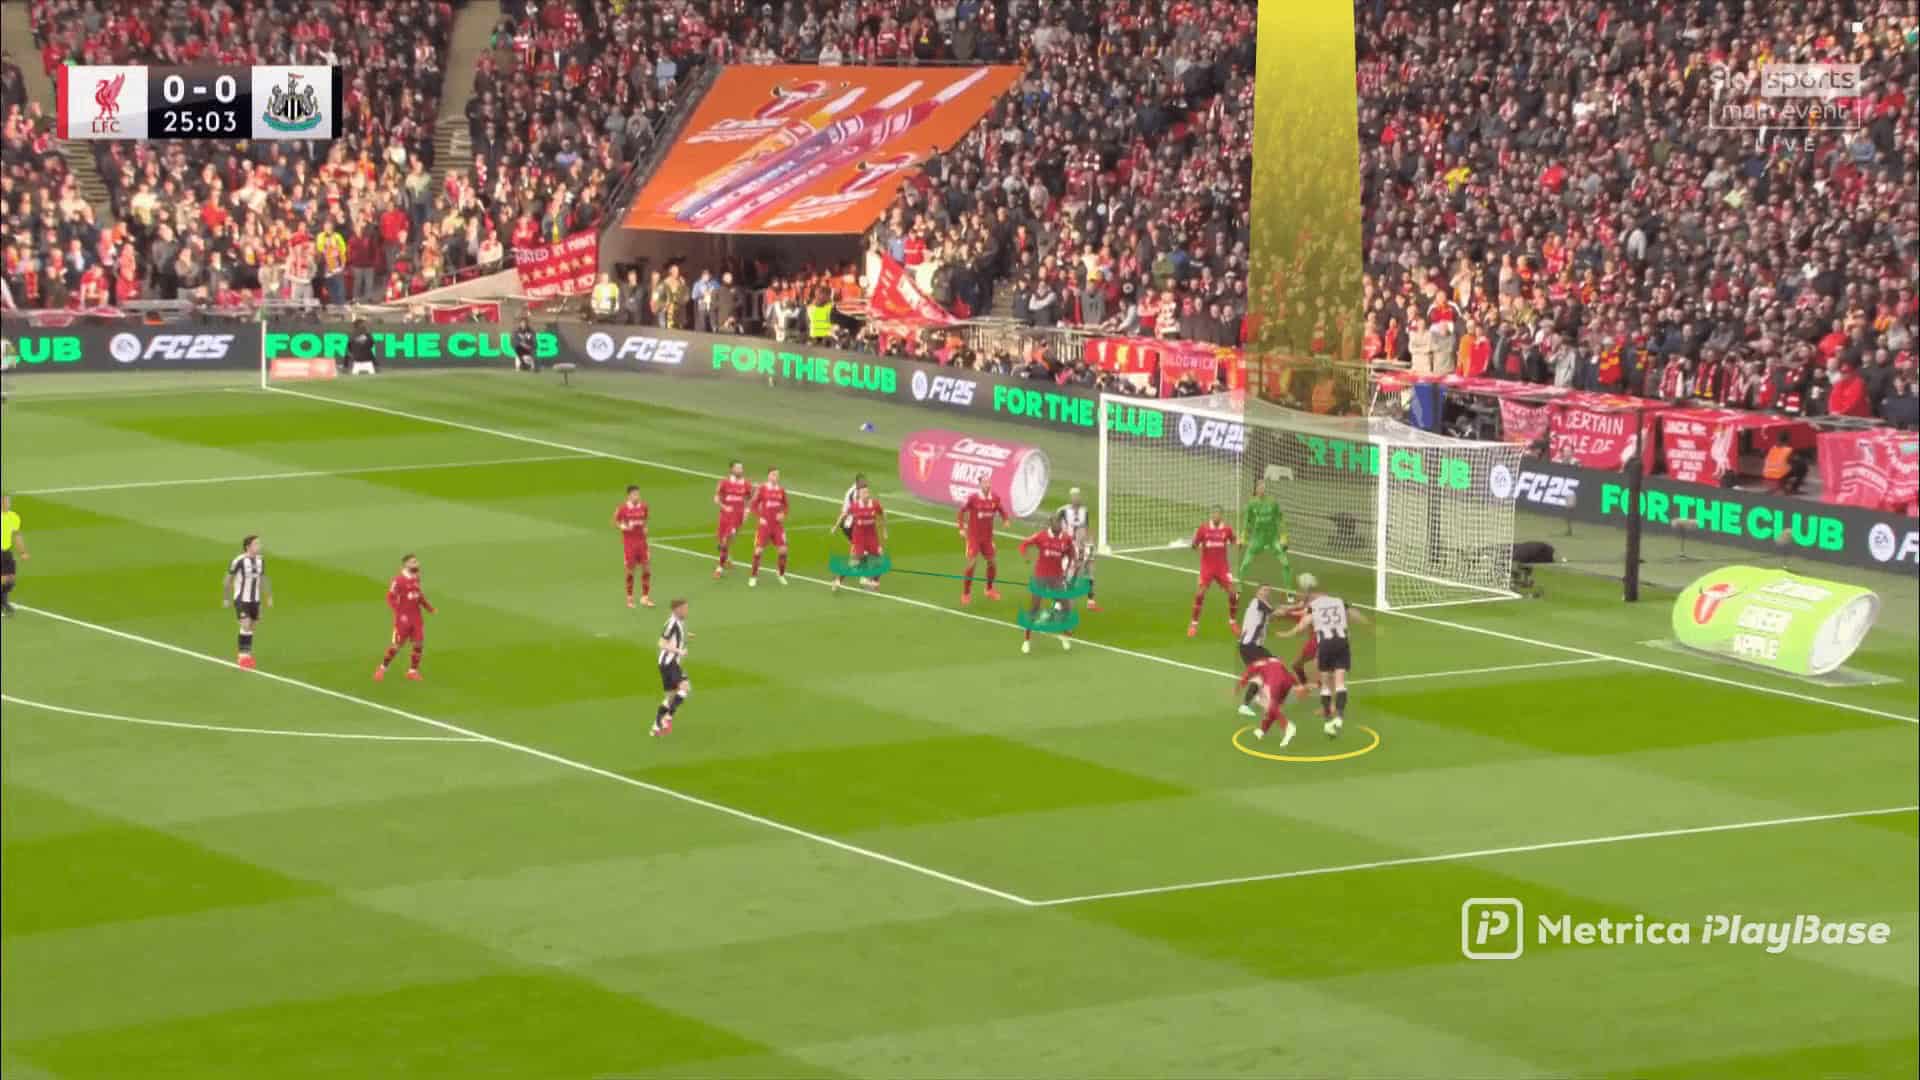
However, Newcastle didn’t want Dan Burn to score directly if he couldn’t control the ball well, so they asked three players to stand in the six-yard area framing the goal to receive the possible headed pass.
You can recall many cases in the game that involved two touches, as shown in the example below.
Conclusion
This tactical analysis discussed how the two teams’ performance was balanced and closely contested.
However, it is essential to note that Newcastle United forced Liverpool to play the type of game in which they excel.
One characterized by physical duels, transitions, and set pieces—and succeeded in doing so.
After discussing the tactics of both teams in open play and set pieces, it is clear that Newcastle United deserved the victory, working tirelessly to ignite the stadium with enthusiasm, in line with their playing style and the roar of their supporters.